
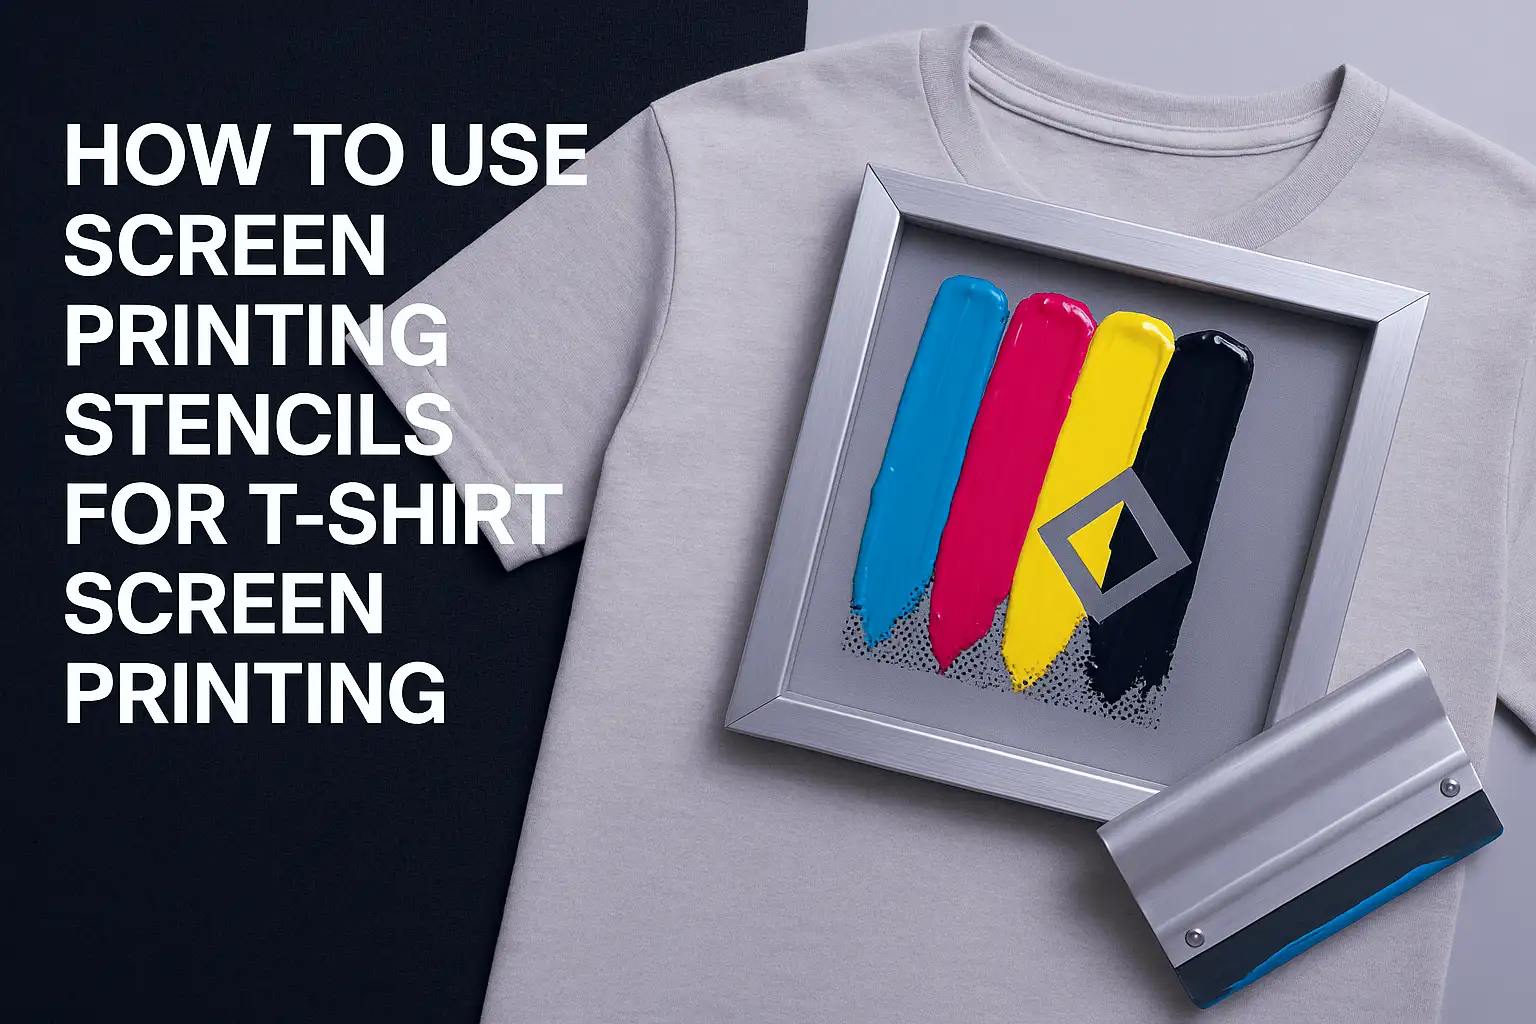
Screen printing T-shirts is a rewarding process that combines creativity with precision. This guide walks you through the essentials, from gathering materials to perfecting the final product, ensuring professional results whether you’re a beginner or scaling up production.
Before diving in, gather these essentials:
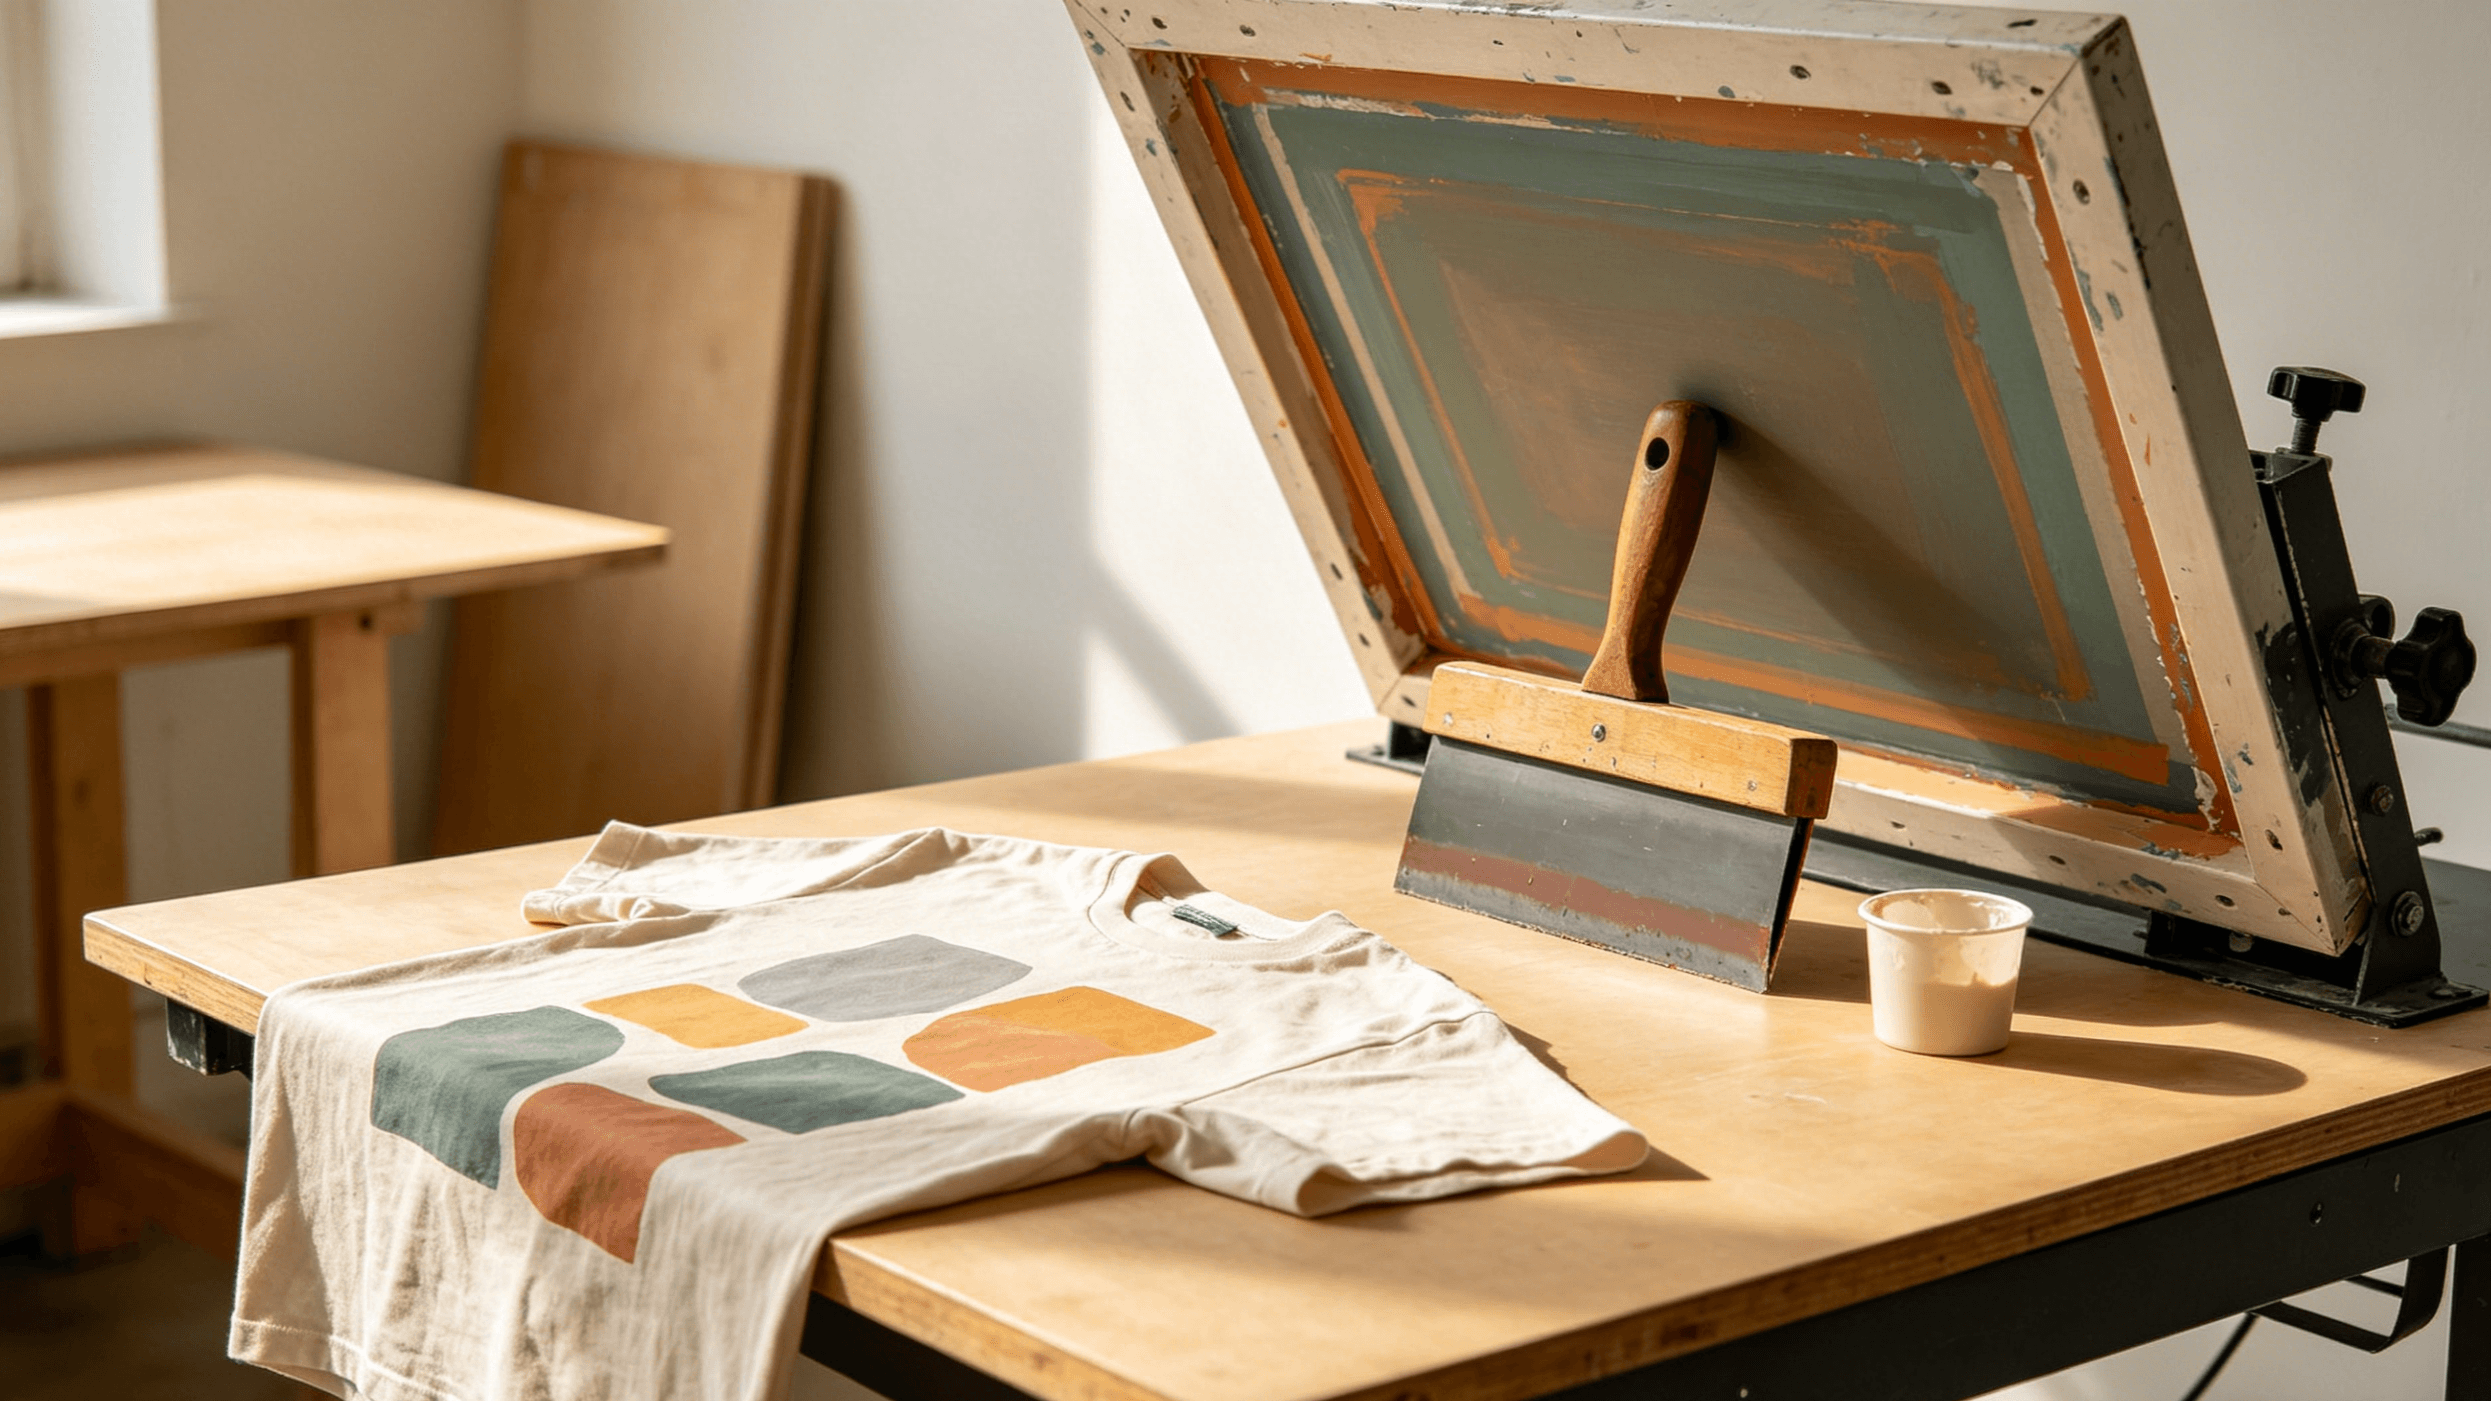
Success in screen printing hinges on thorough preparation. This includes selecting the right materials, crafting a high-quality stencil, and setting up an optimal workspace.
The materials you choose directly impact print quality. Opt for 100% cotton or cotton-blend T-shirts, as they absorb ink best. Industry data shows that 80% of professional printers prefer cotton for superior results. Ink choice is equally critical: water-based inks are beginner-friendly, drying in 20-30 minutes, while plastisol inks deliver vibrant colors but require a heat press for a 60-second cure.
The stencil is the heart of the process. Use photo emulsion and transparency film to create a stencil with a design resolution of at least 300 DPI for crisp details. The process—coating, exposing, and rinsing—takes about 2-3 hours. While 80% of beginners opt for pre-made stencils to save time, making your own can cut costs by 30-50%.
A clean, dust-free workspace is essential, ideally kept at a steady 68-77°F (20-25°C) to prevent ink from drying too quickly. A 100-square-foot area is sufficient for your equipment. Key setup tips:
The printing stage requires precision and the right tools. Follow these steps to transfer your design flawlessly onto the T-shirt.
Lay the T-shirt flat on your work surface, using a sticky board or clamps to keep it wrinkle-free. Align the stencil with the T-shirt, ensuring no more than a 1mm deviation to avoid blurry prints. Misalignment causes 90% of printing errors, so consider a laser alignment tool for accuracy.
Select your ink, then use a squeegee at a 45-degree angle to spread it evenly. You’ll need about 50-100ml of ink per print, depending on design size. Apply consistent pressure and make 2-3 passes to ensure the ink fully penetrates the fabric.
Here’s a quick comparison of ink types:
| Ink Type | Pros | Cons | Curing Time |
|---|---|---|---|
| Water-Based | Eco-friendly, soft | Less vibrant | 20-30 minutes |
| Plastisol | Bright, durable | Requires heat curing | 60 seconds |
After applying ink, curing locks it in. Water-based inks can air-dry, but a heat gun cuts drying time to 5-10 minutes. Plastisol inks need a heat press at 320-356°F (160-180°C) for 60 seconds. Improper curing causes 50% of prints to fade after the first wash, so monitor time and temperature closely.

After printing, post-processing and quality checks ensure your T-shirts meet professional standards.
Clean your screen and squeegee immediately to prevent ink buildup. Use specialized cleaning agents and warm water (about 104°F/40°C) for a 5-10 minute wash. 70% of equipment damage stems from ink residue, so thorough cleaning after each session is a must.
Check your prints for:
Fold and pack T-shirts within 24 hours to avoid dust contamination. Use clear plastic bags, with each T-shirt taking up about 0.01 cubic meters of storage space. Storage tips:
Screen printing T-shirts demands careful preparation, precise execution, and diligent post-processing. By choosing the right materials, crafting a quality stencil, and following these steps, you can achieve professional-grade results in just 2-3 hours per T-shirt. Perfect for personal projects or small-scale production, this process lets your creativity shine.