How to Make Silk Screen Stencils
Creating a screen printing stencil is the key to transferring your unique designs onto T-shirts, fabric, or other surfaces with precision. This guide introduces three straightforward and effective methods for making stencils: the DIY vinyl cutting method (perfect for Cricut users), the traditional photo emulsion method, and the hand-cut method. Each approach has its strengths, allowing you to craft professional-quality stencils tailored to your needs.
We’ll break down the materials and step-by-step process for each method, empowering you to create your first stencil with ease—whether you’re exploring a new hobby or launching a side hustle. Let’s dive in and bring your designs to life!
Why Make Your Silk Screen Stencils
A screen printing stencil controls where ink passes through a mesh screen to form your design on the chosen surface. Making your own stencils is cost-effective and gives you full creative control to produce custom, one-of-a-kind pieces. Whether you’re designing T-shirts for friends or creating products for a market, these methods will help you achieve your vision.
Which Method Should You Choose?
- DIY Vinyl Cutting Method: Ideal for those with a vinyl cutting machine (like a Cricut), offering speed and simplicity.
- Traditional Photo Emulsion Method: Best for professional-grade, durable stencils with high precision.
- Hand-Cut Method: Budget-friendly and equipment-free, perfect for beginners and simple designs.
Method 1: DIY Vinyl Cutting Method
Using a vinyl cutting machine like a Cricut is a beginner-friendly way to create stencils. It’s fast, doesn’t involve chemicals, and is great for small-scale projects.
Materials Needed
- Vinyl cutting machine (e.g., Cricut or Silhouette)
- Heat-transfer vinyl (HTV) or adhesive vinyl
- Screen printing frame (with taut mesh)
- Transfer tape (for adhesive vinyl)
- Weeding tool
- Scissors or a craft knife
- Ruler and pencil
- Design file (SVG or compatible format)
Steps
- Create Your Design
- Use design software (like Cricut Design Space) to create or import your pattern. Ensure it’s in a vector format for crisp edges.
- For HTV, mirror (flip) the design before cutting.
- Cut the Vinyl
- Load the vinyl into the cutting machine and cut according to the machine’s instructions.
- Double-check that the design is mirrored if using HTV.
- Weed the Vinyl
- Use a weeding tool to carefully remove excess vinyl, leaving only your design.
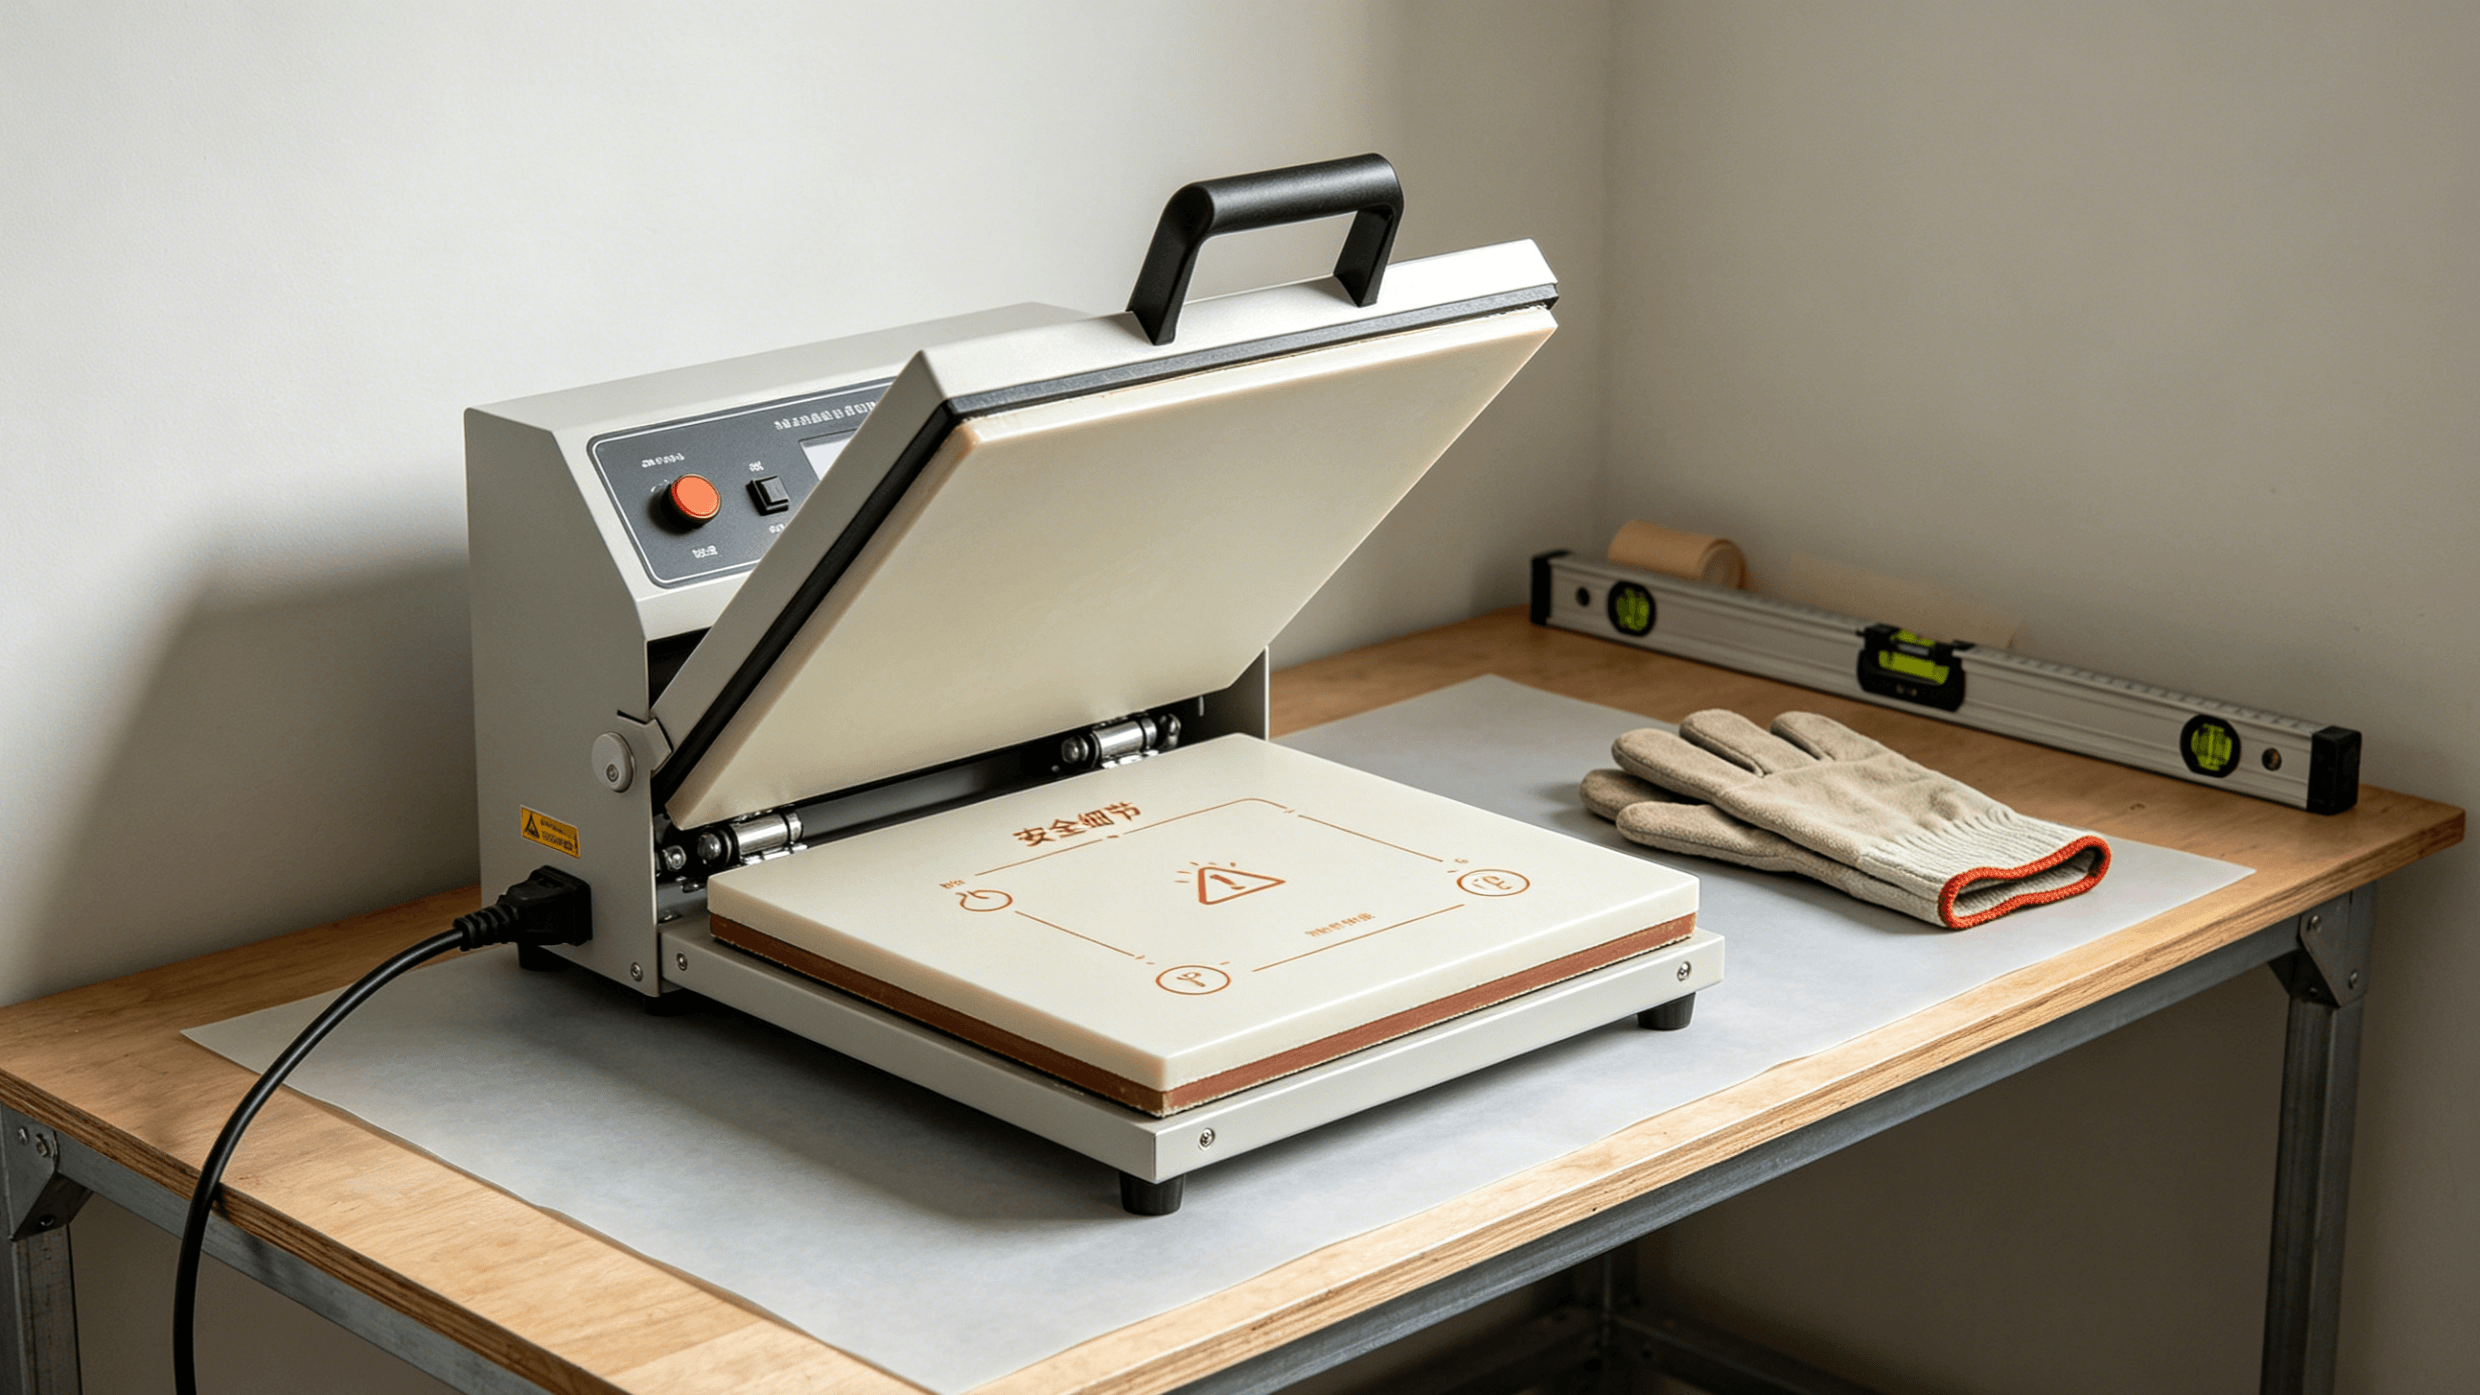
- Apply to the Screen
- For HTV: Place the design shiny side down (adhesive side up) on the mesh. Use a heat press or iron to adhere it, following HTV instructions.
- For Adhesive Vinyl: Use transfer tape to move the design onto the mesh, pressing firmly to ensure it sticks.
- Inspect and Print
- Check that the vinyl is securely adhered with no bubbles or loose edges. Your stencil is ready for printing!
Method 2: Traditional Photo Emulsion Method
This method is ideal for high-precision, reusable stencils commonly used in professional screen printing. It involves photosensitive chemicals and exposure equipment but delivers durable, detailed results.
Materials Needed
- Screen printing frame (with mesh)
- Photo emulsion and sensitizer
- Squeegee or coating tray
- Exposure unit (e.g., UV light) or sunlight
- Transparency film (with printed design)
- Pressure washer or strong water source
- Darkroom or light-safe environment
Steps
- Apply Photo Emulsion
- In a darkroom, evenly coat both sides of the screen with photo emulsion using a squeegee or coating tray.
- Let it dry in a light-safe environment (e.g., under yellow light) for about 1 hour.
- Expose the Design
- Place a transparency film with your design (printed in solid black) onto the emulsion-coated screen.
- Expose the screen to UV light or sunlight (exposure time varies, typically 2–10 minutes, depending on the emulsion and light source).
- Rinse the Stencil
- Use a pressure washer or strong water stream to rinse the screen. Unexposed emulsion washes away, revealing your design.
- Dry and Inspect
- Let the screen air-dry. Check for clarity and ensure no mesh holes are blocked. Your stencil is ready!
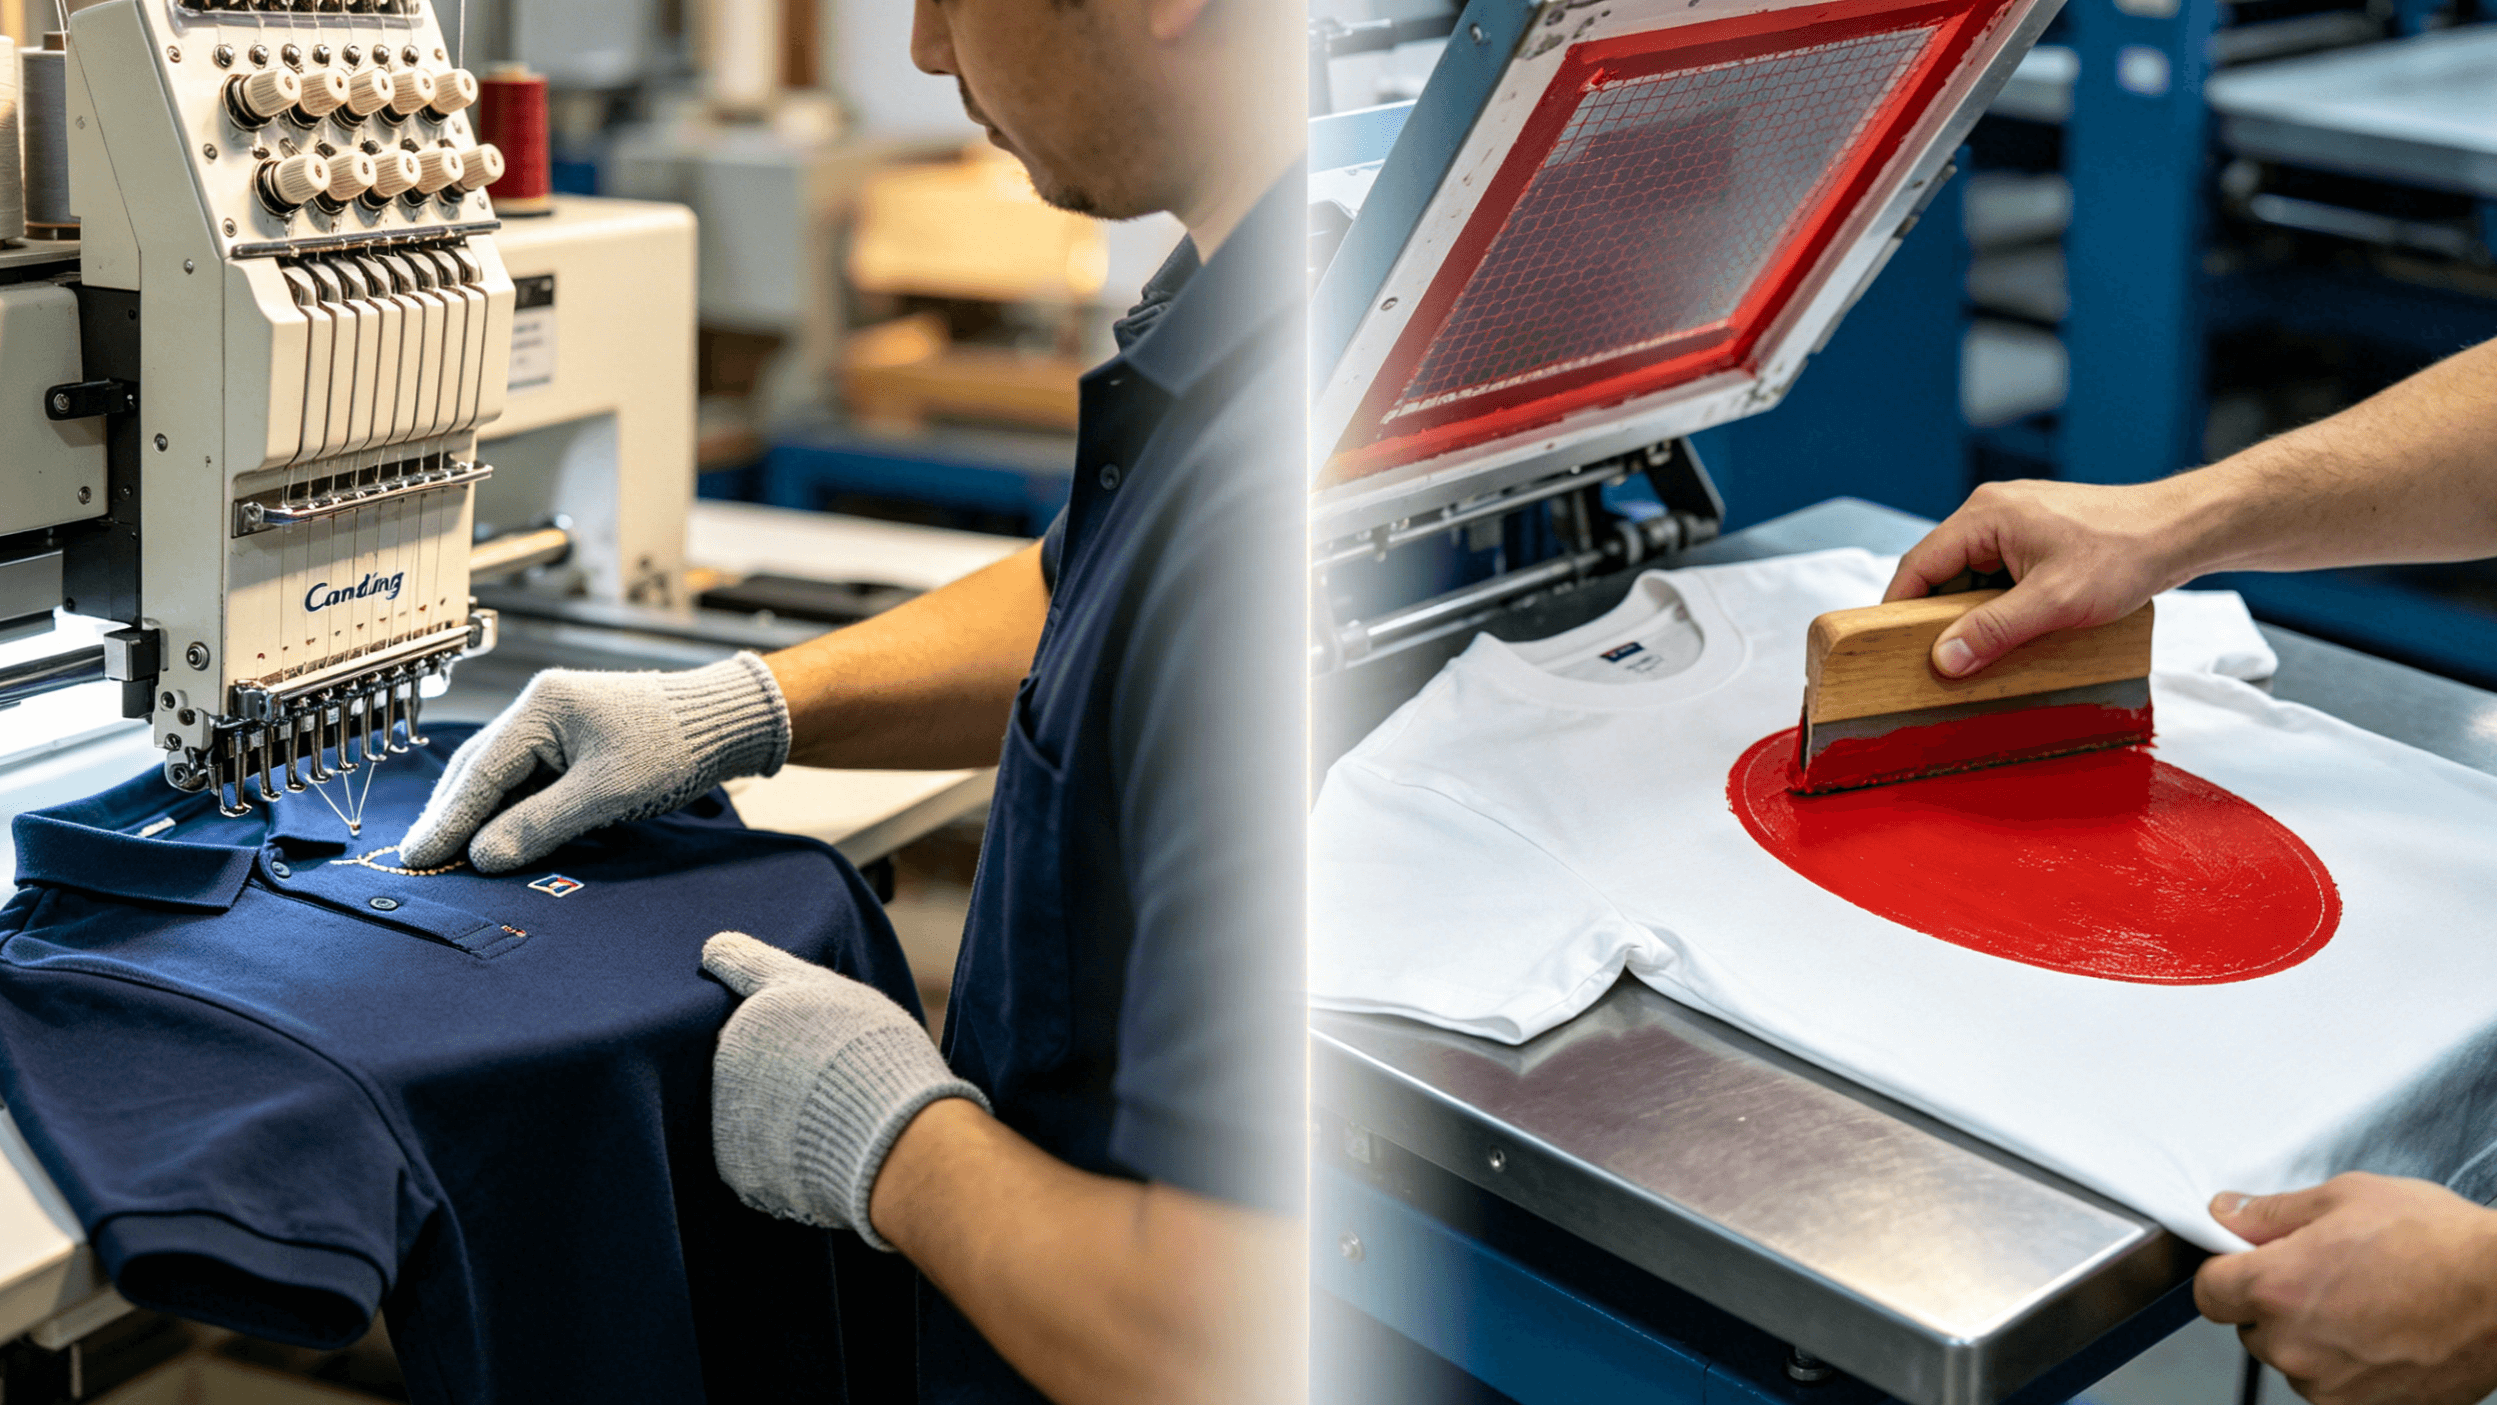
Method 3: Hand-Cut Method
This is the simplest and most budget-friendly method, requiring no specialized equipment. It’s great for beginners and basic designs but less durable than other methods.
Materials Needed
- Cardstock, thin cardboard, or plastic sheets
- Pencil and eraser
- Craft knife or scissors
- Ruler
- Tape or clips
- Simple design template (optional)
Steps
- Draw Your Design
- Sketch a simple design (e.g., stars or text) on cardstock with a pencil, avoiding intricate details.
- Cut the Stencil
- Use a craft knife or scissors to cut along the design outline, creating openings where ink will pass through (positive space).
- Attach to the Screen
- Secure the cardstock stencil to the bottom of the screen frame with tape or clips, ensuring a tight fit.
- Prepare for Printing
- Verify the stencil is firmly in place. It’s ready for printing but handle carefully to avoid damage.
Which Method Is Right for You
| Method | Pros | Cons | Best For |
|---|---|---|---|
| DIY Vinyl Cutting | Fast, simple, no chemicals | Requires a cutting machine, limited to simpler designs | Beginners, quick projects |
| Photo Emulsion | High precision, durable | Needs equipment and darkroom, complex process | Professional, intricate designs |
| Hand-Cut | Low cost, no equipment needed | Less durable, suited for simple designs | Beginners, tight budgets |
Tips
- Keep It Clean: Work in a dust-free area and ensure the screen and stencil are spotless to avoid printing flaws.
- Test First: Try printing on scrap material to confirm the stencil works before moving to your final project.
- Store Properly: Store screens or stencils flat in a light-safe area to extend their lifespan.
- Calibrate Exposure: For the photo emulsion method, test different exposure times to find the sweet spot for crisp results.
Final Thoughts
Crafting your own screen printing stencil unlocks endless creative possibilities! Whether you opt for the speedy DIY vinyl method, the precise photo emulsion technique, or the accessible hand-cut approach, you’re equipped to produce stunning, custom prints. Get started, experiment, and find the method that works best for you.
Got questions? Drop them below, and happy printing!