Silk Screen Printing Machine Kit: Buying Guide
Screen printing transforms your creative ideas into tangible creations, from custom T-shirts to stunning posters, perfect for artists, hobbyists, and small business owners. Choosing the right screen printing kit is the first step to success. This guide breaks down the essential components, key considerations, and types of kits to help you find the perfect fit and kickstart your printing journey.
What Is Screen Printing
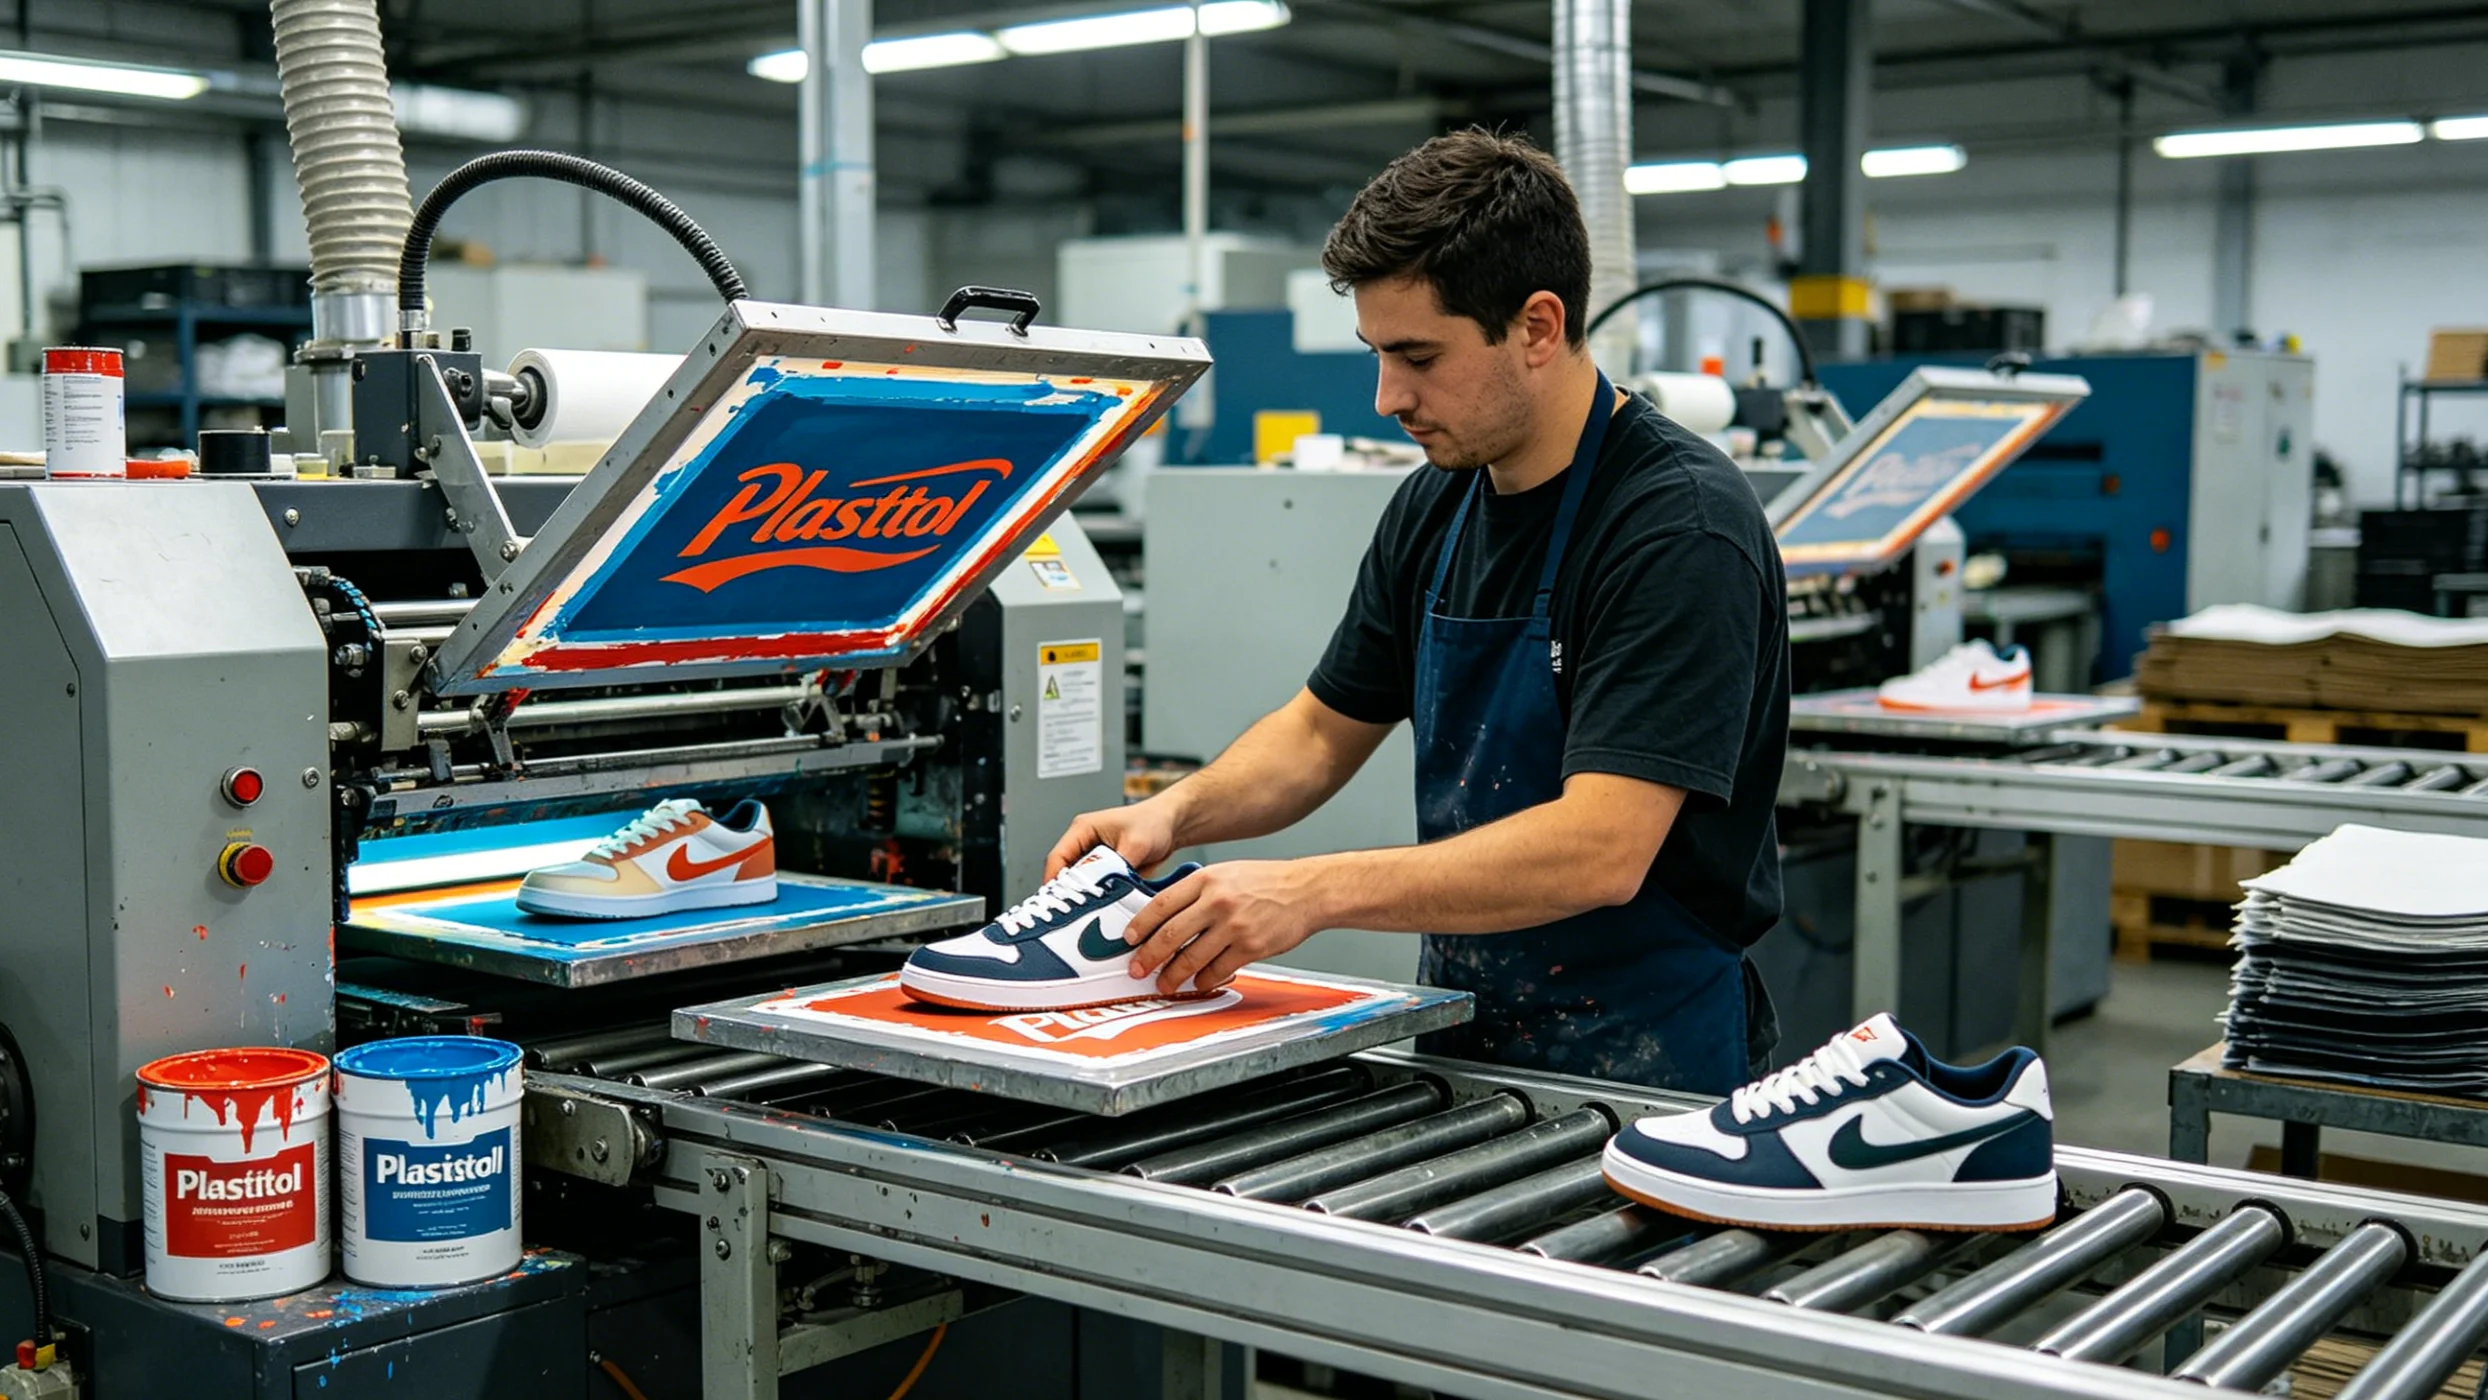
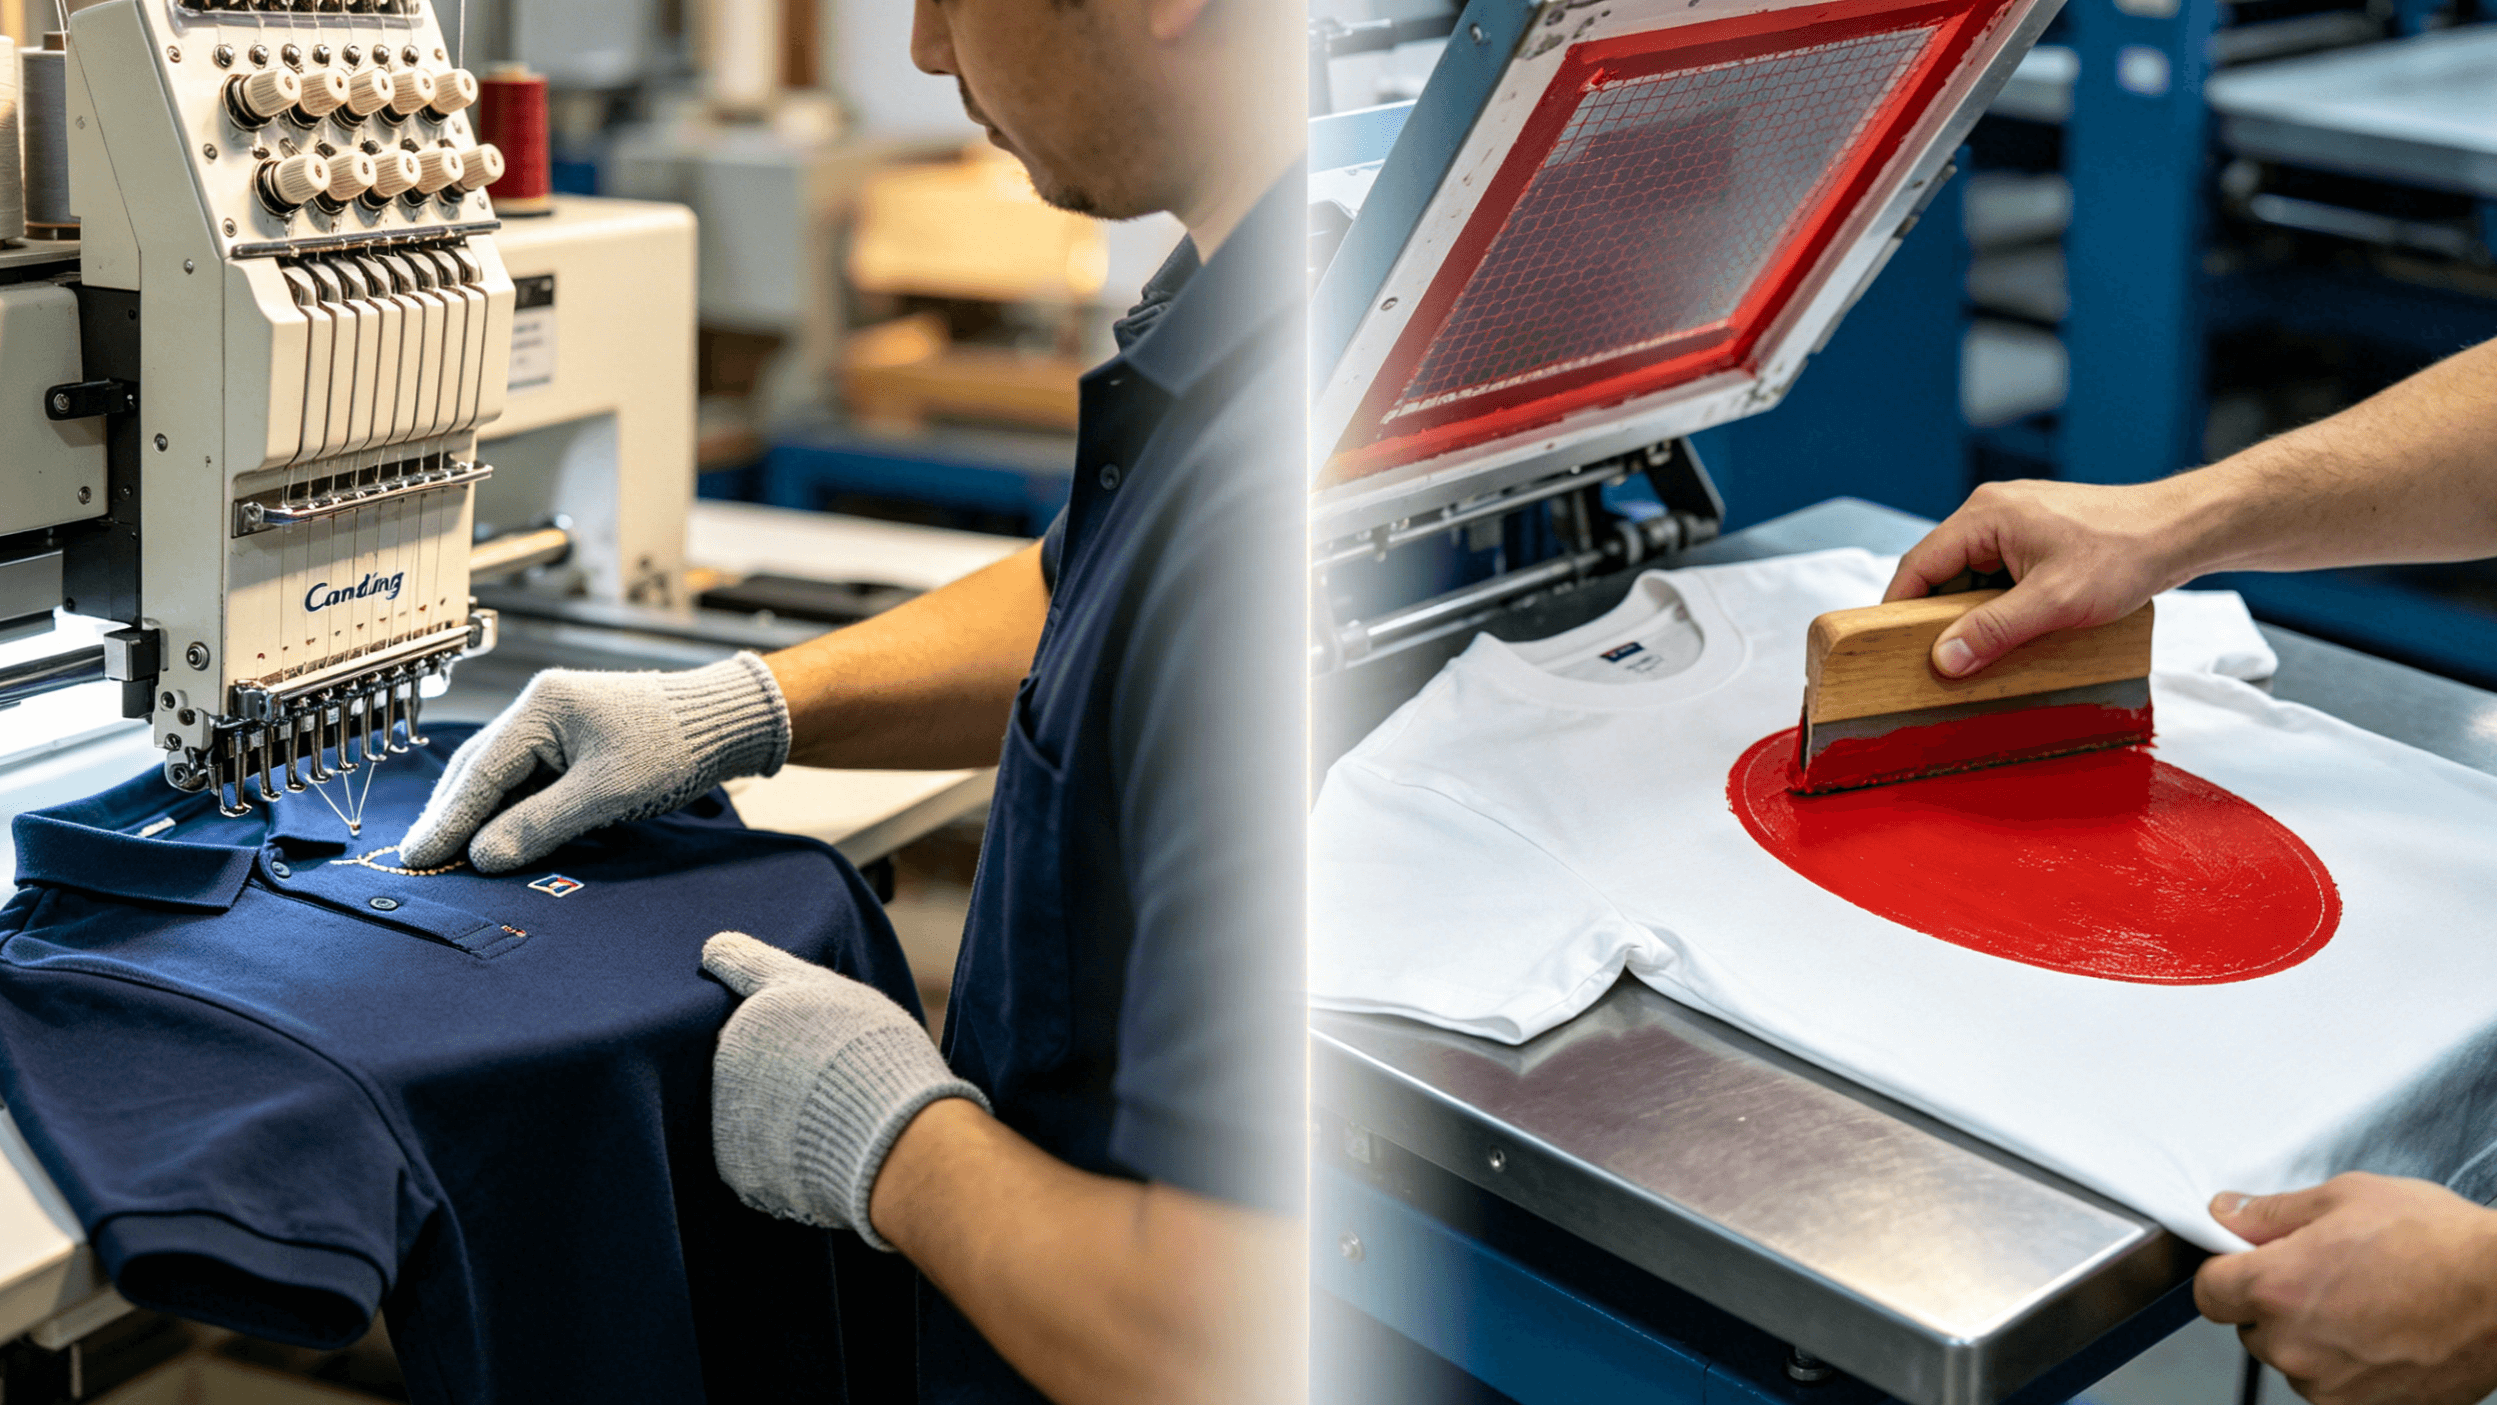
Screen printing uses a mesh screen to transfer ink onto a surface, with open areas allowing ink to pass through and blocked areas preventing it. Its versatility and affordability make it ideal for printing on fabrics, paper, plastic, metal, and more, catering to both personal projects and small-scale production.
Components of a Screen Printing Kit
A complete kit includes the following core components. Understanding their roles is key to selecting the right kit:
- Screen: A mesh stretched over an aluminum or wooden frame. Mesh count determines print quality—higher counts (200+) are ideal for detailed designs, while lower counts (80–120) suit thicker ink layers.
- Squeegee: A tool to push ink through the screen. Blade hardness affects results—firm blades work for intricate patterns, softer ones for textured surfaces.
- Inks:
- Water-based ink: Eco-friendly, great for fabric and paper, dries slowly, and is easy to clean.
- Plastisol ink: Durable and wash-resistant, ideal for textiles, requires heat curing.
- Solvent-based ink: Strong adhesion for non-absorbent materials like plastic or metal.
- UV ink: Fast-curing with UV equipment, suited for specialized applications.
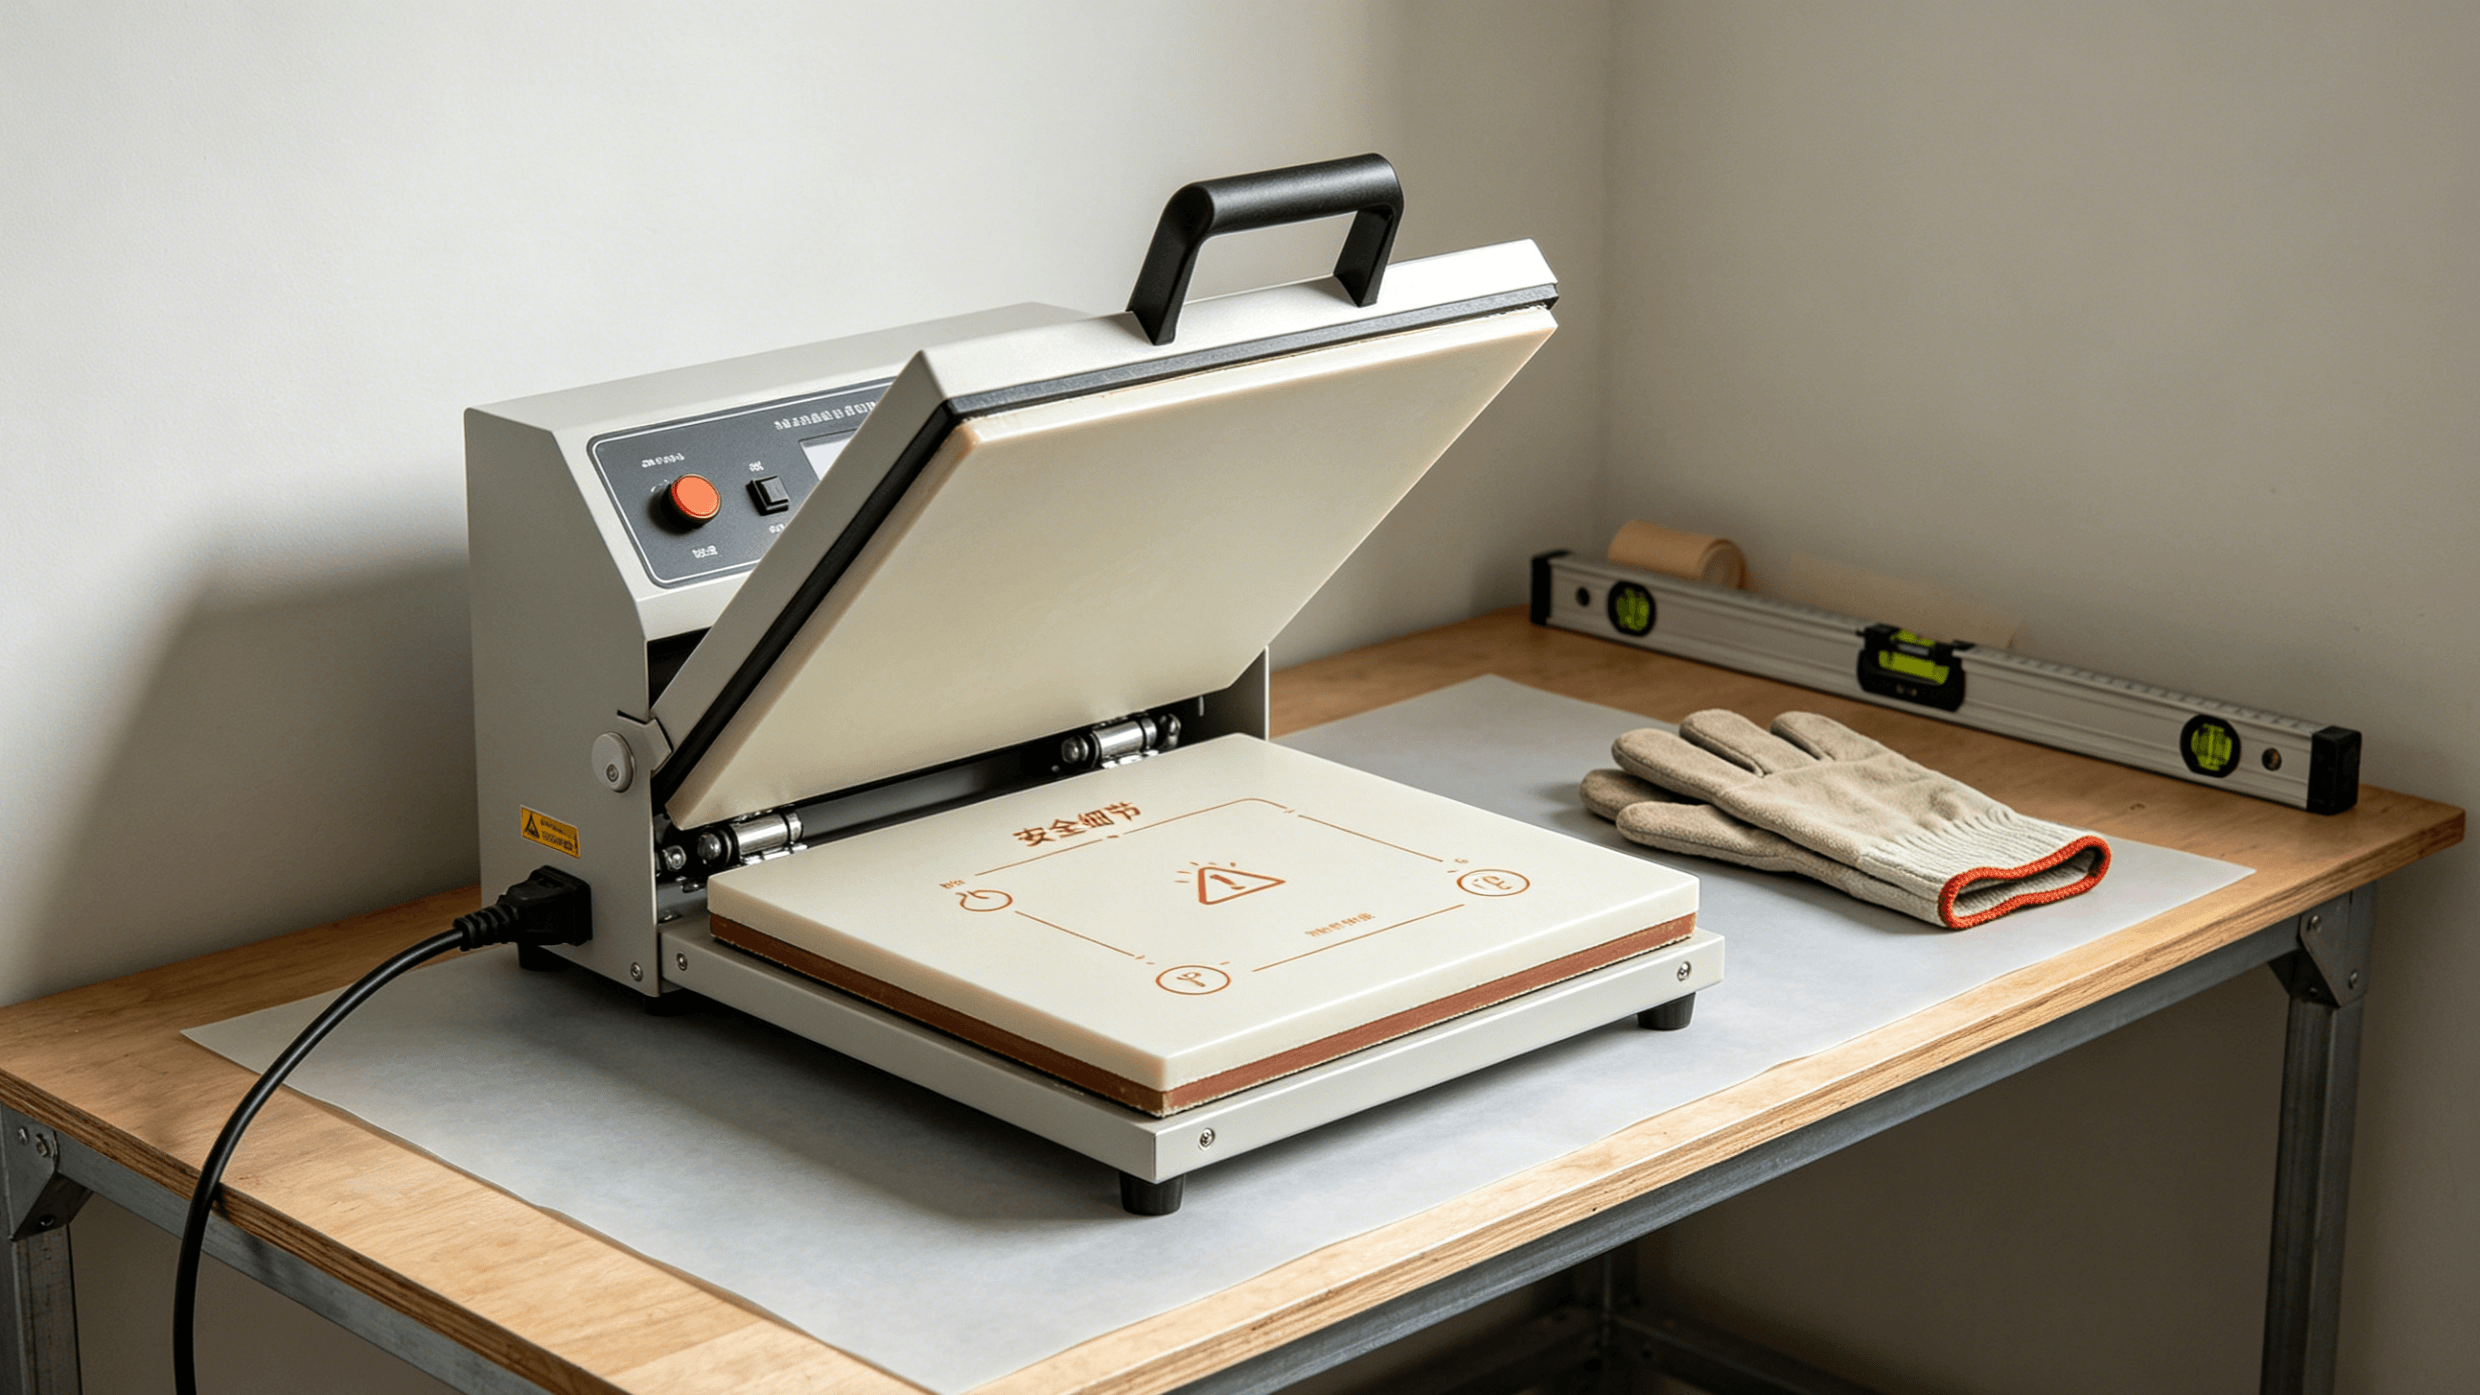
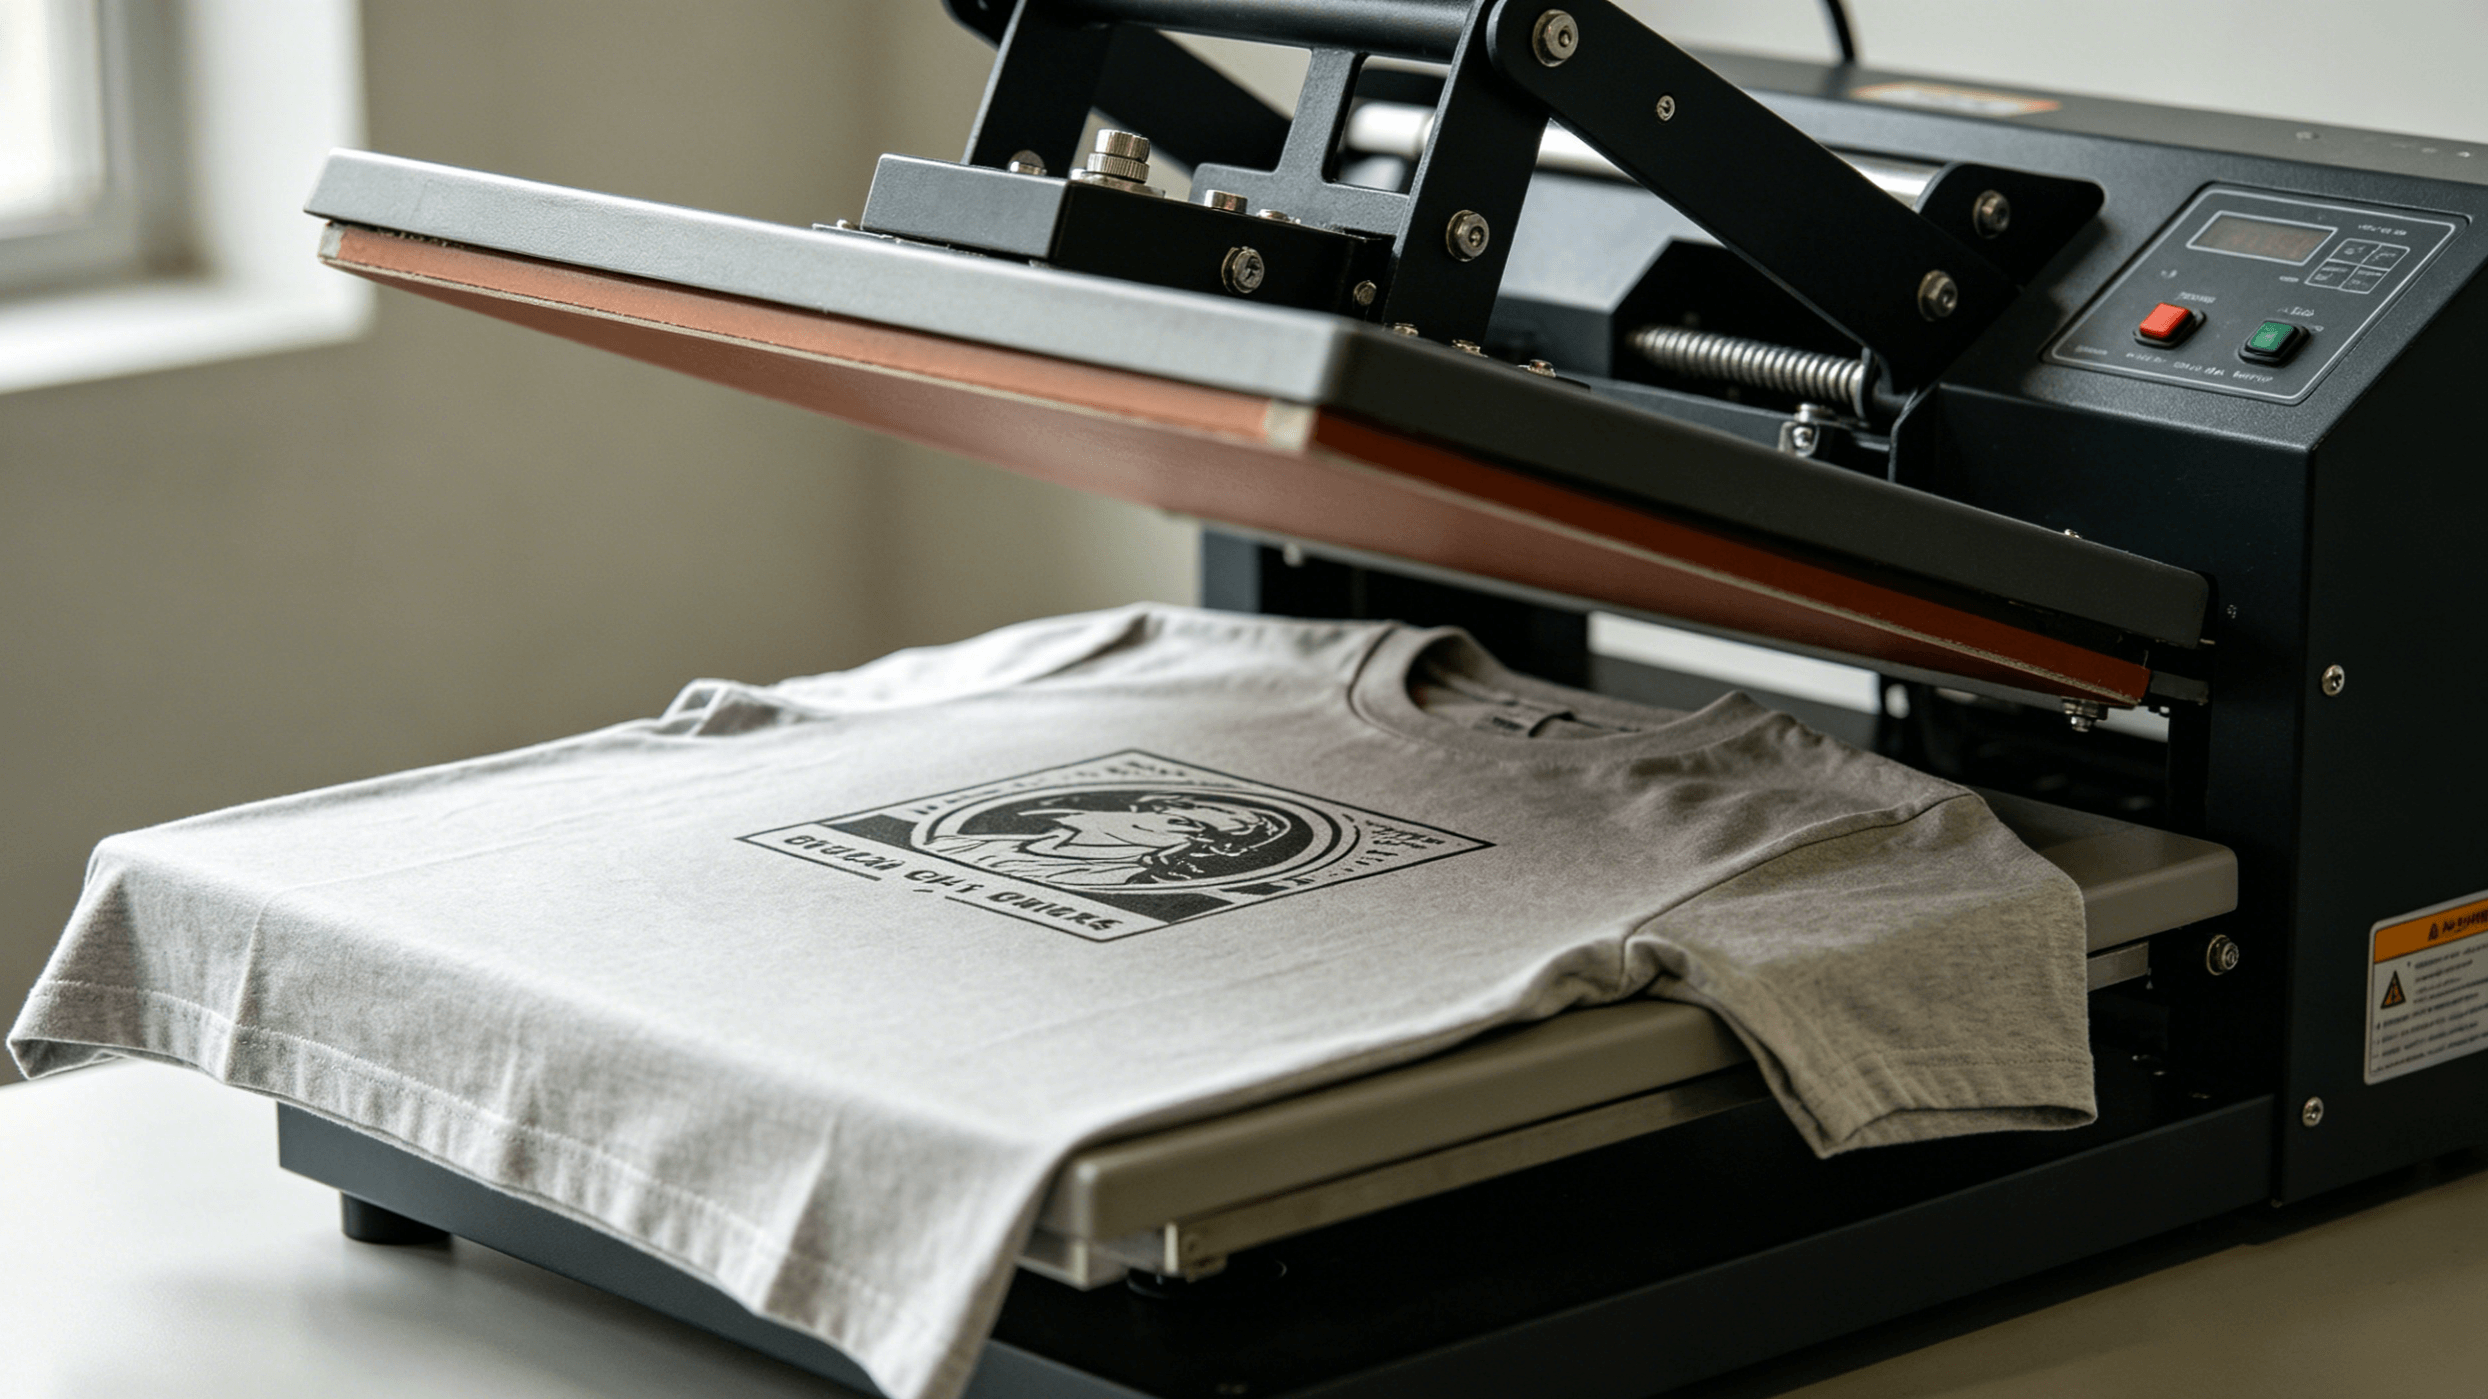
- Platen: A platform to secure the material being printed, ensuring stability. Some include multi-color registration features.
- Exposure Unit: Uses UV light to harden photosensitive emulsion, creating the screen stencil.
- Photosensitive Emulsion: Applied to the screen to form the design template.
- Masking Tape: Prevents ink leakage and secures the screen or material.
- Spray Adhesive: Temporarily holds the material in place to prevent shifting.
- Cleaner: Removes ink and emulsion for screen reuse.
Key Factors to Consider When Buying
Choosing a kit involves balancing these factors:
- Printing Needs:
- Material: Textiles require heat-curable inks and a sturdy platen; flat surfaces need strong fixing mechanisms.
- Size: Ensure the screen and platen support your maximum print area.
- Precision: Detailed designs demand high-mesh screens and micro-registration tools.
- Volume: Manual kits suit personal projects; semi-automatic kits are better for small batches.
- Automation Level:
- Manual: Budget-friendly and beginner-friendly, but slower.
- Semi-automatic: Partially automated for higher efficiency in small-scale production.
- Fully automatic: Industrial-grade, costly, and ideal for high-volume output.
- Component Quality:
- Opt for aluminum frames (more durable), high-quality squeegees, and reliable inks.
- Ensure that the platens are stable and the exposure units provide even light distribution.
- Ease of Use: Beginners should choose kits with tutorials or customer support.
- After-Sales and Supplies: Select suppliers offering warranties and readily available consumables.
- Space and Environment: Ensure your workspace is well-ventilated; water-based inks are better for home use.
Types of Screen Printing Kits
Kits vary by purpose and functionality. Here’s an overview:
- Single-Color Kits: Perfect for beginners printing T-shirts or posters. Easy to use but challenging for multi-color alignment.
- Multi-Color Rotary Kits: Feature multiple platens for textile printing, offering high efficiency and accurate color registration, ideal for small businesses.
- Flatbed Kits: Designed for paper, wood, or other flat surfaces, often with vacuum suction for stability, great for art prints.
- Exposure Kits: Focus on screen preparation, ideal for users with existing presses, reducing stencil-making costs.
- Mini/Desktop Kits: Compact and portable, perfect for home use and small single-color projects, but limited in scope.
- All-in-One Starter Kits: Include all basic tools, ideal for beginners looking to dive in quickly.
| Kit Type | Best For | Pros | Cons |
|---|---|---|---|
| Single-Color | Beginners | Affordable, easy to use | Tricky for multi-color |
| Multi-Color Rotary | Small Businesses | Efficient, precise colors | Bulky, higher cost |
| Flatbed | Artists | Ideal for flat materials | Limited functionality |
| Exposure | Existing Press Users | Reduces stencil costs | Screen-making only |
| Mini/Desktop | Home Users | Portable, budget-friendly | Limited features |
| All-in-One Starter | Newbies | Includes all essentials | Component quality varies |
Screen Printing Products and Kits
-

H38 Cnding Hybrid Oval + Digital Printing Machine
-

Topone Visual Self Registration Oval Printing Machine For Textile Printing
-

CE Approved H18 For Shoes Oval Screen Printing Machine
-

Standard Portable Screen Printing Flash Dryer
-

TPS-E Laser Exposure Machine
-

1080P Spread Projector
How to Choose the Right Kit
- Define Your Goals:
- Beginners: Opt for all-in-one or mini kits for ease of use.
- Small Businesses: Choose multi-color rotary or semi-automatic kits for higher output.
- Professionals: Consider semi-automatic or custom setups.
- Set a Budget: Account for consumables and maintenance costs.
- Check Space: Mini kits are ideal for compact workspaces.
- Match Materials and Size: Pick rotary kits for textiles, flatbed for paper or wood.
- Inspect Components: Prioritize aluminum frames, quality inks, and sturdy platens.
- Verify Support: Choose suppliers with tutorials and reliable customer service.
- Read Reviews: Check e-commerce platforms or industry forums for user feedback.
(Buyer’s Checklist)
- Confirm printing material (textile or flat surface)
- Determine maximum print size
- Set budget (including consumables)
- Check the workspace and ventilation
- Verify component quality
- Ensure the supplier offers support