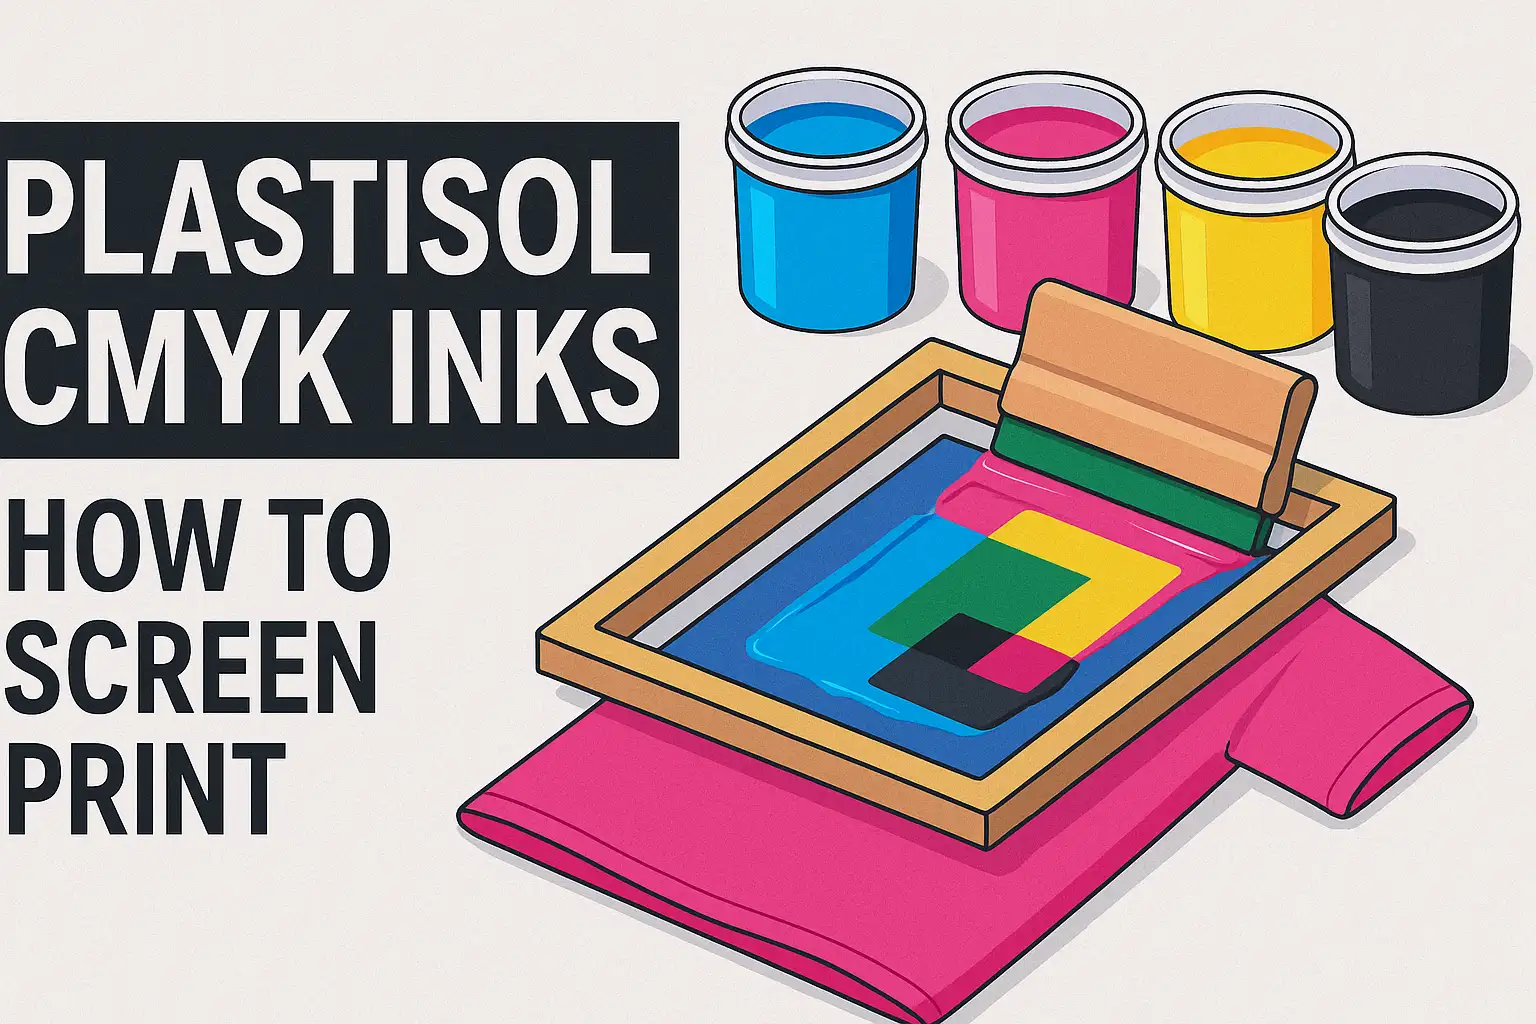
Screen printing is renowned for its vibrant ink texture and exceptional durability, making it a cornerstone of textile printing. Among its techniques, CMYK four-color process printing stands out as a powerful method to achieve stunning full-color images and smooth gradients using just four primary inks: Cyan, Magenta, Yellow, and Black. Plastisol ink, with its reliable printing performance and heat-curing properties, is the go-to choice for high-quality CMYK screen printing.
This guide dives deep into the process of using Plastisol ink for CMYK screen printing, covering everything from fundamentals to practical steps. It’s designed to be a comprehensive, actionable resource for both seasoned printers and enthusiasts.
Understanding CMYK and Plastisol Basics
The CMYK Color Model Explained
CMYK is a subtractive color model, distinct from the additive RGB model used for digital displays. Instead of combining light to create brighter hues, CMYK inks absorb specific wavelengths of light to produce colors. For instance, cyan ink absorbs red light, magenta absorbs green, and yellow absorbs blue. As light passes through these transparent ink layers, certain colors are “subtracted,” and the remaining light blends to form the perceived color. Black ink enhances depth and contrast in darker areas.
The key to achieving smooth, continuous-tone images lies in halftone dots. Images are broken down into tiny dots of varying sizes and densities. When printed, these dots optically blend at a viewing distance, creating seamless color transitions, gradients, and intricate details that mimic continuous-tone visuals.
Plastisol Ink for CMYK Printing
Important Note: CMYK screen printing requires specialized high-transparency CMYK process inks, not standard opaque Plastisol inks used for spot color printing.
Characteristics of CMYK Process Inks: These inks are formulated for exceptional transparency, which is critical for subtractive color mixing. Transparent inks allow layered halftone dots to blend accurately, producing the desired hues and gradients.
Difference from Standard Plastisol Inks: Standard Plastisol inks are designed for high opacity to cover base colors or print on dark fabrics. Using them for CMYK printing results in muddy, grayish images with lost detail and color vibrancy due to improper color blending.
Process Black vs. Opaque Black: Similarly, CMYK process black is semi-transparent to enhance shadows and details without overpowering underlying colors. Standard opaque black, being fully opaque, dulls shadow areas and obscures details.
Pre-Press Preparation: Design, Materials, and Equipment
High-quality CMYK printing starts with meticulous preparation.
CMYK Color Separation
Color separation is the heart of CMYK printing, typically done in professional software like Adobe Photoshop.
Image Preparation: Start with a high-resolution image (300 DPI or higher) to ensure fine details are preserved, crucial for generating precise halftone dots.
Color Mode Conversion: Convert the image from RGB to CMYK mode (in Photoshop: Image > Mode > CMYK Color). This is essential for print preparation.
Apply Color Profile: Use a CMYK color profile (ICC file) tailored to your ink, substrate, and printing process. This ensures accurate color prediction in print. In Photoshop, manage profiles via Edit > Color Settings.
Check for Out-of-Gamut Colors: CMYK’s color gamut is narrower than RGB’s. After conversion, some vibrant RGB colors may not reproduce accurately. Use Photoshop’s View > Gamut Warning (typically shown as a gray overlay) to identify problem areas.
Manual Color Correction: Adjust out-of-gamut or off-color areas using tools like Image > Adjustments > Selective Color (to fine-tune specific CMYK channels) or Image > Adjustments > Curves (to tweak contrast and tone). This step requires experience and a keen eye for color to align the CMYK image with the original vision.
Sharpening: Apply moderate sharpening (e.g., Filter > Sharpen > Unsharp Mask) before or after separation to enhance edge contrast, ensuring crisper halftone dots and better detail in the final print.
Generate Separation Channels: In CMYK mode, the image automatically splits into four channels (Cyan, Magenta, Yellow, Black), each containing halftone dot data for that color.
Add Registration Marks: Include standard registration marks outside the image area on each separation film. These marks ensure precise alignment during printing, critical for accurate color layering.
Selecting Materials and Supplies
Plastisol CMYK Process Inks: Source high-transparency process inks from reputable brands. Ensure the inks offer pure colors, good flow, and reliable curing properties.
Screen Mesh: CMYK printing demands high-mesh-count screens (305–355 threads per inch, TPI). Higher mesh counts yield finer threads and smaller openings, allowing less ink to pass through for precise, delicate halftone dots. Low-mesh screens cause dot gain, resulting in coarse or muddy prints. Learn more about mesh selection.
Emulsion/Film: Use high-resolution photo emulsion or capillary film capable of holding fine halftone dots. These must maintain sharp, intact dot edges after exposure and washout.
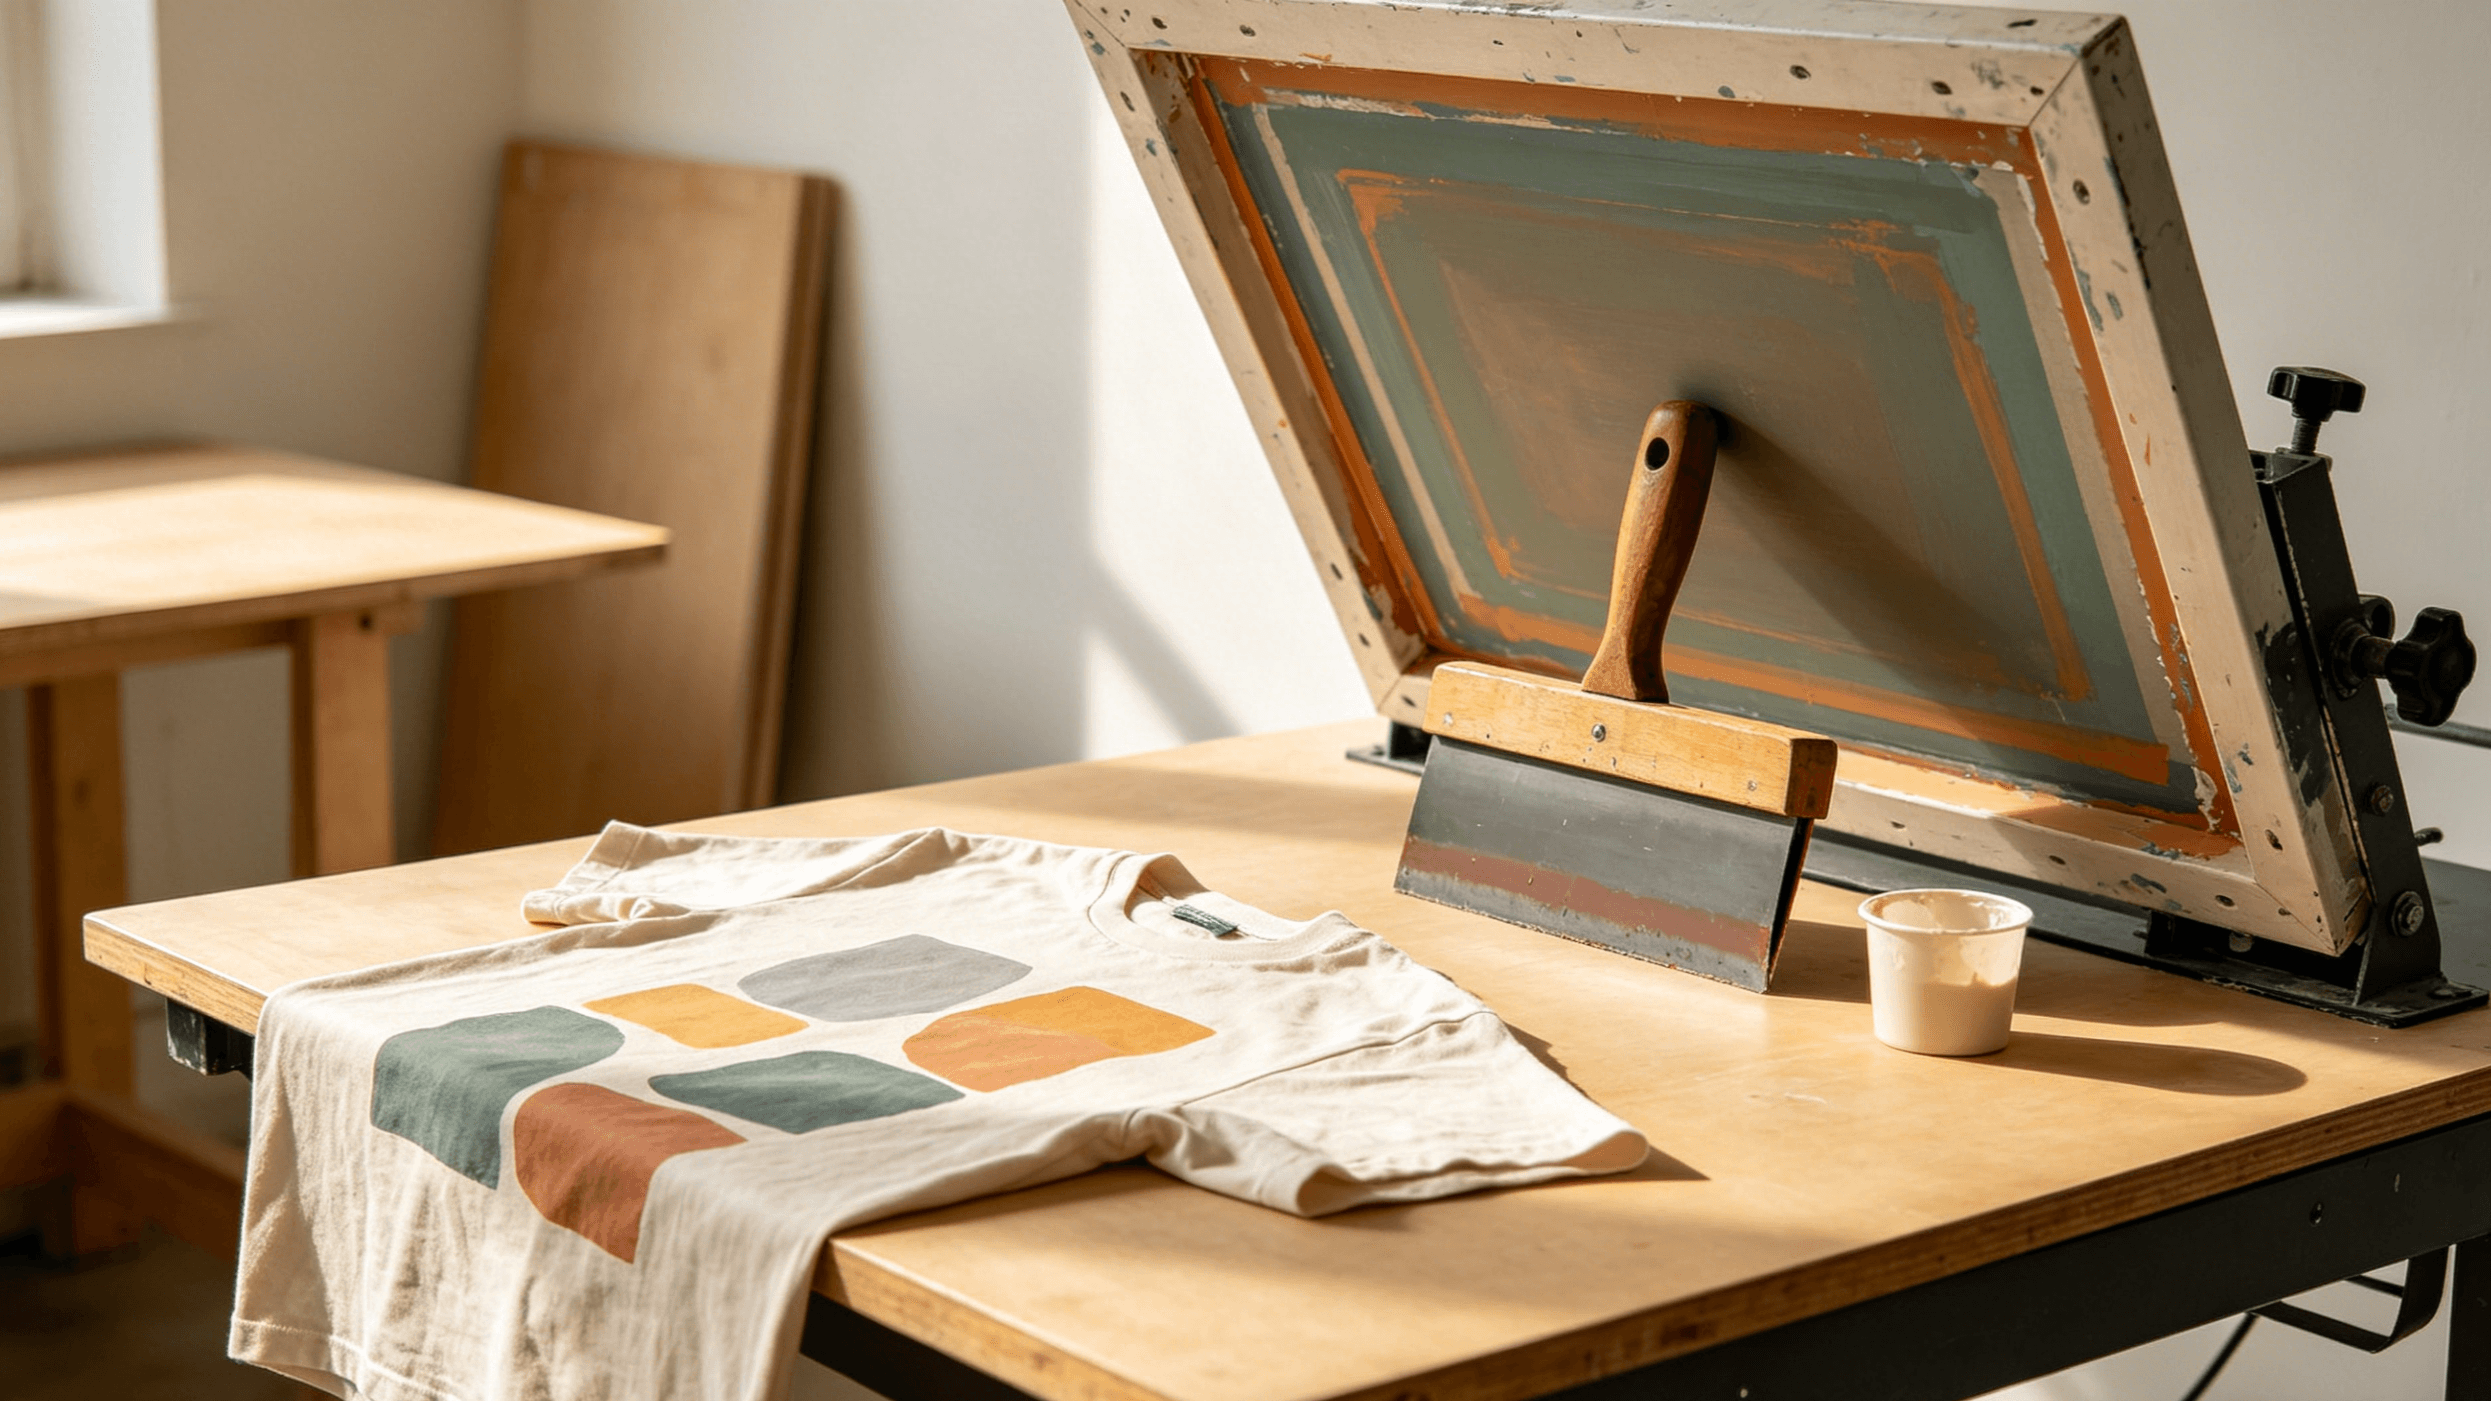
Squeegee: Choose a medium-hardness squeegee (e.g., 70 durometer) with a sharp, flat edge. A sharp squeegee ensures clean ink transfer through the mesh, preventing buildup and maintaining dot clarity. Adjust blade shape (square or rounded) based on ink deposition needs.
Film Positives: Produce high-density film positives (opacity typically 4.0 or higher) for each color separation. Clear, dense films are essential for creating high-quality screens. See more on exposure units.
Substrate:
Ideal Choice: CMYK process inks are transparent and perform best on white or very light, smooth fabrics (e.g., combed cotton or high-thread-count blends). Smooth surfaces minimize texture interference with dot clarity.
Dark Fabrics: Transparent CMYK inks cannot cover dark substrates effectively. For dark fabrics, print a smooth, thin, uniform white underbase first, followed by flash curing to gel the white layer. This provides a bright base for vibrant CMYK colors.
Equipment Setup and Calibration
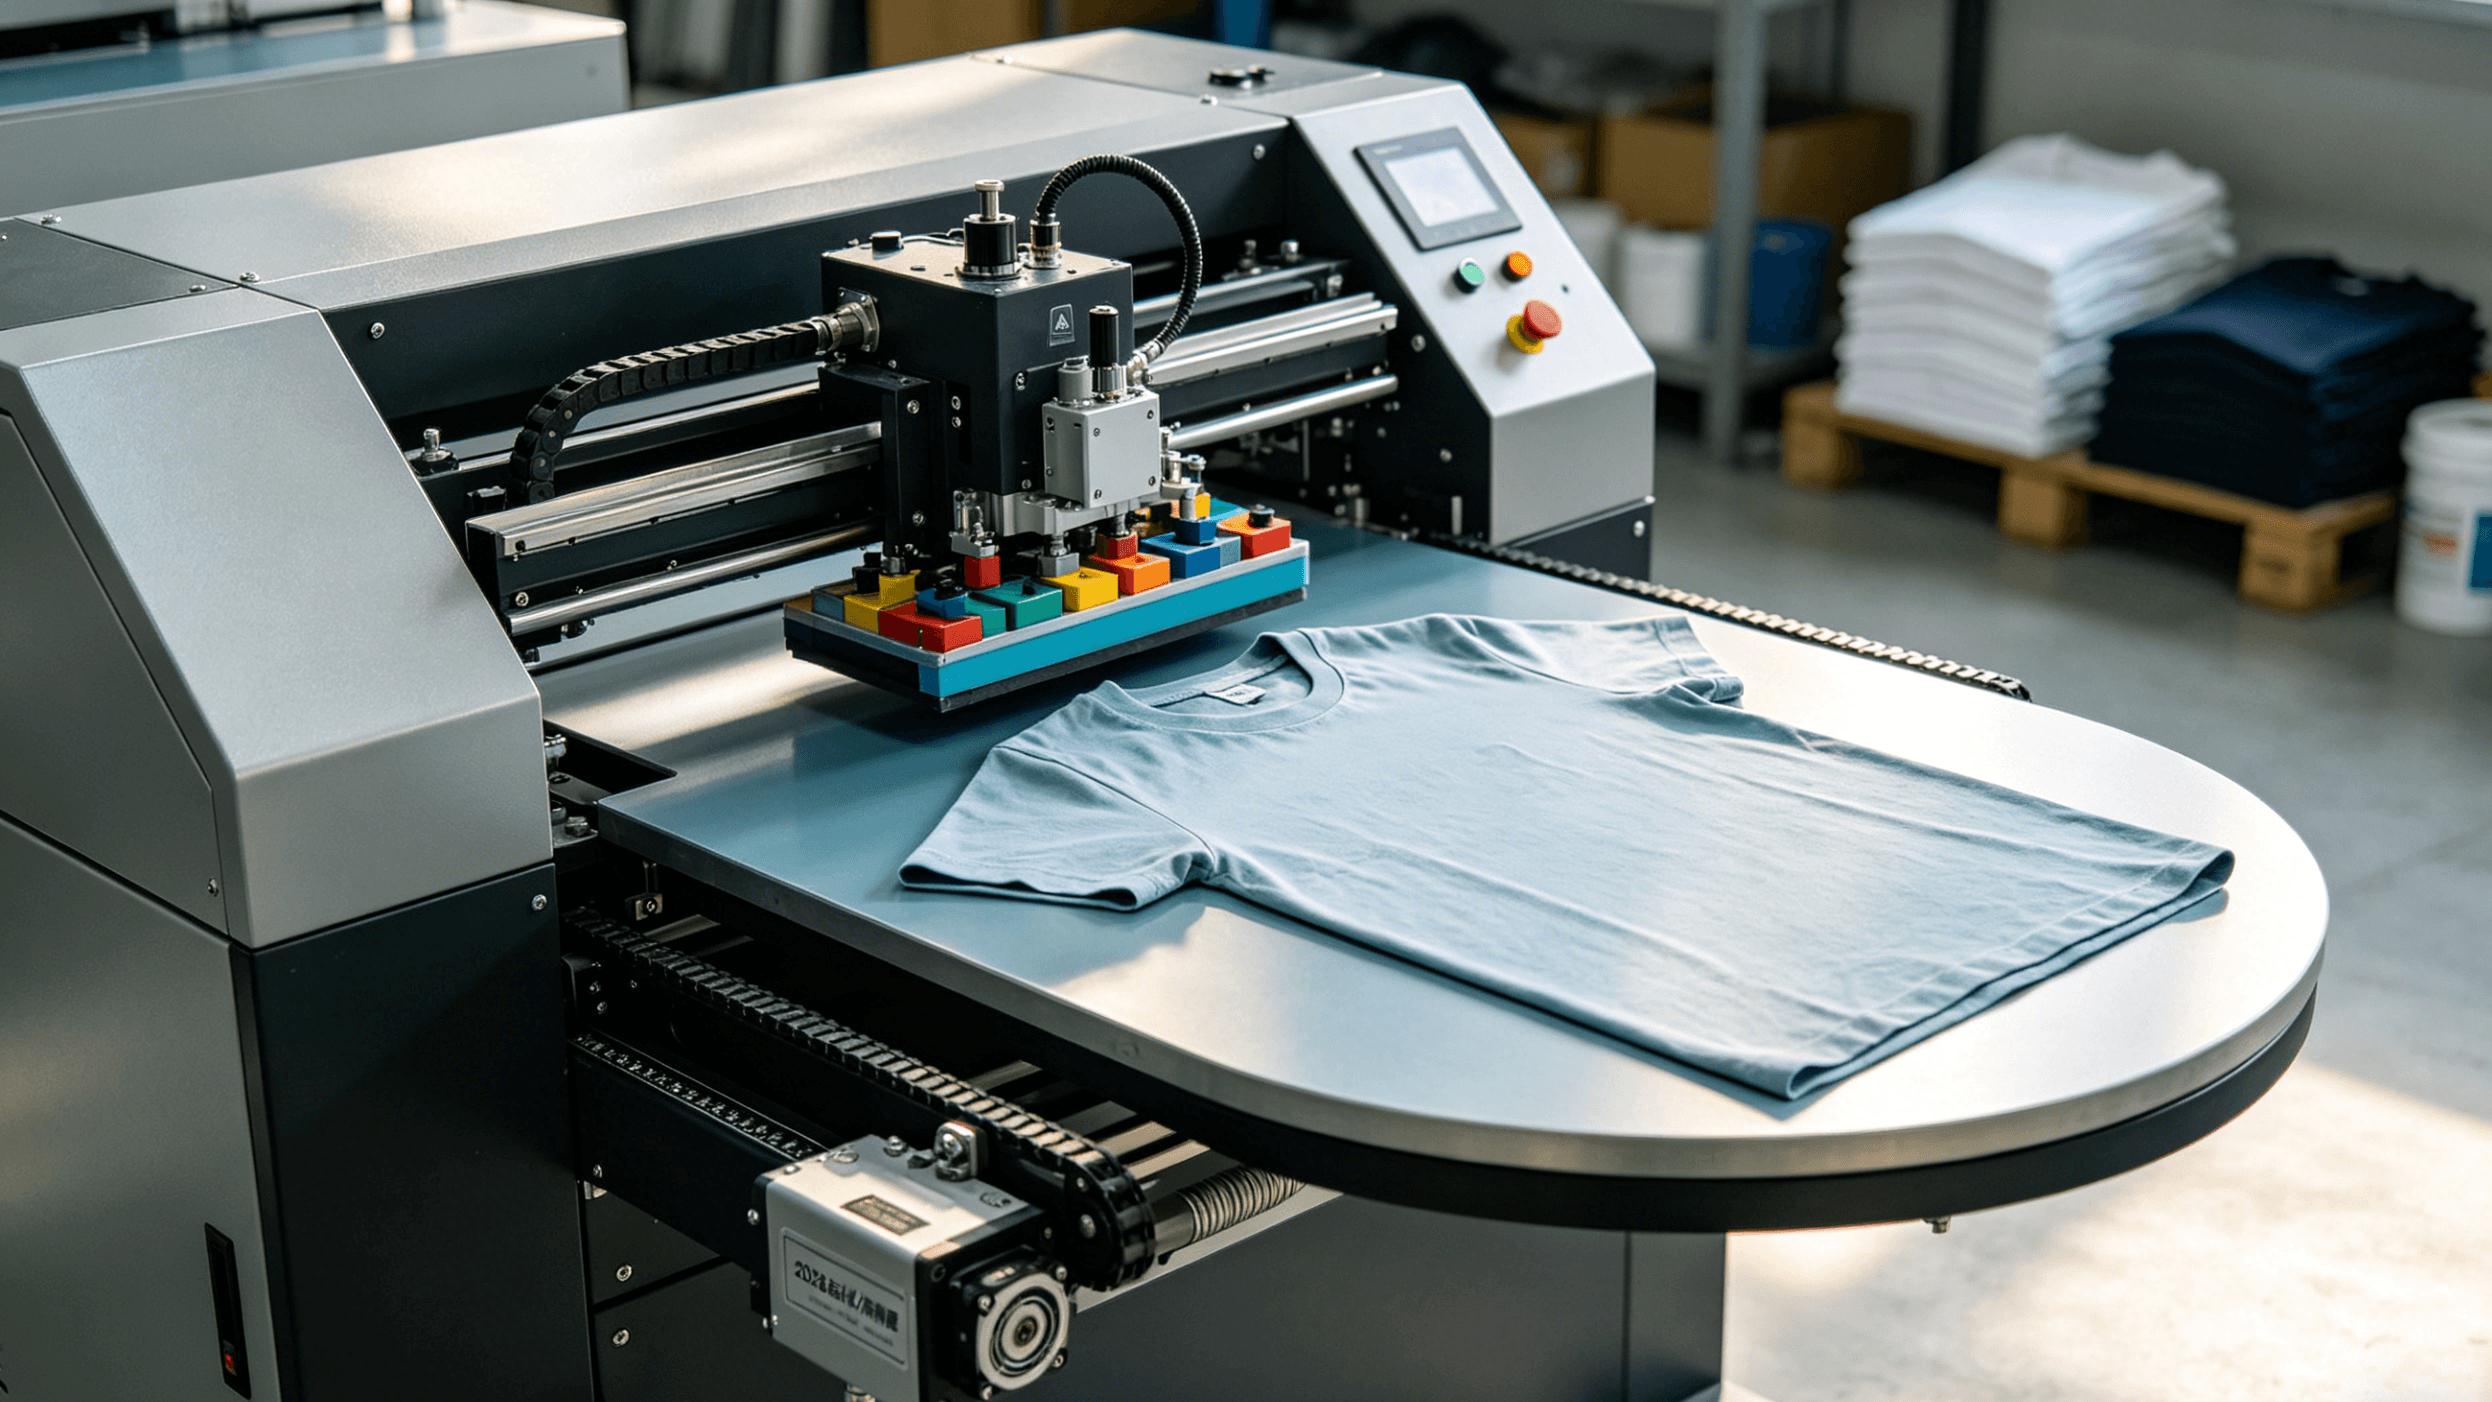
Printing Press: Ensure the press (manual or automatic) has a flat, clean platen and secure substrate holders to prevent shifting during printing.
Registration System: CMYK printing demands pinpoint registration accuracy. A high-quality micro-registration system is essential for precise color alignment.
Curing Equipment: Plastisol inks require heat curing. Use a flash cure unit for gelling between wet-on-wet layers and a conveyor dryer or heat press for final curing. Maintain stable curing temperatures (typically 320–330°F or 160–166°C). Learn about curing equipment.
Off-Contact Distance: Set the gap between the screen and substrate (typically 1/16 to 1/8 inch, or 0.16–0.32 cm). Proper off-contact ensures the screen snaps back after the squeegee pass, delivering clean ink transfer and preventing dot distortion. Finer CMYK dots may require a smaller gap.
CMYK Screen Printing Process
With preparations complete, it’s time to print.
Screen Preparation
Screen Cleaning and Coating: Thoroughly clean screens to remove oil and dust. Apply high-quality photo emulsion evenly, typically with multiple coats on both sides for optimal thickness.
Exposure: Align dried, coated screens with high-density film positives and expose using a precise exposure unit. Match exposure time and intensity to the emulsion type. Unexposed emulsion (corresponding to black film areas) remains soft.
Washout and Dot Inspection: Rinse unexposed emulsion with controlled water pressure to reveal image openings. Inspect halftone dots for sharpness and integrity, especially in highlight and shadow areas.
Patching and Post-Exposure: Repair pinholes or defects. Post-expose or chemically harden the emulsion to boost screen durability. Ensure registration marks are consistent across all screens.
Screen Installation and Registration
Mount Screens: Install Cyan, Magenta, Yellow, Black (and white underbase, if needed) screens in their respective press stations.
Precise Alignment: Place a substrate or test sheet on the platen. Use registration marks to align each screen with the platen or a reference point via the press’s micro-adjustment knobs. Start with the first color (often Yellow or Cyan), then align subsequent colors to the first or reference marks.
Registration Check: During test prints, verify four-color alignment. Even minor misregistration can cause color fringing or blurriness.
Ink Preparation and Application
Ink Mixing: Stir Plastisol process inks thoroughly with a mixer or spatula to ensure uniform color and consistency.
Additives (if needed): Add small amounts of Plastisol-specific softeners (for better hand feel) or reducers (to adjust viscosity for smoother printing). Follow manufacturer guidelines, test small batches, and avoid overuse.
Ink Application: Pour or spread an appropriate amount of ink above the image area on the screen (where the squeegee starts).
Printing: Wet-on-Wet Technique
CMYK screen printing typically uses the wet-on-wet technique, where each ink layer is printed before the previous layer fully cures (often after brief flash curing). This works well with Plastisol process inks.
Standard Print Order: Print in the sequence Yellow → Magenta → Cyan → Black. Yellow, being lightest, minimizes visible registration errors; Magenta and Cyan create most secondary colors; Black enhances contrast and detail.
Printing Steps:
Secure the substrate flat on the platen.
Adjust squeegee angle (typically 10–15°), pressure, and speed based on screen, ink, and substrate properties.
Print each color in sequence, moving the substrate or platen to the next station immediately. Flash curing is usually unnecessary between colors (except for white underbase).
Control Ink Deposition: Adjust squeegee parameters and print passes (typically one pass per color) to regulate ink laydown. Avoid excess ink, which can distort dots, muddy colors, or create thick prints.
Test Printing and Optimization
Before full production, conduct test prints on scrap fabric or test sheets (e.g., CMYK test films).
Evaluate Results: Compare test prints to the original design or color swatch for color accuracy, dot sharpness, gradient smoothness, detail fidelity, and registration precision.
Fine-Tune Parameters: Adjust squeegee angle, pressure, speed, off-contact distance, or ink viscosity based on test results. Significant color issues may require revisiting the separation process.
Find Stability: Wet-on-wet printing can lead to ink buildup on screen undersides, affecting transfer and color saturation. Test prints help identify optimal settings for consistent production.
Curing
After printing all colors, fully cure the print.
Temperature and Time: Set curing equipment to the manufacturer’s recommended temperature (typically 320–330°F or 160–166°C) and ensure the substrate stays in the heat zone long enough for the ink core to reach and hold this temperature.
Verify Full Cure: Properly cured Plastisol ink is durable and flexible. Perform a stretch test: stretch the printed area; if the ink stretches with the fabric without cracking or peeling, it’s fully cured. Undercuring leads to poor washability, cracking, or fading.
Safety Note: Plastisol inks release fumes during curing, which may contain harmful substances. Always cure in a well-ventilated area, ideally using a conveyor dryer with an exhaust system to ensure a safe workspace.
Quality Control and Troubleshooting
Consistent quality control and quick problem-solving are vital for successful CMYK printing.
Key Inspection Points
Color Accuracy and Vibrancy: Compare prints to the original design or swatch, focusing on key hues and gradients.
Dot Clarity and Transitions: Check highlight, midtone, and shadow areas for sharp, intact dots with smooth color transitions.
Registration Precision: Ensure registration marks align perfectly, with no color fringing or blurriness at image edges.
Hand Feel: Ideal Plastisol prints feel soft and integrate well with the fabric.
Wash and Stretch Durability: Test random samples for washability and stretch resistance to confirm the print withstands laundering without cracking or fading.
Realign registration marks; increase screen tension; adjust off-contact distance; secure substrate with adhesive or clamps; sharpen or replace squeegee.
Dull or distorted colors
Using non-CMYK process inks; dark substrate without/underprepared white underbase; inaccurate color separations; over-curing causing ink discoloration
Use high-transparency CMYK process inks; print a smooth, even white underbase on dark fabrics; refine Photoshop separations (check gamut warnings); verify curing temperature and time.
Use high-mesh-count screens (305–355 TPI); add reducer to lower ink viscosity; reduce squeegee pressure and increase speed; maintain wet ink and clean screens as needed; monitor humidity.
Faded or unsaturated colors
Weak color adjustments in separations; insufficient ink deposition; dark substrate affecting colors
Review separation adjustments (curves, selective color); tweak squeegee settings for more ink transfer; ensure a proper white underbase on dark fabrics.
Thick or stiff prints
Low mesh count; excessive squeegee pressure; high ink viscosity; no softener; too much ink deposition
Use high-mesh screens; reduce squeegee pressure; add reducer or softener; limit to one squeegee pass and optimize settings.
Cracking or fading after curing
Insufficient curing temperature/time; incompatible ink for substrate or wash method; excessive additives
Verify curing temperature/time meets manufacturer specs; test ink compatibility with fabric; limit additive use.
Advanced Techniques
White Underbase for Dark Fabrics: A thin, smooth, uniform white underbase is critical for CMYK printing on dark fabrics. Flash-cure the underbase to a gelled, non-tacky state without full curing to provide a smooth base for wet-on-wet CMYK layers, minimizing ink buildup.
Plastisol Additives: Beyond softeners and reducers, additives like puff agents (for 3D effects) or high-density additives (for thicker layers) can create special effects. Use cautiously in CMYK printing, as they may affect transparency or color blending. Always follow manufacturer guidelines and test thoroughly.
Special Substrates: For stretchy fabrics (e.g., spandex blends) or specialty materials like waterproof fabrics, use tailored Plastisol inks (e.g., stretch inks). Conduct compatibility and curing tests before printing on such substrates.
This guide equips you with the knowledge and steps to master CMYK screen printing with Plastisol ink, delivering vibrant, durable prints with professional finesse.
Introduction Custom apparel is hitting massive numbers, with the market expected to pass $45 billion by 2030. If you’re looking at the scene in 2026, Heat Press Vinyl (HTV) is...
Introduction The apparel industry has exploded lately. We’re looking at a market projected to hit $17.5 billion by 2027, mostly because everyone wants custom gear, unique merch, and fast-fashion pieces...
Introduction The custom t-shirt business is on a serious roll. Experts think the global market will hit around USD 5.1 billion by 2026. Even with all the new tech out...