Screen Printing Art Terms You Should Know
Diving into screen printing for the first time can feel like learning a new language. Between emulsions, inks, and quality checks, there’s a lot to unpack. But once you get familiar with the key terms, not only will the process make more sense, you’ll also feel more confident communicating your ideas or troubleshooting issues. Here’s a guide to some of the most essential terms, organized by workflow, with helpful resources linked along the way.
Stencil Preparation
Creating a stencil is the foundation of screen printing. This is where most of the “magic” begins, and knowing the right terminology can save you hours of trial and error.
- Block-out – A liquid used to cover tiny pinholes or areas where ink shouldn’t pass.
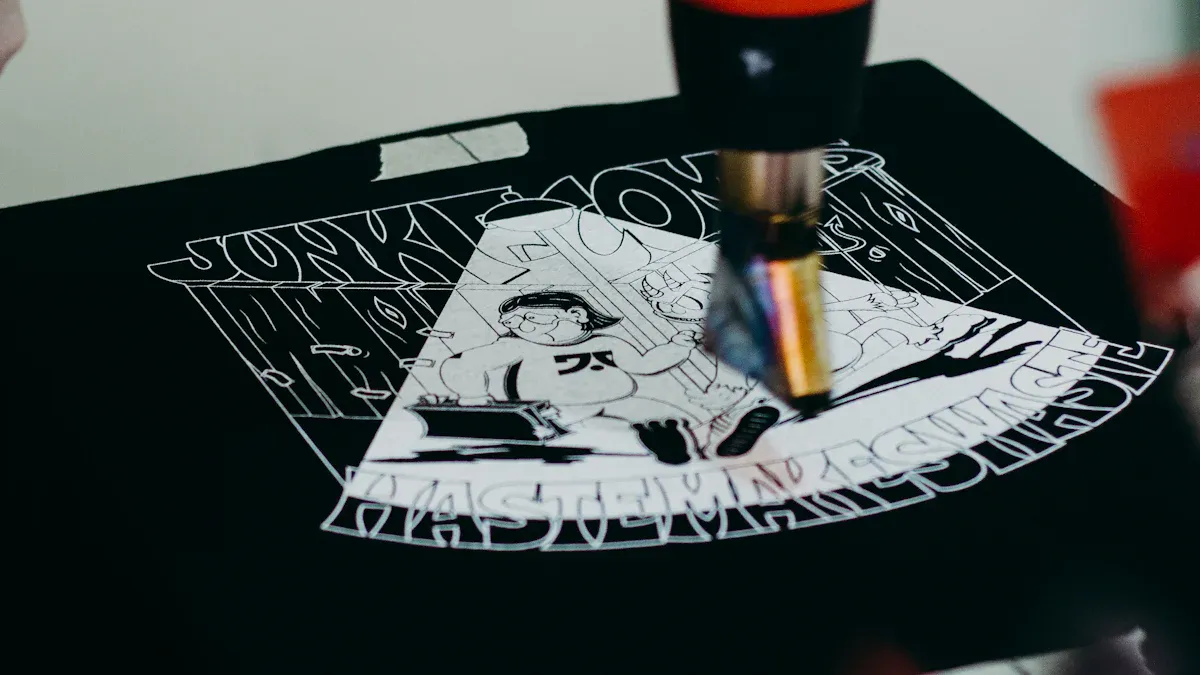
- Burn / Exposure – Using a light source to harden the emulsion and form your stencil. Learn more about exposure machines.
- Capillary Film – A light-sensitive film that sticks to the mesh via water and capillary action.
- Coating – Applying a uniform layer of emulsion to your screen. Guide to choosing the right emulsion.
- Darkroom – A UV-free zone where you coat, dry, and expose your screens safely.
- Degrease / Dehaze – Cleaning steps to remove oils, dirt, and old images from the mesh.
- Diazo – An additive that enhances emulsion resolution and durability.
- Emulsion – The light-sensitive coating that becomes your stencil after exposure. Learn more about screen printing emulsion.
- Positive (Film Positive) – Your transparency that blocks light where the ink shouldn’t go.
- Stencil – The result after exposure, revealing the pattern you’ll print.
- Step Wedge Test – A simple test to figure out the optimal exposure time.
- Safelight – Low-intensity lighting in the darkroom that won’t prematurely harden your emulsion.
Ink and Printing Techniques
Once your stencil is ready, the next step is choosing the right inks and understanding how to apply them. This part directly affects texture, color vibrancy, and the durability of your print.
- Curable Reducer – Lowers ink thickness, making it easier to work with.
- Cure – Heating the ink so it fully sets. Heat press machine uses.
- Discharge Ink – Removes dye from fabric instead of just covering it, leaving a soft, breathable print.
- Flash Dry – Quickly dries the surface layer of ink, allowing multi-color prints without smudging.
- Flocking – Sprinkling tiny fibers onto wet ink to create a fuzzy, velvety texture.
- Foil – Adding a metallic finish to prints through heat.
- Four-Color Process (CMYK) – Mixing cyan, magenta, yellow, and black to create full-color images. More about CMYK printing.
- Halftone – Breaking an image into dots of varying sizes to simulate gradients. Best halftone settings.
- Pantone Matching System (PMS) – A standardized color system for consistent prints.
- Spot Color – A single, pre-mixed ink for clean, vibrant solids.
- Underbase – Printing white first on dark fabrics to make colors pop.
- Viscosity – How thick or thin your ink is, affecting flow, opacity, and feel.
Tools and Equipment
Even if you’re not operating the machines yourself, understanding the tools is crucial for following the workflow and troubleshooting problems. The right equipment can make a huge difference in the quality of your prints.
- Mesh – The fabric stretched over a frame that holds your stencil. Learn more about mesh fabrics and how mesh material is made.
- Mesh Count – The number of threads per inch, determining ink coverage and detail. Guide to mesh size.
- Micro-registration – Fine-tuning the alignment on your press for precise multi-color prints.
- Off-contact – The gap between the screen and substrate that allows ink to transfer cleanly.
- Squeegee – Tool to push ink through the mesh. Tips and guide, how to use.
- Washout Booth – Where you develop, wash, and reclaim screens. Screen drying guide.
- Exposure Unit – The machine that exposes your emulsion. More here.
- Heat Press – Used for curing inks or applying heat transfers. Usage guide.
- Drying Cabinet – Keeps coated screens dry before exposure. Guide, why drying cabinets matter.
Quality Control and Troubleshooting
Even with perfect preparation, issues can arise. Knowing the right terminology helps you identify problems, communicate with technicians, and keep your prints looking professional.
- Pinholes – Tiny, unwanted holes in your stencil.
- Reclaim – Removing old emulsion for screen reuse. Common exposure problems & solutions.
- Registration – Aligning multiple colors accurately.
- Tension – The tightness of the mesh affects ink flow and print quality.
- Underexposed – A stencil that hasn’t been exposed enough. Determine correct exposure time.
- Wash Test – Testing if ink is fully cured. Effective washing & drying.
- Weather & Temperature Effects – Humidity and temperature can affect mesh tension and ink behavior. Weather impact, shop temp tips.
- Common Mistakes – Beginners often mis-expose, misalign colors, or use wrong mesh/ink combos. Avoid pitfalls: 10 mistakes beginners need to avoid, 20 quality control steps checklist.
By familiarizing yourself with these terms and concepts, you’ll understand the workflow better and gain confidence in experimenting, troubleshooting, and producing professional-quality screen prints.
For further exploration: