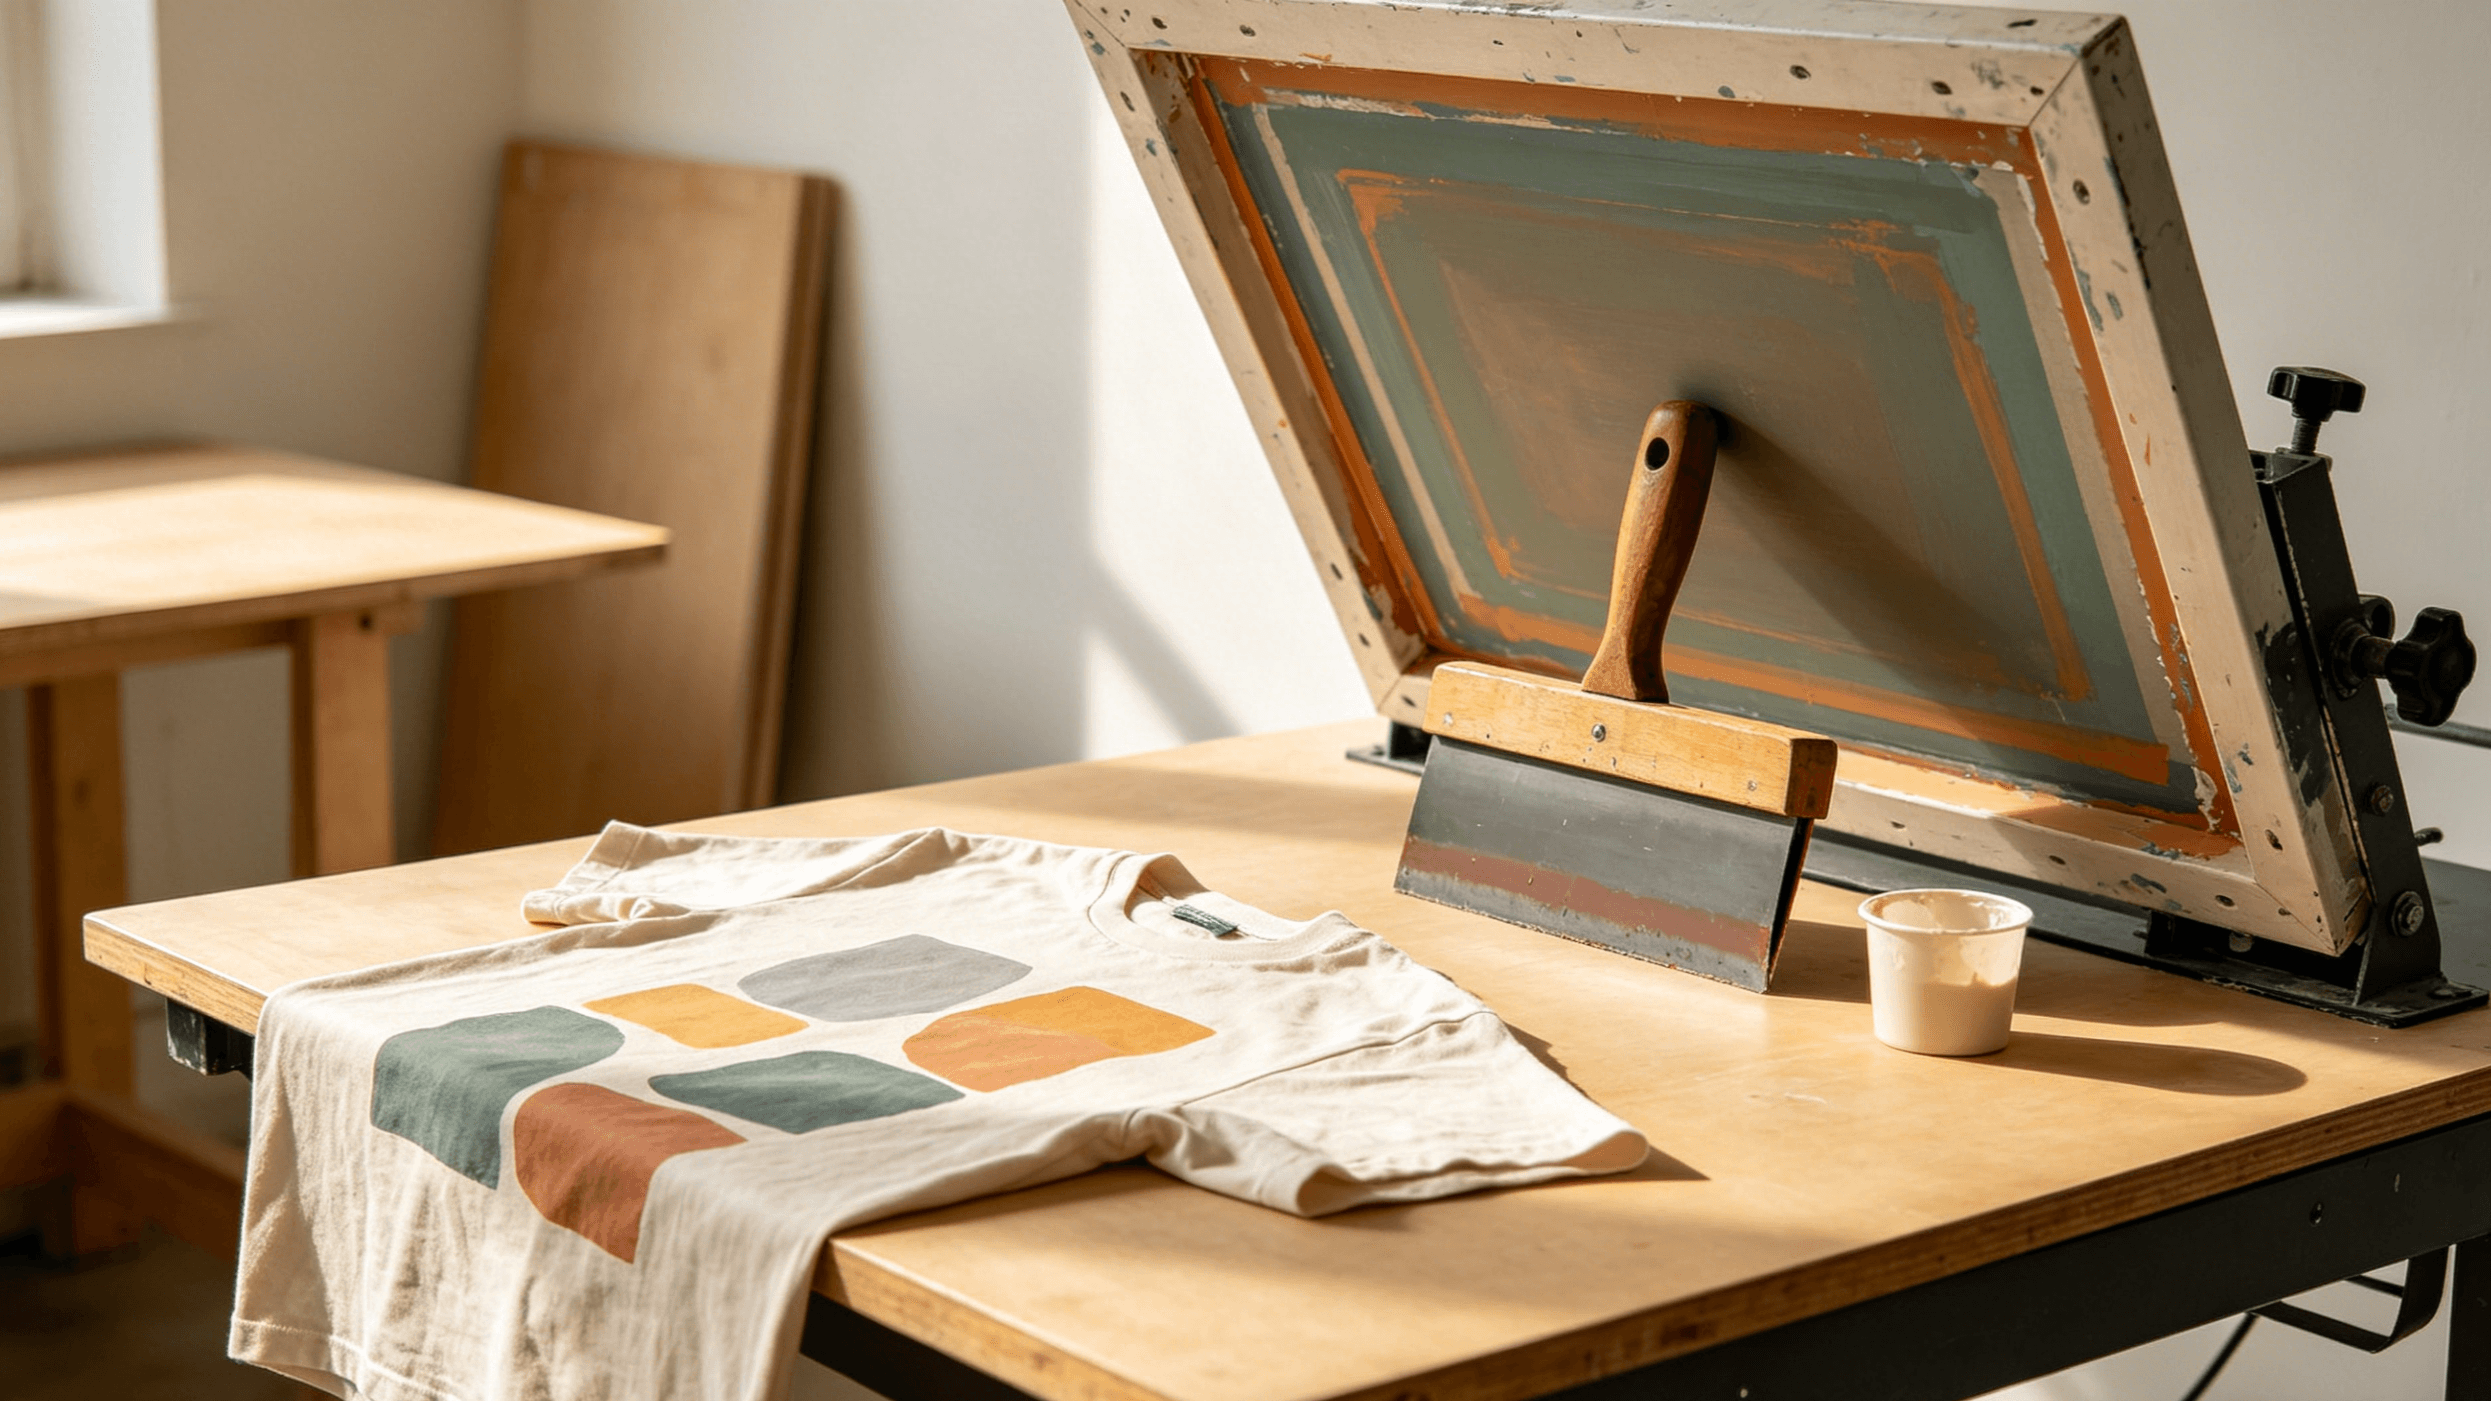
Screen printing is a versatile and widely used technique for producing vibrant designs on various substrates, from apparel to posters. A critical aspect of achieving high-quality screen prints, particularly for images with gradients or photographic elements, is the use of halftones. Halftones create the illusion of continuous tones by breaking images into a series of dots, allowing printers to replicate complex visuals using limited ink colors.
Understanding Halftone Settings
To create effective halftones for screen printing, you need to understand the key settings that influence the quality of the final print. These settings include Lines Per Inch (LPI), Dots Per Inch (DPI), angle, dot shape, and dot gain. Each plays a specific role in ensuring the halftone pattern translates well from digital design to physical print.
Lines Per Inch (LPI)
LPI refers to the number of lines of dots per inch in the halftone pattern. A lower LPI (e.g., 32) produces larger dots, which are easier to print but may sacrifice detail. A higher LPI (e.g., 65) creates smaller dots, allowing for finer details but requiring more precise printing equipment and finer mesh screens. A common guideline is to set the LPI to one-fifth of the screen mesh count for standard prints or one-fourth for more detailed work. For example, a 160 mesh screen might use 32 LPI for standard prints or 40 LPI for enhanced detail. For photorealistic images, an LPI of 55-65 is often recommended, provided the mesh count supports it (e.g., 230-280 mesh).
Dots Per Inch (DPI)
DPI measures the resolution of the digital image. For halftones, the DPI should be approximately 2.5 times the LPI to ensure sufficient detail without overwhelming the printing process. For instance, an LPI of 120 requires a DPI of around 300. Starting with a high-resolution image (at least 300 DPI) is crucial to maintain clarity when converting to halftones.
Angle
The angle at which halftone dots are oriented affects how they interact with the screen mesh. Angles like 0°, 90°, 180°, or 270° should be avoided because they align with the mesh threads, potentially causing printing issues such as moiré patterns. Similarly, a 45° angle can lead to loss of detail. Experts recommend angles of 22.5° or 25° for single-color prints, as these angles minimize interference with the mesh threads and knuckles, ensuring a cleaner print.
Dot Shape
The shape of the halftone dots can vary, with round dots being the most common due to their versatility and ease of printing. Other shapes, such as elliptical or square, can be used for specific aesthetic effects or when dictated by the RIP (Raster Image Processor) software. The choice of dot shape often depends on the design and printing setup, with round dots being a safe default for most screen printing applications.
Dot Gain
Dot gain refers to the increase in dot size during the printing process, often due to ink spread caused by squeegee pressure. Typically, dot gain is around 30%, which can lead to oversaturation if not accounted for. In Photoshop, you can adjust for dot gain by reducing the image’s density or tweaking the midtones using curves or levels to ensure the printed result matches the intended design.
| Setting | Description | Recommended Value |
|---|---|---|
| LPI | Lines per inch; determines dot frequency. Lower LPI = larger dots, less detail. | 45-65 LPI, or mesh count / 5 (standard) or / 4 (detailed). |
| DPI | Image resolution; linked to LPI for detail retention. | 2.5 × LPI (e.g., 300 DPI for 120 LPI). |
| Angle | Orientation of dots; avoids mesh thread alignment. | 22.5° or 25° for single-color prints. |
| Dot Shape | Shape of halftone dots; affects print appearance. | Round (default), elliptical, or square. |
| Dot Gain | Ink spread during printing; typically 30%. | Adjust in Photoshop to compensate. |
Step-by-Step Guide to Creating Halftones in Photoshop
Creating halftones in Photoshop for screen printing is a straightforward process when you follow these steps. This guide assumes you’re working with a high-quality image and have a basic understanding of Photoshop’s interface.
- Open Your ImageStart by opening a high-resolution image in Photoshop, ideally at 300 DPI or higher. High resolution ensures that the halftone pattern retains detail, especially for intricate designs. For example, a low-resolution image may appear pixelated when converted to halftones, compromising print quality.
- Convert to GrayscaleSince screen printing typically uses spot colors, convert the image to grayscale by navigating to
Image > Mode > Grayscale. This removes color information, preparing the image for halftone conversion. Check the grayscale values to ensure that black and white areas are balanced; if needed, useCtrl+M(Windows) orCmd+M(Mac) to adjust curves for better contrast. - Apply the Halftone EffectGo to
Image > Mode > Bitmapto convert the image to a halftone pattern. In the dialog box, set the output resolution to match your desired DPI (e.g., 300 DPI). Select “Halftone Screen” as the method, then configure the following:- Frequency (LPI): Choose based on your mesh count (e.g., 32 LPI for a 160 mesh screen).
- Angle: Set to 22.5° or 25° to avoid mesh interference.
- Shape: Select “Round” for most applications, or experiment with elliptical or square shapes for specific effects. Click “OK” to apply the halftone pattern.
- Adjust for Dot GainTo compensate for dot gain, return to the grayscale image before converting to Bitmap mode and adjust the image’s density. Use
Image > Adjustments > CurvesorLevelsto slightly reduce the midtone density, ensuring the printed dots don’t appear too dark due to ink spread. A 30% dot gain is a common benchmark, but test prints can help fine-tune this adjustment. - Save for OutputSave the halftone image as a TIFF file, which is compatible with most RIP software used in screen printing. Avoid compression to preserve quality. Name the file descriptively, such as “Halftone_32LPI_160Mesh.tiff,” to indicate the settings used.
Screen Printing Halftones Tips
To ensure your halftones print successfully, consider the following best practices:
- Start with High-Quality Images: Low-resolution images lead to poor halftone quality. Always use images with at least 300 DPI for optimal results.
- Match Settings to Equipment: Understand your screen printing setup, particularly the mesh count (e.g., 230-280 for detailed halftones) and emulsion type. Finer meshes support higher LPI but require precise printing techniques.
- Test Before Full Production: Print a small test run to verify that the LPI, angle, and dot shape produce the desired effect. Adjust settings as needed based on the test results.
- Consider Ink and Substrate: Different inks (e.g., plastisol vs. water-based) and substrates (e.g., cotton vs. polyester) can affect how halftones appear. Test on the specific materials you’ll use in production.
- Use RIP Software for Precision: While Photoshop is excellent for creating halftones, RIP software like ImagePrint R.E.D. can automate halftone creation with precise control over LPI, angle, and dot shape, streamlining the process for professional printers.
Conclusion
Following the step-by-step guide and best practices above will help you achieve professional results, whether printing on T-shirts, posters, or other substrates.
Ready to level up your Photoshop skills? Explore online tutorials or practice with sample images to master halftone design!