Screen Printing on Fabrics with Silk Screen Stencils
Screen printing is more than just a way to put designs on T-shirts — it’s an art form, a craft, and for many, a thriving business. With the right silk screen stencil, you can print on cotton, silk, wool, blends, and even create decor items for your home. Whether you’re working on a diy craft project, producing custom apparel, or experimenting with clay stencils for jewelry, understanding how stencils, mesh, and fabric work together is the foundation for great results.

How Silk Screen Stencils Work
At its core, a stencil is a cut-out pattern that controls where ink passes through a screen. A silk screen stencil uses a fine mesh stretched tightly over a frame. Your stencil design is applied to the mesh using emulsion, vinyl, or self-adhesive film. When ink is pushed across the surface with a scraper or squeegee, it transfers only through the open areas, creating a crisp printed design.
Key components you’ll work with:
- Mesh screen or silk screen mesh — determines detail and ink flow
- Vinyl design cut with a cutting machine or vinyl cutter
- Piece of transfer tape or transfer paper — moves your vinyl stencil onto the mesh
- Adhesive or backing — keeps the stencil in place
- Ink — water-based or plastisol, depending on the fabric
- Border and outline — prevent ink leaks at the edges
A good silkscreen stencil offers durability and flexibility, letting you use it repeatedly for shirts, home decor, or even earring jewelry making.
Choosing the Right Fabric for Screen Print Projects
Picking the right fabric is as important as your screen printing stencil. Different fibers respond to ink, heat, and curing in unique ways. Below are fabric types and the best approach for each.
Cotton
The go-to for traditional screen printing. Cotton absorbs ink beautifully, making stencil using water-based inks easy. For T-shirts and t-shirts with text or graphics, use a 110–160 mesh screen. Pre-wash to prevent shrinkage, and cure at around 160°C for 60–90 seconds.

Silk
Ideal for fine details and luxury items. Use a high silk screen mesh count (200–300) to keep the printed design crisp. Because silk can be delicate, secure it with a platen adhesive and cure at a lower temperature (140°C) to protect the fibers. Perfect for scarves, blouses, and onto the silk applications.

Wool
Warm, textured, and challenging. Wool works best with bold, simple shapes. Use an 80–120 mesh and plastisol ink for better adhesion. Avoid overly intricate stencil design work here due to fiber texture.

Blends
Cotton-polyester blends give you the best of both worlds — softness and durability. Adjust your ink choice: water-based for cotton-dominant, plastisol for high-polyester content. Polyester may require additives or use the heat transfer vinyl method for longevity.

Fabrics to Avoid
Pure polyester, Lycra, acrylic, and similar synthetics have poor ink absorption and can distort under heat. If you must print, use specialized low-temp plastisol inks and test thoroughly.
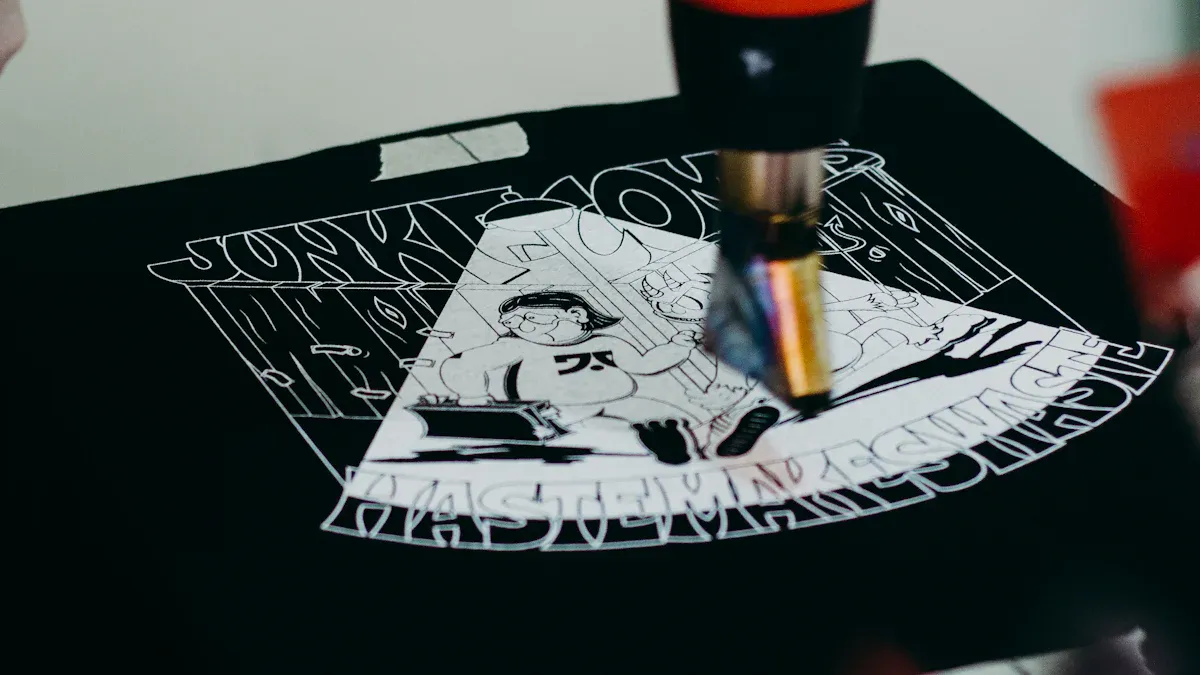
Step-by-Step: Make a Silk Screen Stencil at Home
Creating your own custom silkscreen stencil isn’t just fun — it’s a budget-friendly way to start screen printing without expensive gear. Here’s a simple diy method you can try:
| Step | Action | Tools |
|---|---|---|
| 1 | Design your stencil in graphic design software | Computer, printer |
| 2 | Cut the vinyl design | Cutting machine or craft knife |
| 3 | Weed out unwanted parts | Weeding tool |
| 4 | Apply using a piece of transfer tape or transfer paper | Squeegee |
| 5 | Attach to the mesh screen with self-adhesive backing | Frame |
| 6 | Place the screen and apply ink | Squeegee, scraper |
| 7 | Cure the print | Heat press or iron-on method |
Pro tip: A reusable diy stencil made from quality vinyl will handle multiple printing sessions, giving you more flexibility and long-term value.
Advanced Tips for Professional Screen Printing Stencil Use
- Mesh Count: Match the mesh to your design — high mesh (200–300) for fine lines, low mesh (80–110) for thick prints.
- Emulsion Thickness: At least 10 μm for durability.
- Stencil Design Shape: Bold floral or geometric shape patterns are easier to print cleanly.
- Clay Stencils: For ceramics or silk screen for polymer clay, use a thin mesh and chalk paste for sharper edges.
- Silk Screen Stencils Mesh Transfer: When printing on unusual surfaces like wood or leather, test ink adhesion first.
Care & Maintenance of Your Silkscreen Stencil
A well-cared-for stencil can last dozens of uses. Rinse with cold water immediately after printing, avoid harsh scrubbing to maintain durable edges, and store flat between sheet layers to prevent warping.
For painting stencil applications on walls or decor, clean thoroughly to prevent dried ink from blocking mesh openings. With proper care, even a custom silkscreen stencil will keep its sharpness for months.
FAQs
Why does my printed design fade after a few washes?
Possible causes include insufficient curing or printing on a fabric not used for screen printing. Adjust temperature and ink type accordingly.
Can I use stencils transfer for home decor?
Yes! From pillow covers to wall art, stencils transfer is perfect for home decor. Just make sure to use fabric or acrylic inks depending on the surface.
What’s the best screen printing method for beginners?
A traditional screen printing setup with a vinyl stencil is easy to learn. It’s cost-effective and lets you explore everything from t-shirt graphics to earring jewelry making.