Photoshop for Screen Printing: How to Convert Bitmap Files for Halftone Prints
In screen printing, bad file prep doesn’t just waste time — it costs money. If your exposure fails or your dots blow out on press, chances are your file wasn’t built with printing in mind. Whether you’re outputting crisp linework, tonal illustrations, or halftone photo prints, the success of your screen depends heavily on how you handle bitmap files inside Adobe Photoshop.
This guide breaks down how to properly convert and adjust bitmap files for screen printing — focusing on resolution, dot size, frequency, LPI, mesh compatibility, and how to avoid moiré when working with one color or full-tone photo-based designsLPI, mesh compatibility, and how to avoid moiré when working with one color or full-tone photo-based designs.
Why Bitmap Files Are Critical in Screen Printing
Unlike digital workflows where RGB or CMYK photo files carry depth and gradients, screen printing requires simplicity: ink or no inkink or no ink. This binary logic makes 1-bit bitmap files the only reliable choice for exposing your design to emulsion using ultraviolet light.
Grayscale may look clean on screen, but your mesh and emulsion won’t hold it. For precise stencils and repeatable prints, you need black-and-white only — and that’s where bitmap conversion matters.
Choosing the Right Bitmap Conversion Method in Adobe Photoshop
In Photoshop:
Image > Mode > Grayscale
Then:
Image > Mode > Bitmap
At the Bitmap dialog, Adobe provides three methods: 50% Threshold, Diffusion Dither, and Halftone Screen. Each method impacts your final print differently, depending on your screen mesh count, image source (line art or photo), and the tonal depth you need to retain.
1. 50% Threshold — Sharpest for Line Art and Logos
Use this for:
- Vector-style logos and lettering
- Hand-inked drawings using technical pens or India ink
- Anything that must be pure black and white
How it works:
Pixels are evaluated at 50% gray — above becomes black, below becomes white. No tone, no gradient. Just clarity.
Settings:
- Output resolution: 600–1200 PPI
- No LPI necessary (no halftones used)
- Ideal for exposing one color prints with tight edges
Why it works:
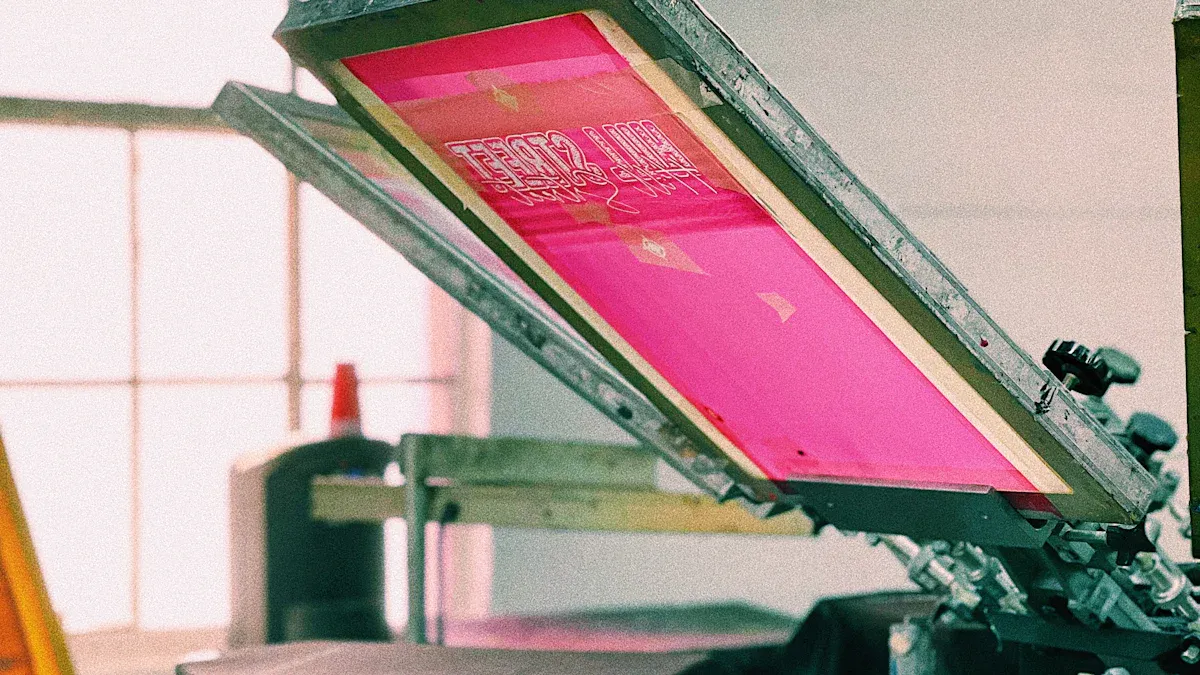
Threshold delivers precision. When paired with a fine-tuned exposure unit and high-quality emulsion, it creates stencils that hold perfectly on pressemulsion, it creates stencils that hold perfectly on press. No tone = no ambiguity.
2. Diffusion Dither — For Smooth Shading Without Halftone Grids
Use this for:
- Sketch-style tonal illustrations
- Low-contrast photo work
- Index color separations or simulated grayscale
How it works:
Diffusion Dither clusters pixels in pseudo-random dot patterns that simulate tonal value without creating a fixed halftone grid. It’s excellent for avoiding moiré and creating smooth transitions.
Settings:
- Dither PPI = Screen Mesh ÷ 2.3 (or ÷ 1.6 / 2.6 depending on texture)
- Example: 230 mesh ÷ 2.3 ≈ 100 PPI
- Output resolution should match the tonal subtlety required
Strengths:
- Great for designs where a mechanical look isn’t desired
- Less sensitive to screen angle, helping reduce dot clash
Watch out for:
- Small dots may disappear on high mesh if not carefully adjusted
- Not suitable for tight linework or precision prints
3. Halftone Screen — Best for Photographs and Full-Tone Work
Use this for:
- High-resolution photo prints
- CMYK or simulated process prints
- Gradient-rich designs that require tonal depth
How it works:
Halftones use dots of varying size and frequency to simulate continuous tone. Photoshop allows you to control:
- Lines per inch (LPI) = mesh count ÷ 5
- Angle = 22.5° (optimal for black in single-color prints)
- Dot shape = elliptical, round, or diamond
Setup Example:
- 230 mesh screen ÷ 5 = 46 LPI
- 46 LPI × 16 = 736 PPI bitmap resolution (rounded to 720 for output)
Why it works:
Halftone prints allow screen printers to output complex tonal images with analog equipment. Choosing the right dot shape and angle minimizes moiré and maintains smooth tonal transition.
Dot Shape Pro Tip:
Elliptical dots hold better in emulsion than round ones. They’re also less likely to break under pressure or during washout, especially in high-LPI setups using water-based ink.
Common File Prep Mistakes to Avoid
Here’s where most screen printers mess up when prepping their Photoshop files for halftone or bitmap conversion:
| Mistake | Consequence |
|---|---|
| Forgetting to flatten before bitmap conversion | Corrupted data or improper rendering |
| Using grayscale or CMYK mode | Bitmap conversion fails or creates poor contrast |
| Low original resolution (under 300 PPI) | Blurry, unholdable dots |
| Skipping tonal adjustments | Lost highlights or blown shadows |
| Using wrong angle or dot size | Moiré patterns on press |
| Not checking LPI vs. mesh | Dot loss or underexposure |
Moiré Prevention and Dot Holding on Press
To avoid moiré, always:
- Keep LPI well under your mesh count ÷ 5
- Stick to 22.5° angle for single color jobs
- Avoid grayscale — bitmap is the only safe choice on emulsion
To ensure your dots hold:
- Use high enough resolution (never less than 600 PPI)
- Don’t exceed your mesh’s ability to hold fine detail
- Ensure proper screen exposure with calibrated UV lamps
For more on moiré and dot holding, check our article on exposure machines for garment printing.
Adjusting Artwork Before Bitmap: Photoshop Workflow
Before converting to bitmap, make adjustments to your file that preserve tonal depth without compromising burnability.
Recommended Photoshop workflow:
- Convert image to grayscale
- Add Threshold Adjustment Layer
- Use Dodge Tool to lift shadows
- Use Burn Tool to tame blown-out highlights
- Merge or flatten the file
- Convert to bitmap using your chosen method (Threshold, Dither, or Halftone)
This ensures you get the best exposure and dot definition on press — especially when prepping high-contrast photo images or simulated grayscale shading.
File Prep Checklist for Screen Printers
| Step | Requirement |
|---|---|
| Color Mode | Grayscale before Bitmap |
| Resolution | 600–1200 PPI for Threshold; LPI × 16 for Halftone |
| Image Depth | 8-bit prior to bitmap conversion |
| Dot Shape | Elliptical preferred |
| Adjustment Layer | Use Threshold + Dodge/Burn |
| LPI Limit | Mesh ÷ 5 (max safe frequency) |
| File Format | TIFF, PSD, or BMP (no compression) |
| Output | Invert for dark garments if needed |
Recap: Photoshop Bitmap Setup for Screen Printing
| Use Case | Bitmap Method | Resolution | Notes |
|---|---|---|---|
| Line Art / Logos | 50% Threshold | 600–1200 PPI | Sharp edges, no tone needed |
| Tonal Drawings | Diffusion Dither | Mesh ÷ 2.3 PPI | Organic gradients, moiré-safe |
| Halftone Photo Print | Halftone Screen | LPI × 16 PPI | Full tonal range, pro output |
Final Thoughts for Serious Screen Printers
Whether you’re sending artwork to a film output service or prepping files in-house, mastering Photoshop for screen printing is non-negotiablePhotoshop for screen printing is non-negotiable. Bitmap control isn’t just a button click — it’s a craft. From selecting the right conversion method to choosing the optimal dot pattern and LPI, your file is either production-ready — or it’s not.
Great prints don’t start on press. They start in Adobe Photoshop. And the better your file prep, the smoother your press run — with less ink waste, fewer re-burns, and zero surprises.
- Why Bitmap Files Are Critical in Screen Printing
- Choosing the Right Bitmap Conversion Method in Adobe Photoshop
- Common File Prep Mistakes to Avoid
- Moiré Prevention and Dot Holding on Press
- Adjusting Artwork Before Bitmap: Photoshop Workflow
- File Prep Checklist for Screen Printers
- Recap: Photoshop Bitmap Setup for Screen Printing
- Final Thoughts for Serious Screen Printers


