Sublimation Printing 101: Everything You Need to Know
Walk into any craft fair, browse online stores, or scroll through personalized gift shops, and you’ll notice something: mugs with vibrant logos, T-shirts with seamless all-over prints, and mousepads that don’t fade after a few washes. Many of these are made using a process called sublimation printing.
If you’ve ever wondered how this works—and more importantly, how you can start doing it yourself—this guide is for you. By the end, you’ll know exactly what sublimation printing is, the tools you need, how much it costs to get started, and the steps for creating your very first project.
What Is Sublimation Printing
At its core, sublimation printing is a heat-based transfer process.
- You print a design onto special sublimation paper using sublimation ink.
- Heat and pressure transfer the design onto a polyester-based surface.
- Instead of sitting on top like ordinary ink, the dye becomes a gas and bonds with the fibers or coating.
The result is a permanent, high-resolution print that won’t crack, peel, or wash away. Unlike vinyl or screen printing, sublimation infuses the design into the material itself.
Important for beginners: Sublimation only works on polyester fabrics or coated items. Cotton shirts won’t hold the design.
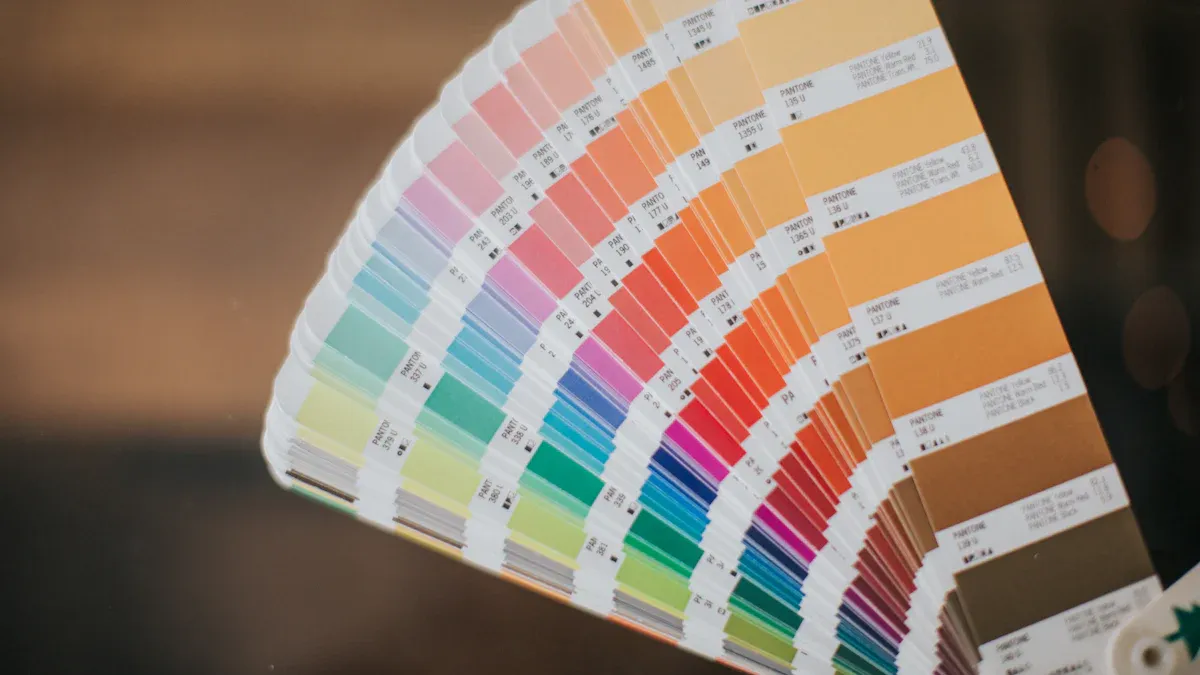
Why Choose Sublimation
- Durability: Prints last as long as the product.
- Vivid colors: Capable of bright, photo-quality images.
- Versatility: Works on many items—shirts, mugs, coasters, phone cases.
- Scalability: Ideal for one-off gifts or bulk orders.
For comparison, you can explore how digital printing differs from traditional printing or how DTG (direct-to-garment) stacks up against screen printing.
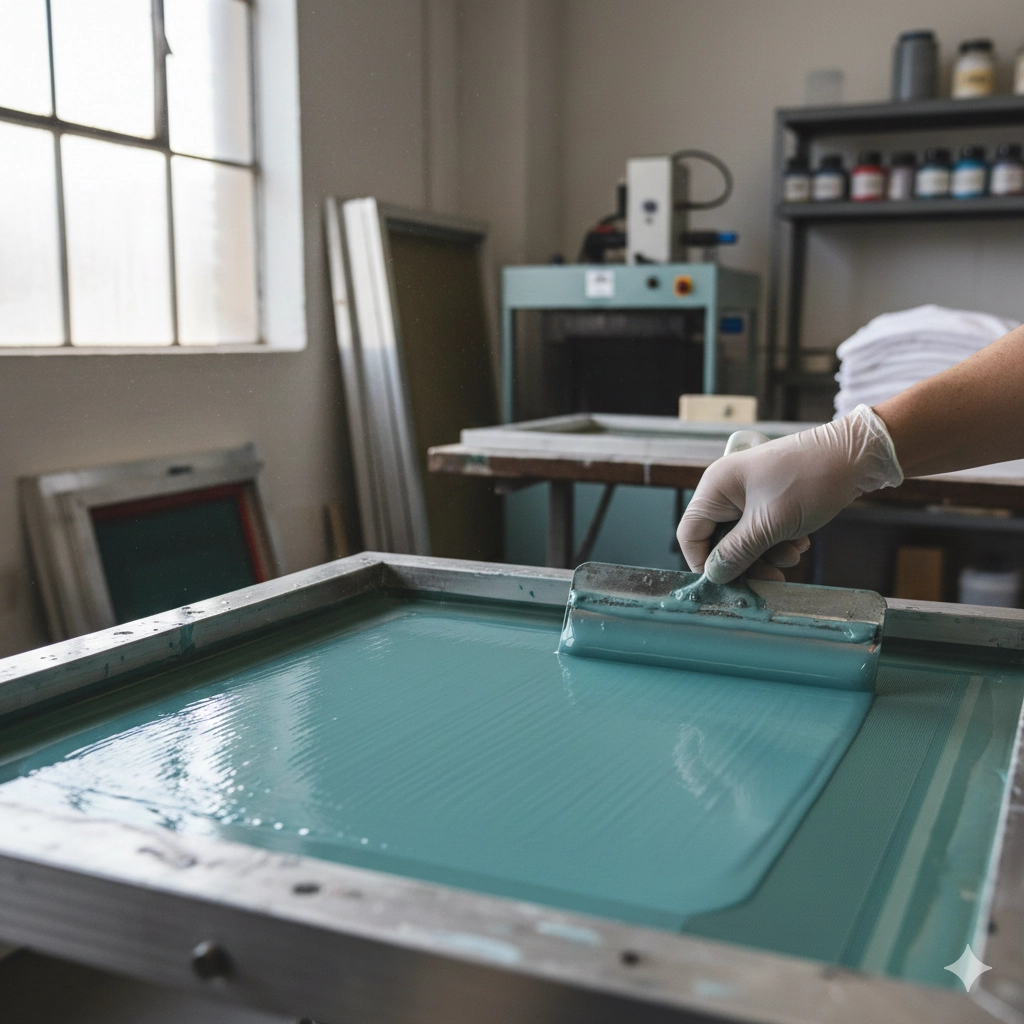
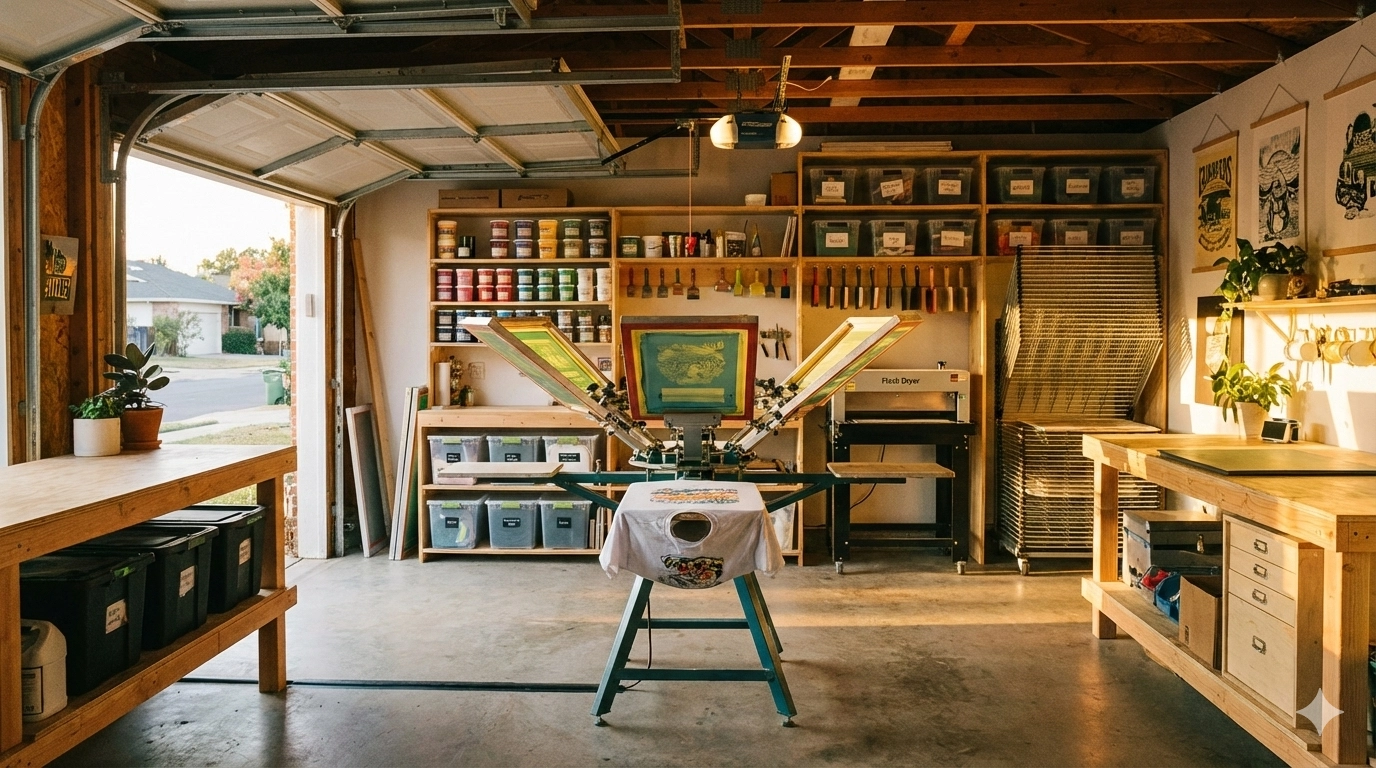
Essential Equipment and Materials
1. Printer
Any printer that can use sublimation ink will work, as long as it is configured properly. Some beginners adapt existing inkjet printers, while others prefer machines designed specifically for sublimation.
If you’re also curious about other types of printers, such as inkjet vs. laser, there are clear differences in cost and application.
2. Sublimation Ink
This special ink turns into gas when heated and bonds with polyester surfaces. Regular inkjet ink will not work. Learn more about different ink types used in digital printing.
3. Sublimation Paper
Designed to hold the ink until it is released by heat.
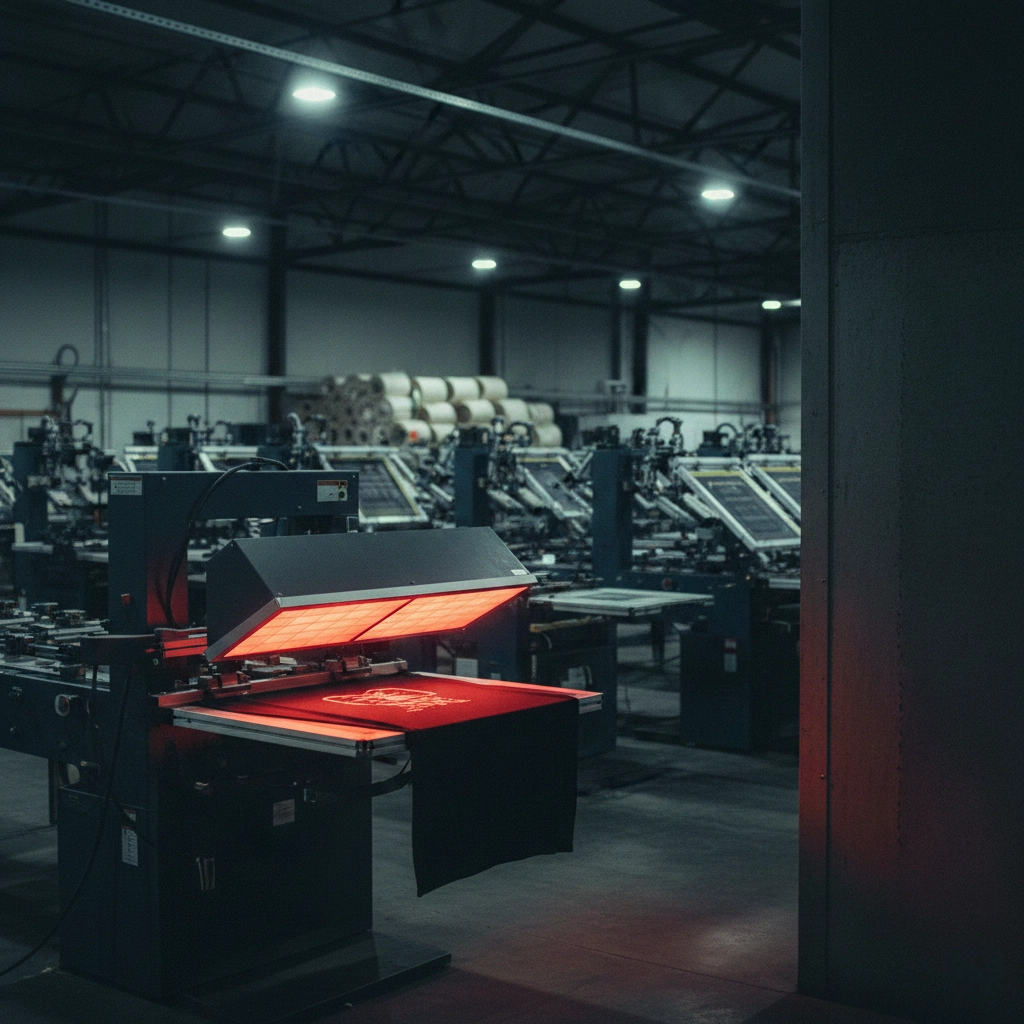
4. Heat Press
Applies consistent heat and pressure to transfer the design.
- Flat press: For shirts, mousepads, and flat items.
- Mug press: For cups and cylindrical objects.
- Combination press: For those who want to experiment with multiple products.
Before buying, it’s helpful to review guides like heat press vs. heat transfer press or tips on choosing the right heat press machine.
5. Blanks (Items to Print On)
- Polyester T-shirts (ideally 85% or higher polyester content)
- Coated mugs
- Mousepads, coasters, keychains, puzzles, phone cases
If you’re also interested in the best fabrics for screen printing, you’ll notice polyester ranks high for sublimation too.
6. Design Software
Programs like Canva, Photoshop, or Illustrator can be used. The key is the ability to flip (mirror) your design.
7. Helpful Extras
- Heat-resistant tape
- Protective sheets (parchment or butcher paper)
- Heat-resistant gloves
Starter Kits for Different Budgets
| Starter Level | Budget Range | What You’ll Get | Best For |
|---|---|---|---|
| Low Budget Try-Out | $200–350 | Adapted inkjet printer, sublimation ink, small flat heat press, starter blanks (10–15 items) | Hobbyists, testing the waters |
| Standard Setup | $500–900 | Printer intended for sublimation, medium-sized heat press, 30+ blanks | Side hustles, online sellers |
| Professional Upgrade | $1,200–2,000+ | Wide-format sublimation printer, large heat press, bulk blanks, professional design software | Small workshops, production runs |
For comparison, you can check how much it would cost to start a screen printing business—a related but different investment path.
Step-by-Step: Your First Sublimation Project
- Prepare Your Design
- Open your file in design software.
- Flip (mirror) the image.
- Ensure resolution is at least 300 DPI.
- Print the Design
- Use sublimation paper and sublimation ink.
- Choose high-quality print settings.
- Let the print dry fully before transfer.
- Pre-Press the Item
- Briefly press your blank to remove moisture and wrinkles.
- This step is similar to practices in screen printing drying techniques.
- Position the Transfer
- Place the sublimation paper face-down on the blank.
- Use heat tape to secure.
- Place protective paper above to prevent ink bleed.
- Heat Transfer
- Press at 190–200°C (375–400°F) for 40–60 seconds with medium pressure.
- Cool and Reveal
- Allow the item to cool slightly.
- Peel off the transfer paper.
Troubleshooting: Common Beginner Mistakes
- Faded colors: Often caused by low polyester content or incorrect temperature.
- Ghosting (shadows): Happens when the paper shifts—use more tape.
- Uneven prints: Caused by inconsistent pressure or heat.
- Paper sticking: Usually from too much pressure or moisture—always pre-press.
If you want to dive deeper, you can also review common digital printing problems and how to avoid them or beginner screen printing mistakes.
Cost and Profit Potential
- Shirt example: Polyester shirt $3–5 + $1 materials → sells for $15–20.
- Mug example: Blank mug $2–3 + $0.50–1 materials → sells for $10–15.
Margins vary, but even small runs can be profitable. For comparison, see how many shirts you can screen print per hour in traditional methods.
Beginner-Friendly Projects
- Polyester shirts
- Mugs
- Mousepads
- Keychains
- Coasters
For variety, you might also want to explore the 8 most popular T-shirt printing methods.
Safety and Care
- Work in a ventilated area.
- Wear protective gloves.
- Keep inks and paper dry.
- Clean your press to avoid contamination.
For reference, good exposure and drying techniques are equally important in screen printing for long-lasting quality.
First Project Checklist
Before Printing
- Printer loaded with sublimation ink
- Test print looks correct
- Blank is polyester-based or coated
- Design mirrored
During Printing
- High-quality mode selected
- Prints dried fully
During Pressing
- Heat press pre-heated
- Protective paper in place
- Heat tape applied
- Time/temp/pressure set
After Transfer
- Item cooled before peeling
- Print checked for consistency
You can also look at this quality control checklist for screen printing to inspire a disciplined approach.
Conclusion
Sublimation printing takes a little setup, but it’s one of the most reliable ways to create professional, personalized items.
You don’t need to invest thousands of dollars to begin—many people start with an affordable setup and upgrade as they grow. With practice, you’ll learn the right balance of time, temperature, and pressure for different products.
Your first mug or shirt may not be perfect, but it will teach you more than any guide ever could. And who knows? That small first project might be the start of a business.
- What Is Sublimation Printing
- Why Choose Sublimation
- Essential Equipment and Materials
- Starter Kits for Different Budgets
- Step-by-Step: Your First Sublimation Project
- Troubleshooting: Common Beginner Mistakes
- Cost and Profit Potential
- Beginner-Friendly Projects
- Safety and Care
- First Project Checklist
- Conclusion