Top Tips for Professional Screen Printing on Long Sleeves and Pant Legs
Mastering the art of printing on cylindrical garments like long sleeves and pant legs is a mark of a proficient screen printing shop. These items present unique challenges—fabric droop, troublesome seams, and curved surfaces—that can compromise print quality if not handled correctly. This guide provides professional techniques to achieve flawless, production-ready results.
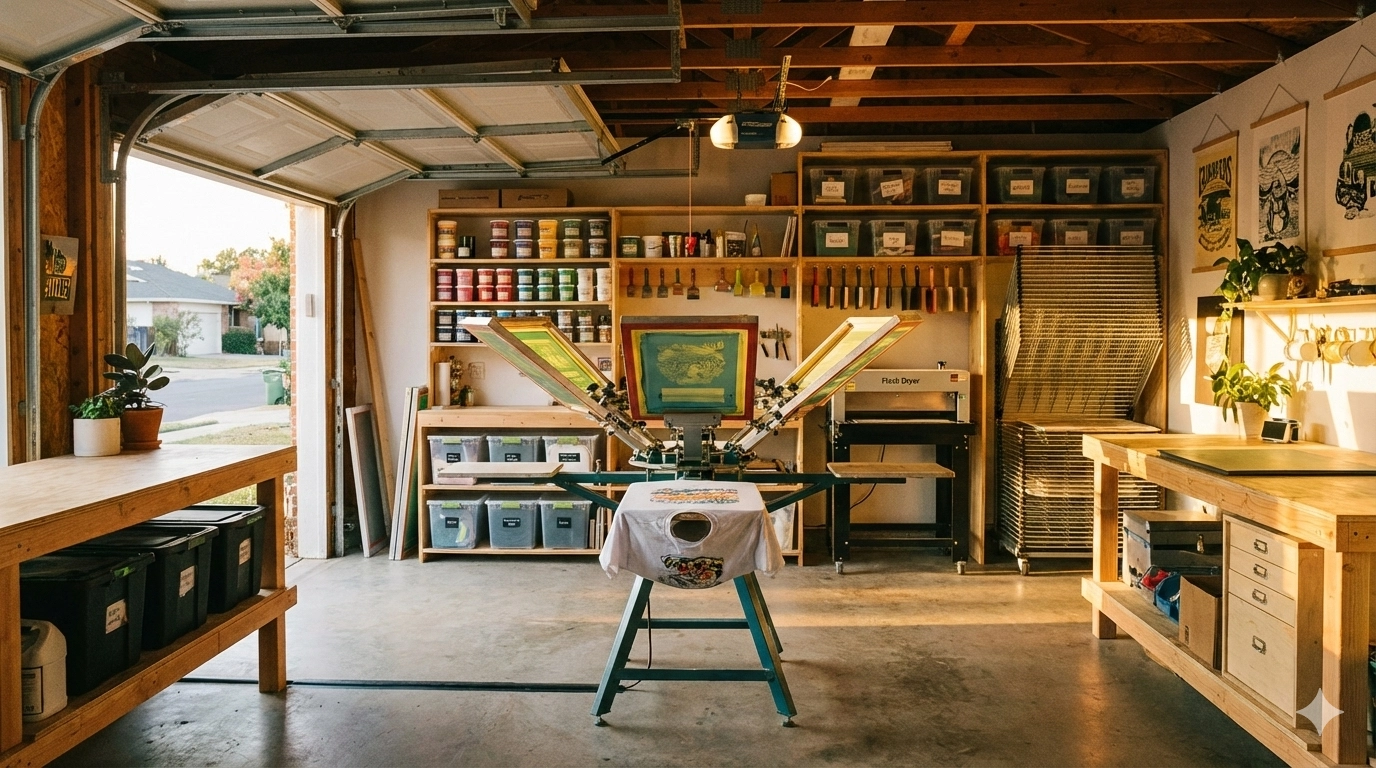
1. Equipment & Setup: The Foundation of Success

Use Specialized Platens
Standard, flat platens are insufficient. Invest in contoured sleeve platens and seam-hugging pants platens. These are designed to create a stable, elevated printing surface that minimizes fabric movement and mitigates the impact of side seams.
| Platen Feature | Benefit |
|---|---|
| Contoured/Slim Profile | Accommodates narrow, elongated areas securely |
| Seam-Hugging Design | Reduces distortion over seams |
| Elevated Surface | Prevents fabric droop and ensures even ink deposit |
Select the Right Press
While manual presses can be used, an automatic oval printing machine is highly recommended for production runs. Its continuous movement provides superior registration consistency and allows for simultaneous flashing on complex garments.
Choose the Correct Screen Mesh
Mesh selection is critical.
| Application | Recommended Mesh Count | Purpose |
|---|---|---|
| Underbasing or High Opacity | 110–156 | Deposits thick, opaque ink layer |
| Detailed Halftones or Simulated Process | 200–305 | Holds fine details with thinner ink deposit |
Tip: Verify off-contact distance (typically 1/8 inch) and screen tension before production to prevent smudges and maintain sharpness.
2. Garment Preparation & Positioning: Securing Your Canvas
Maximize Adhesion
Treat your platen surfaces with a high-tack adhesive spray and a layer of pallet tape. This creates a “grippy” surface that prevents the garment from shifting during the print stroke.
Proper Loading Technique
Stretch the sleeve or pant leg evenly over the platen, ensuring it is seated fully. The seam should be positioned flush against the platen’s edge. Smooth out any wrinkles, paying special attention to the area around the seam to prevent ghosting.
| Garment Type | Positioning Guideline | Key Measurement |
|---|---|---|
| Long Sleeves | Center design 1 inch from hem; align seam | Horizontal centering via platen markings |
| Pant Legs | Center on front leg; align with cuff or hip | 2–4 inches from waistband or cuff |
Tip: Use laser alignment tools or T-squares for precise placement and to account for fabric curvature.
3. Printing Techniques: Precision on a Curve
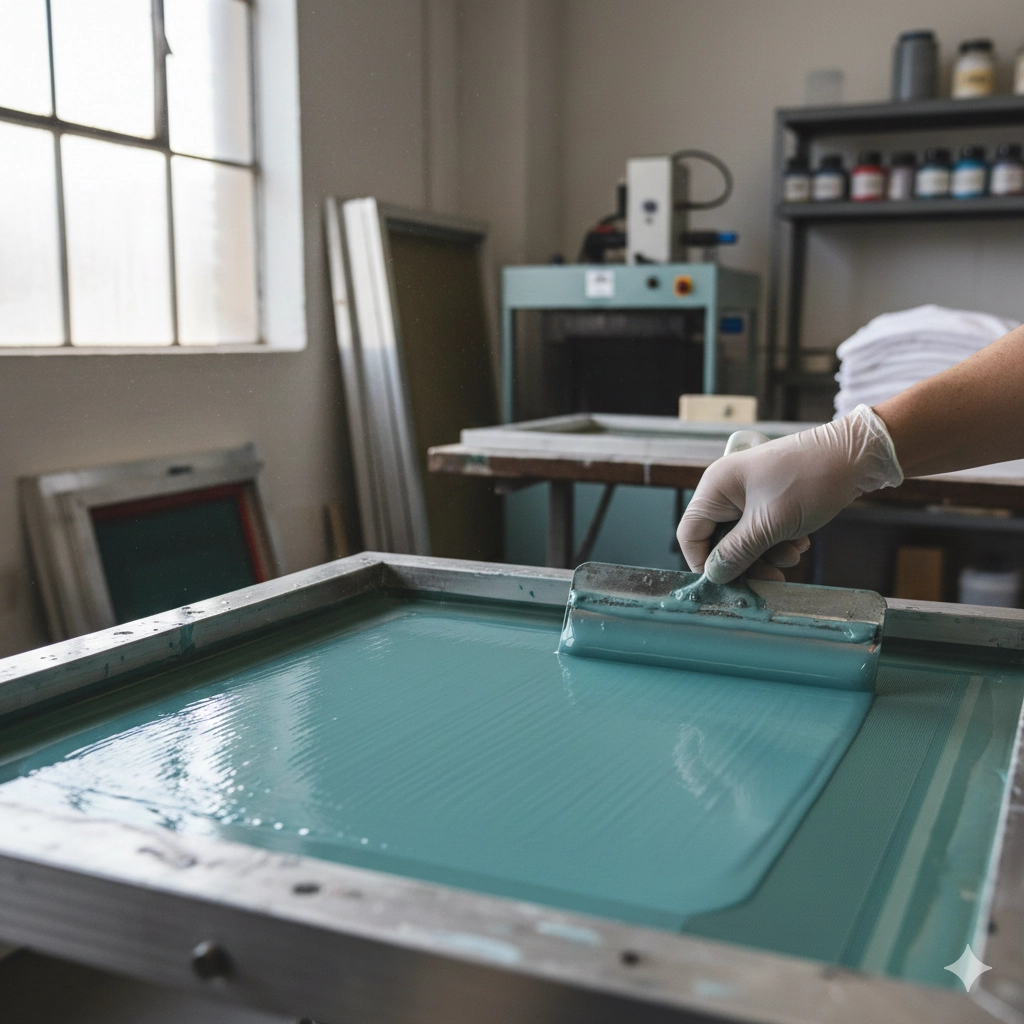
Manage Your Ink
Control ink viscosity for optimal performance. Ink that is too thick will not penetrate the fibers, while ink that is too thin will bleed. Use a viscosity cup for consistency and choose the right ink type (e.g., low-bleed inks for dark polyester blends). Water-based inks offer softness and eco-friendliness, while plastisol provides durability up to 50 washes with vibrant colors.
Master the Squeegee
A firm durometer squeegee (70–75) is ideal for pushing ink into the textured surface. Adjust the angle (typically 45 degrees) and pressure to ensure a clean, sharp print over the seam without applying excessive force.
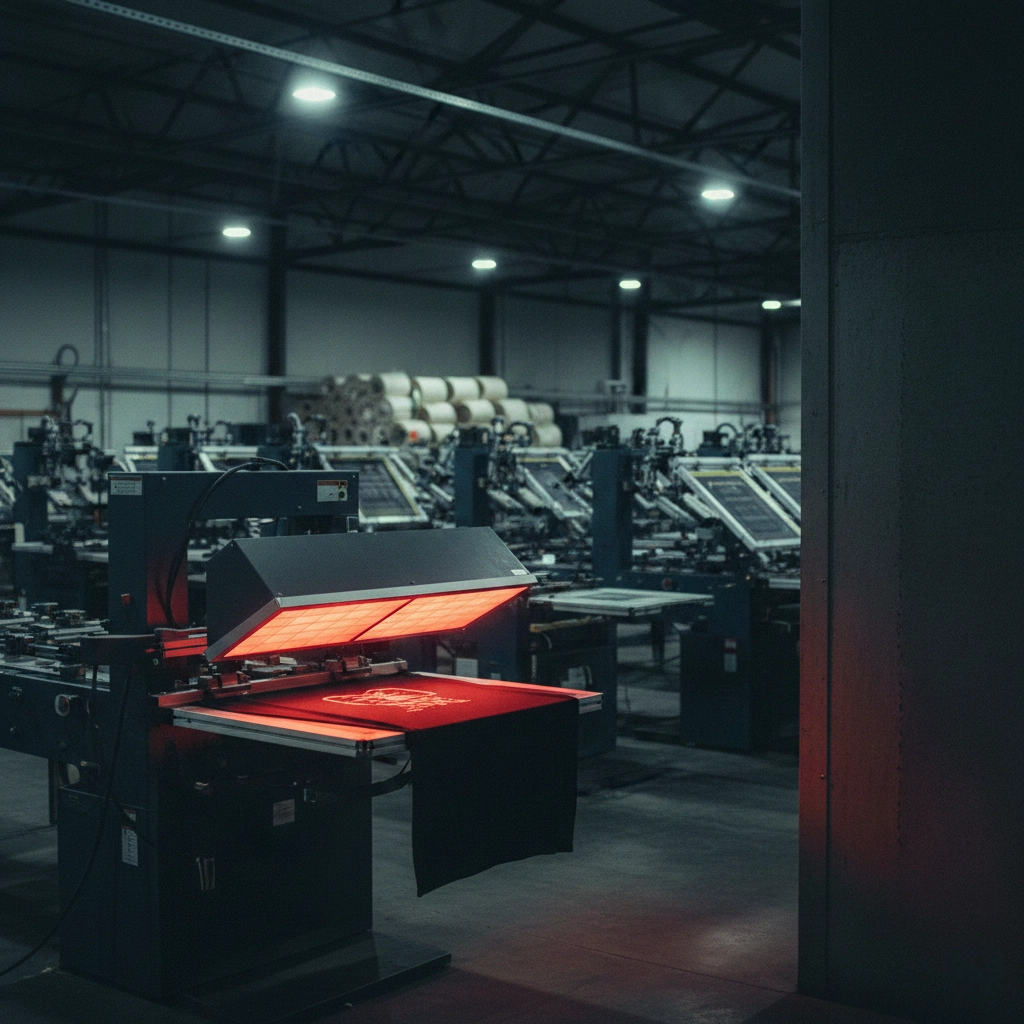
Employ a Flash Cure Unit
For multi-color designs, use a flash dryer to gel the base layer of ink before printing subsequent colors. This prevents colors from bleeding and allows for a brighter, more vibrant final print.
Design Considerations for Readability
Prioritize vertical orientation to utilize space effectively. Ensure left-to-right word flow: start at the wrist/cuff and progress upward. Split oversized designs at natural breaks to maintain integrity.
Tip: Test prints on scrap fabric to refine squeegee technique and ink management, avoiding common errors like bleeding or incomplete coverage.
4. Curing & Finishing: Ensuring Durability
Achieve Full Cure
Ink must reach the manufacturer’s specified temperature to form a durable bond with the fabric. Use an infrared temperature gun to verify that the ink film itself reaches the required cure temperature (typically ~320°F or ~160°C for plastisol; higher and longer for water-based).
| Curing Method | Description | Considerations |
|---|---|---|
| Conveyor Dryer | Even heat distribution for production volumes | Monitor belt speed and temperature zones |
| Flash Cure Unit | Quick gelling for multi-color layers | Avoid over-flashing to prevent scorching |
| Heat Press | Precise control for small runs | Use Teflon sheets to protect prints |
Conduct a Wash Test
After the garment has cooled, perform a stretch test and a simple wash test on one item to check for cracking and adhesion before running the full batch.
Safe Handling Post-Curing
Allow prints to cool completely before stacking. Use racks or trays for transport to prevent smears. Avoid folding until fully set.
5. Safety First: Non-Negotiable Practices
Power Down
Always turn off and lock out the main power before performing any maintenance, cleaning, or adjustment near the printing heads or platens.
Wear PPE
Wear nitrile gloves and safety glasses when handling inks, chemicals, and cleaning solutions.
Ensure Ventilation
Maintain adequate ventilation in your workspace, especially when using solvent-based inks or cleaners.
Quality Control Measures
Implement systematic checks throughout the process to uphold standards.
| Measure | Description |
|---|---|
| Artwork Optimization | Verify resolution and color separations |
| Ink Testing | Assess adhesion and durability on sample fabric |
| Registration Calibration | Achieve ±0.01 mm accuracy with micro-adjustments |
| In-Process Inspection | Monitor for defects during runs |
| Equipment Maintenance | Regular calibration for consistent performance |
Conclusion
Success in printing on long sleeves and pant legs hinges on the right tools, meticulous preparation, and refined technique. By investing in specialized equipment—such as contoured platens, automatic oval presses, and precise mesh screens—and focusing on the details of adhesion, ink management, and curing, you can transform these challenging garments into opportunities to showcase your shop’s high-quality craftsmanship. Adhering to safety protocols and rigorous quality controls further ensures reliable, professional outcomes that enhance durability, vibrancy, and customer satisfaction.