Key Highlights
- Select the right technology for your fabric and ensure files use 300 DPI, CMYK, and outlined fonts.
- Precisely calibrate Temperature, Time, and Pressure to prevent peeling, Scorching, or design failure.
- Perform a 3–5 second pre-press to eliminate moisture and wrinkles, ensuring a permanent adhesive bond.
- Verify fabric compatibility and use alignment tools/rules to ensure retail-grade accuracy.
- Use Teflon sheets and heat pillows to bypass obstructions like seams and buttons for a consistent seal.
- Conduct daily cleanings and weekly lubrication to prevent “cold spots” and extend machine lifespan.
- Use a second “finish” press for durability and provide customers with standardized wash-care instructions.
Introduction
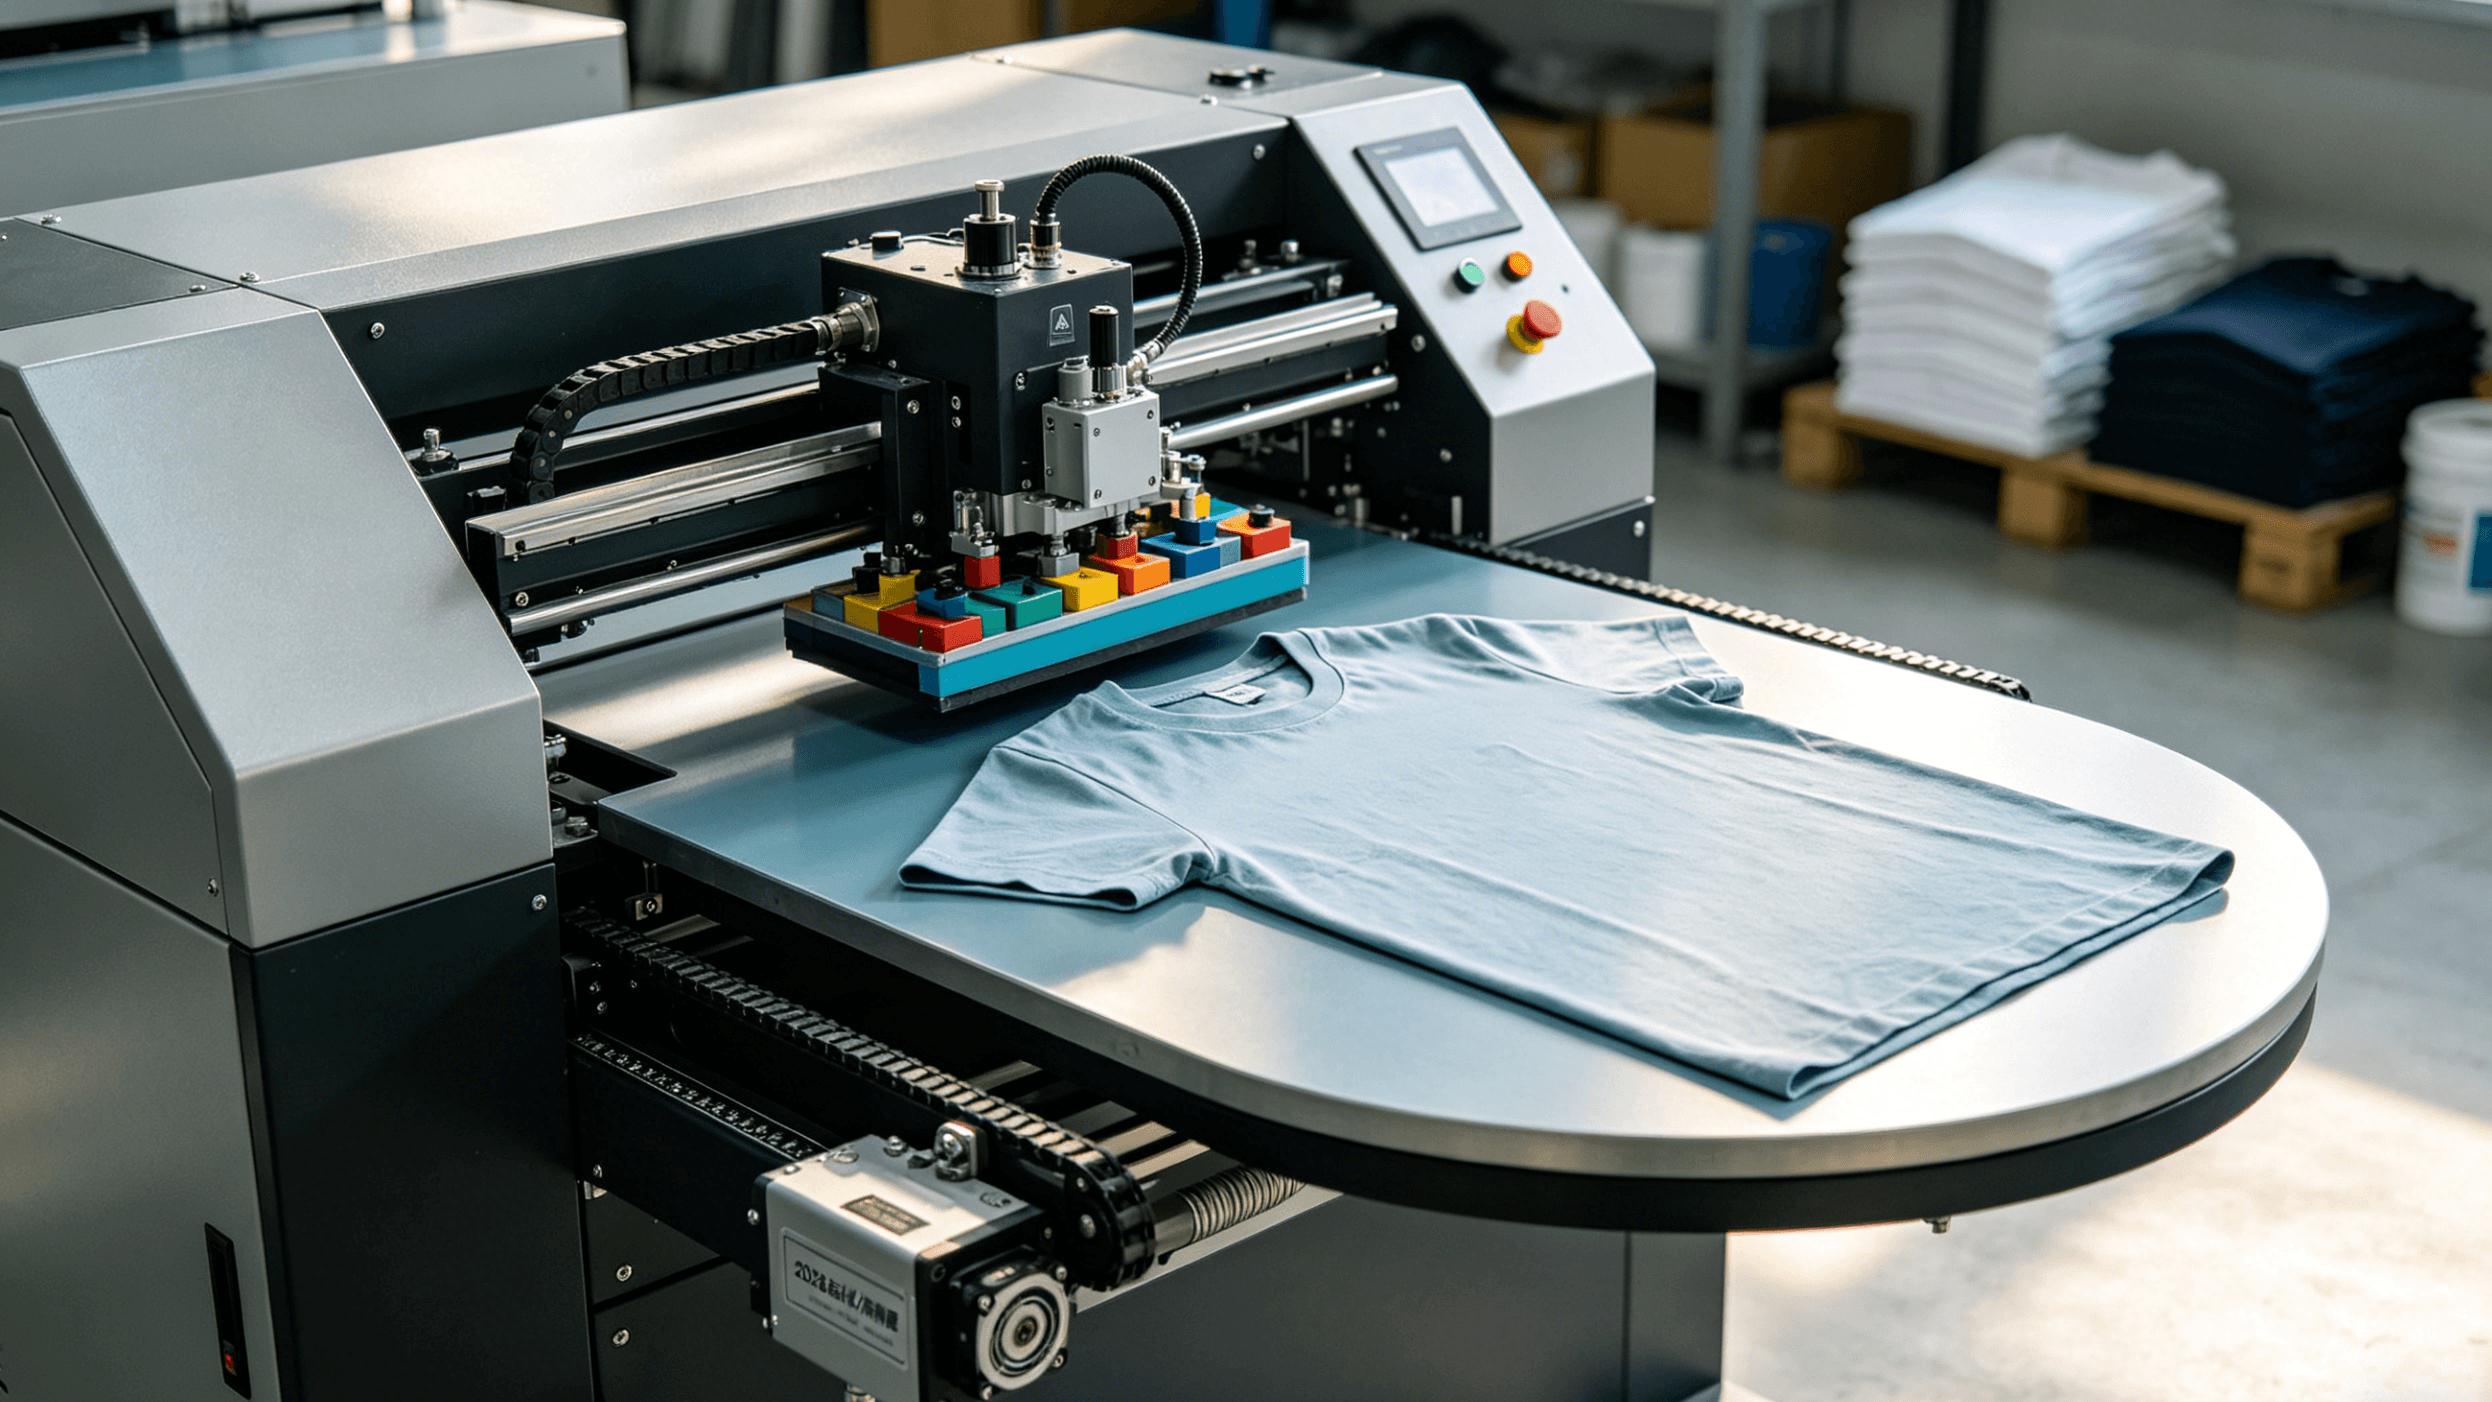
The custom apparel business is moving fast. Most reports suggest the t-shirt printing market will hit somewhere between $10 billion and $17 billion by 2032. To keep up with people wanting clothes that actually last and look sharp, a lot of shops have moved toward DTF printers and high-end heat presses. It’s honestly the easiest way to handle complex designs without losing your mind over the technical details.
Choosing Methods & Designing
The first thing you have to realize is that “the best” method depends entirely on what you’re printing on. It’s a chemistry game between your ink, the film, and the fabric fibers.
| Method | Best For | Fabric Compatibility |
|---|---|---|
| DTF | Versatile, detailed graphics | Cotton, Polyester, Blends, Nylon |
| HTV | Simple logos, names, numbers | Cotton, Polyester |
| Plastisol Transfers | Screen-printed quality at scale | Cotton, Poly-cotton blends |
| Sublimation | Full-color, all-over prints | White or light-colored 100% Polyester |
If you’re doing sublimation, you need at least 65% polyester. Anything less and the dye just won’t bond properly, leaving you with a faded mess. DTF has become the go-to because you don’t have to deal with the annoying pretreatment steps required for DTG, and the prints actually stay on through the wash.
Design Rules That Actually Matter
Don’t send a file to your heat transfer printer without checking these basics, or you’ll end up with blurry edges and weird colors.
- Resolution: Stick to 300 DPI at the size you’re actually printing. Anything lower looks pixelated once it’s pressed.
- Color: Use CMYK, not RGB. Screens show RGB, but printers use ink. If you don’t design in CMYK, your bright oranges might turn into muddy browns.
- Fonts: Always convert text to outlines. It saves you the headache of the printer software not recognizing a specific font you used.
- The White Underbase: If you’re printing on dark shirts, you need a white ink layer. Usually, you’re looking at a density of 80% to 250% so the colors actually pop against the dark fabric.
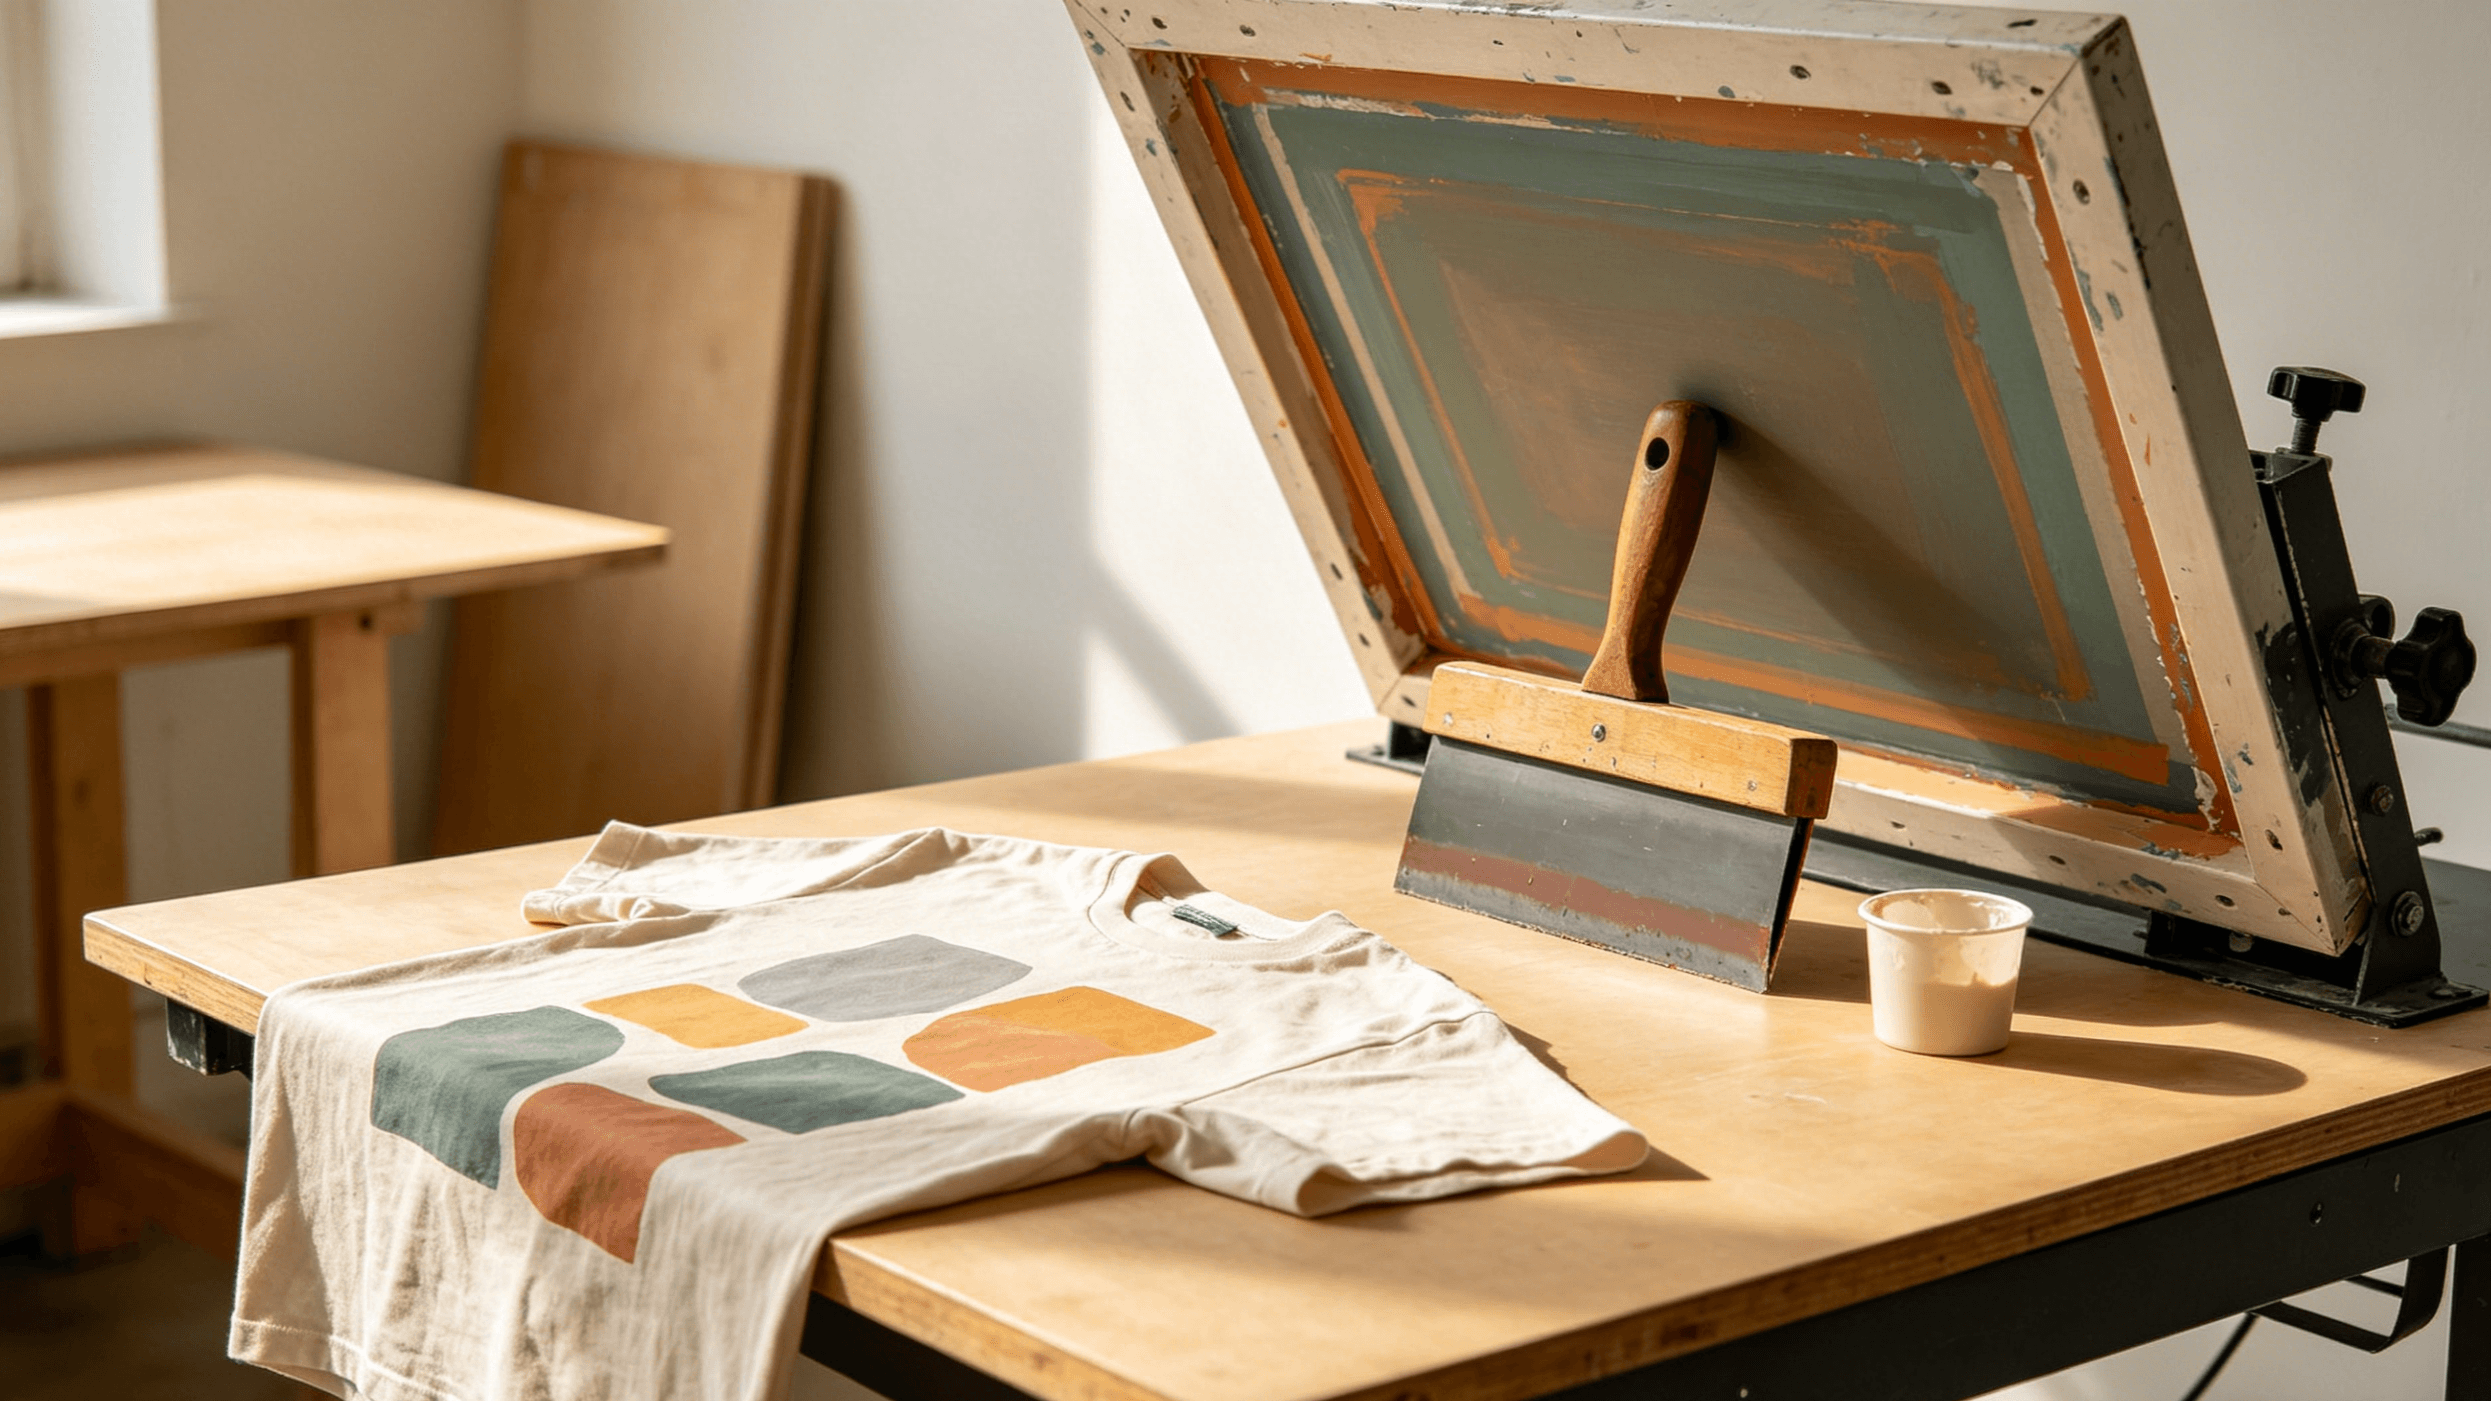
The DTF Routine
DTF is a specific sequence. You print the mirrored design onto a PET film, toss on some TPU adhesive powder while the ink is wet, and then melt that powder in an oven or under a hovering press. I’ve found that using Cnding digital printing equipment helps keep the ink-to-powder ratio steady, which stops the design from cracking later on.
Dialing in Time, Temp, and Pressure
I’ve seen way too many people ruin good shirts because they guessed on the settings. Temperature, time, and pressure are the “Big Three.” If you’re off by even a little, the adhesive won’t sink into the fibers, and the design will peel off after one trip through the laundry. On the flip side, too much heat leaves those ugly “shiny” press marks on polyester.
Cheat Sheet for Settings
| Transfer Type | Temperature | Time | Pressure |
|---|---|---|---|
| Sublimation | 390°F (199°C) | 35–45 sec | Medium |
| Plastisol Heat Transfer | 325°F (163°C) | 4–6 sec | Medium |
| Siser HTV | 280°F (138°C) | 10–15 sec | Medium |
| DTF Transfers | 320–350°F (160–177°C) | 8–20 sec | Medium |
| Plastisol (Hats) | 320°F (160°C) | 10–15 sec | Medium-High |
Pro Tip: Don’t trust the gauge on your machine blindly. They drift over time. Use an infrared thermometer to check the actual plate temp. If you’re doing high volume and want to stop worrying about it, an automatic press like the Cnding Automatic Heat Press Machine handles the pneumatic pressure for you.
Eliminate Moisture and Wrinkles via Pre-Pressing
To achieve a professional-grade finish with a heat transfer printer, the preparation of the substrate is just as critical as the printing technology itself. One of the most overlooked yet essential steps in the workflow is the pre-press cycle.
Textiles are naturally hygroscopic, meaning they absorb moisture from the surrounding environment. Even if a garment feels dry to the touch, it can hold enough residual humidity to compromise the chemical bond of the transfer. When the heat press closes, this moisture instantly turns into steam. If that steam is trapped under a transfer film or paper, it creates an outward pressure that leads to common failures:
- Adhesion Barriers: Steam prevents the hot-melt adhesive from penetrating the fabric fibers deeply, leading to peeling after the first wash.
- Surface Imperfections: Trapped gas causes “bubbling” or “pitting” on the surface of the finished graphic.
- Color Inconsistency: In sublimation or DTF processes, moisture can cause “blow-out” spots or blurred edges, as the gas interferes with the ink’s transition.
For optimal results, subject your garment to a 3–5 second pre-press cycle at the same temperature intended for the final application. This short burst is sufficient to flatten the fibers and evaporate latent moisture.
Industry Standard: Pre-pressing is a mandatory step to ensure the “interlock” of the adhesive. Neglecting this step is cited as a primary cause of garment “outgassing” issues during the curing stage.
Humidity and Seams
Beyond the pre-press, environmental and physical factors play a significant role in SEO-quality production:
- Humidity Control: High-volume shops should maintain a workspace humidity level between 40% and 60%. Excessive humidity can saturate garments faster than a pre-press can fix, while extremely low humidity increases static, which can cause “ink misting” in your heat transfer printer.
- Structural Inspection: Always inspect the placement area for seams, buttons, or zippers. These create “pressure drops” where the heat plate cannot make full contact with the transfer. Using a heat press pillow or an elevating platen can help ensure a flat, even surface for the transfer to bond correctly.
Optimize Materials, Prints, and Placement
The physical execution of a heat transfer project is where technical theory meets tangible quality. Even the most advanced heat transfer printer cannot compensate for poor substrate selection or improper alignment. Achieving a retail-grade finish requires a disciplined approach to material compatibility and precise physical placement.
Matching Technology to Substrate
Choosing the correct fabric is the first step in ensuring wash durability and color vibrancy. The chemical composition of the fabric dictates the transfer method:
- 100% Cotton: The gold standard for Heat Transfer Vinyl (HTV) and Direct-to-Garment (DTG). Its natural fibers allow for excellent adhesive penetration.
- 100% Polyester: Ideal for Sublimation printing. Because sublimation involves turning ink into gas to bond with polymers, it requires at least 65% polyester (with 100% being optimal) to achieve “photorealistic” results.
- Poly-Cotton Blends: Highly versatile “workhorse” fabrics that typically perform well with DTF and high-tack HTV.
- Fabrics to Avoid: Nylon and highly treated waterproof fabrics often repel standard adhesives unless a specific “low-temp” or “extra-grip” bonding agent is used.
Mandatory Test Prints
Never commit a final design to a finished garment without a test strike. Utilize substrate remnants (scraps of the same fabric) to calibrate your heat press settings.
- Why it matters: Factors such as ambient humidity and slight variations in fabric dye can affect how the “heat transfer printer” ink or film reacts to heat. A test print confirms that your time, temperature, and pressure settings are synchronized.
Precision Placement & Alignment
A “crooked” print is the most common reason for product returns in the custom apparel industry. Professional shops utilize the following techniques to ensure “dead-center” accuracy:
- The 3-Inch Rule: For standard adult t-shirts, the top of the design should generally sit 3 inches (approx. 7.6 cm) below the neckline.
- Alignment Tools: While “eye-balling” is common for hobbyists, professionals use laser alignment systems, T-square rulers, or acrylic shirt guides to find the vertical center line.
- Surface Preparation: Always “pre-press” the garment for 3–5 seconds. This removes moisture and flattens wrinkles, providing a smooth, dry surface for the adhesive to bite into.
DTF (Direct-to-Film) Specifics
For those utilizing DTF technology via their heat transfer printer, the “finishing” stage is unique:
- Powder Adhesion: Ensure the TPU adhesive powder is applied evenly and “melted” until it has an orange-peel texture.
- Peel Temperature: Follow manufacturer specs strictly. Hot-peel films allow for faster production speeds, while cold-peel films often yield a softer, more matte “hand feel” (the texture of the print on the fabric).
Ensure Even Pressure & Use Protective Accessories
Achieving a professional-grade result with a heat transfer printer setup relies as much on mechanical precision as it does on temperature. Pressure is the silent variable that dictates the success of the polymer bond; without it, even the most vibrant designs are prone to premature failure.
The Critical Role of Pressure Calibration
Pressure provides the necessary “bite” to push the carrier’s adhesive into the fibers of the substrate. If the pressure is insufficient, the ink or film sits on the surface, leading to “lifting” after a single wash cycle. Conversely, excessive pressure can cause “heat press marks” (permanent bruising of synthetic fabrics) or “bleeding,” where the design loses its crisp edges.
To ensure your output remains competitive and durable, implement these professional calibration steps:
- The Paper Test: A standard diagnostic for manual presses. Place four strips of paper at each corner of the platen. When the press is locked, you should feel consistent, slight resistance when pulling each strip. If one pulls out easily, your platen is not flat, necessitating a recalibration of the adjustment spindle.
- Managing Obstructions: Seams, zippers, and buttons are the primary enemies of even pressure. Using heat-resistant pillows or foam inserts elevates the printing area above these “high points,” ensuring the platen makes full contact with the transfer.
- Surface Protection: Utilizing a Teflon (PTFE) or parchment cover sheet is non-negotiable for protecting the upper platen from ink buildup and preventing the fabric from scorching. Furthermore, heat-resistant tape ensures the design remains indexed, preventing “ghosting” caused by the transfer shifting during the opening of the press.
Maintain Your Heat Press Machine and Follow Safety Protocols
A heat transfer printer is a significant investment for any custom apparel or promotional products business. However, the hardware is only as effective as its maintenance routine. Neglecting the physical condition of your equipment—specifically the heat platens and pressure mechanisms—can lead to a “compounding failure” where minor temperature fluctuations result in major batch defects. To ensure your heat transfer printer setup operates at peak efficiency and remains a safe asset in your workspace, adhering to a structured maintenance and safety protocol is non-negotiable.
1. Structured Maintenance Schedule
Regular maintenance prevents the common “ghosting” effects and uneven transfers that plague unoptimized machines.
- Daily: Platen Inspection and CleaningEnsure the upper heat platen is free of ink, adhesive residue, or stray fibers. Buildup on the platen creates “cold spots” that prevent even heat distribution. Use a soft, non-abrasive cloth and a specialized iron cleaner or mineral spirits to wipe the surface while it is slightly warm (but not at full operating temperature).
- Weekly: Pivot Point LubricationThe mechanical levers of a manual or semi-automatic heat press undergo high stress. Applying a high-heat lubricant to the pivot points once a week prevents friction wear and ensures a smooth, consistent lockdown—which is vital for achieving the exact pressure required for complex heat transfers.
2. Safety Protocols for Professional Environments
Safety is not just about avoiding injury; it is about protecting your workspace and inventory from damage.
- Heat-Resistant Protection: Always utilize heat-resistant gloves when adjusting platens or handling substrates.
- Ventilation Requirements: The EPA and OSHA standards emphasize the importance of ventilation when working with sublimation or heat transfer vinyl (HTV). The heating process can release Volatile Organic Compounds (VOCs) and fumes from synthetic fabrics or specialized inks. Ensure your workspace has active airflow or a dedicated fume extraction system.
- Electrical and Structural Stability: A standard heat press can draw between 1,500 to 1,800 watts. Ensure the machine is plugged directly into a high-capacity wall outlet rather than an extension cord to prevent circuit overloads or fire hazards. Furthermore, the machine must be placed on a heavy-duty, stable surface to prevent tipping during high-pressure applications.
3. Quality Consistency
The primary benefit of a rigorous maintenance cycle is the prevention of residue buildup. When old ink or adhesive transfers from the platen onto a new garment, it creates a permanent defect. By maintaining a clean and calibrated heat transfer printer system, you eliminate the risk of “inconsistent results”—ensuring that the first print of the day is identical in quality to the hundredth.
Troubleshooting and Finishing
The job isn’t done when the timer beeps.
- The Peel: Know if your film is hot-peel or cold-peel. If you pull a cold-peel film while it’s hot, you’re going to lose half the design.
- The Second Press: I always do a 5–10 second “finish” press with a Teflon sheet. It pushes the ink deeper into the shirt. Use Teflon for a glossy look or parchment paper if you want a matte, screen-printed vibe.
Diagnostic Troubleshooting Table
If your heat transfer printer output is failing, the issue usually lies in the “Golden Trio”: Temperature, Time, and Pressure.
| Symptom | Primary Cause | Technical Fix |
|---|---|---|
| Poor Adhesion | Insufficient heat/pressure | Increase pressure (target 40–60 PSI for firm substrates) or verify platen temperature with a pyrometer. |
| Design Fading | Under-curing or low ink density | Ensure the heat press reaches the full dwell time; check if the printer’s ICC profile is depositing enough ink for high-saturation areas. |
| Scorching | Excessive heat/dwell time | Reduce temperature in 5°C (10°F) increments or use a heat-resistant “pillowing” insert to protect delicate synthetics like polyester. |
| Uneven Transfer | Cold spots on platen | Use a digital thermometer to check for heating element failure. Ensure the garment seams/buttons aren’t preventing the platen from making full contact. |
Professional Care Instructions
To ensure the longevity of the transfer, customers should follow a standardized “Industrial Wash Test” protocol:
- The 24-Hour Rule: Wait at least 24 hours before the first wash to allow the adhesive to fully set.
- Temperature Control: Wash inside out in cold or lukewarm water (below 40°C).
- Drying: Tumble dry on low heat or hang dry. High-heat dryers are the leading cause of polymer degradation and cracking in heat transfer designs.
Conclusion
As the global heat transfer market continues to expand—with a projected compound annual growth rate (CAGR) of approximately 5.4% through 2028—staying competitive means adopting a “digital-first” mindset in your printing workflow. Whether you are managing small-batch custom apparel or high-volume industrial production, the impact of professional-grade equipment cannot be overstated. Consistent pressure and heat distribution are the foundational pillars of a durable, market-ready product.
Ready to upgrade your heat transfer printer workflow? Explore Cnding’s full range of screen printing, digital hybrid, and heat press solutions or contact us for expert guidance.