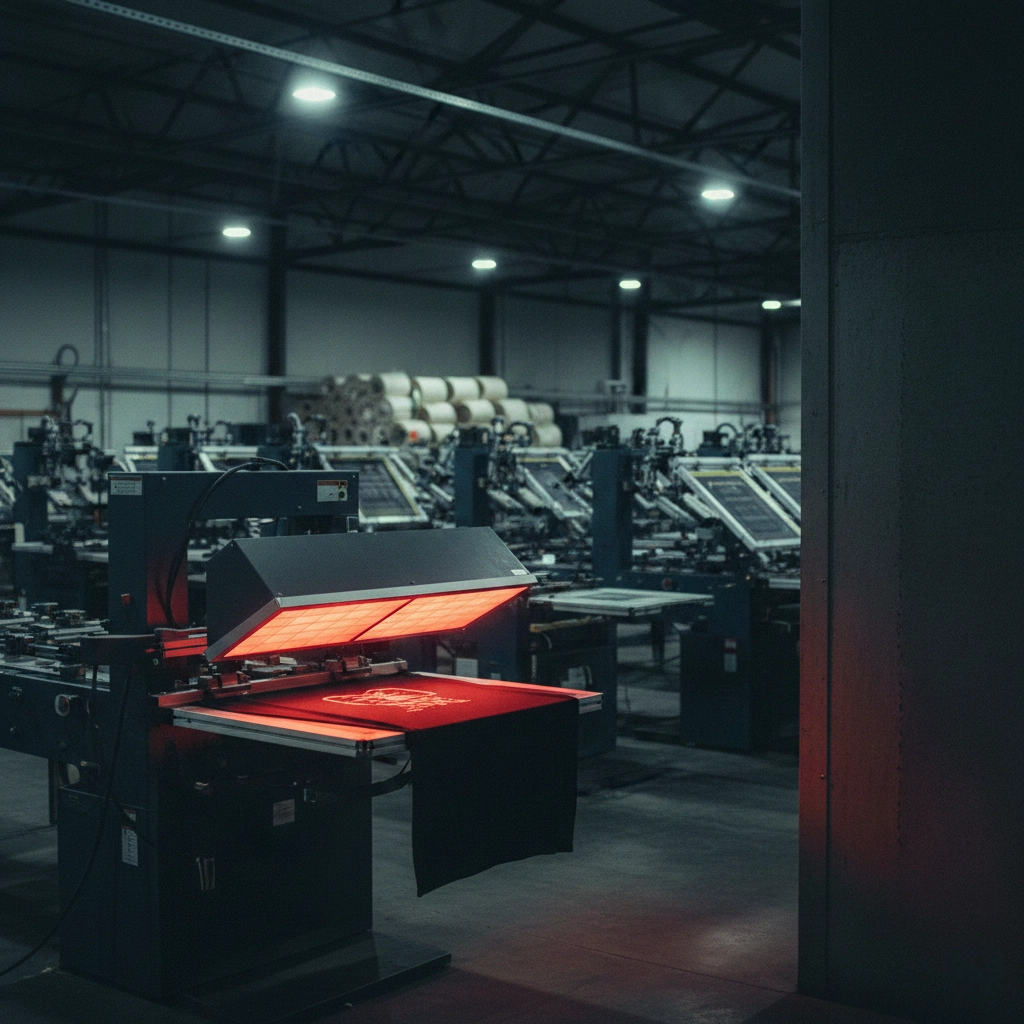
Screen Printing Mesh Guide: Materials, Mesh Count, and Best Uses
Ever printed a design that looked amazing on your computer but came out blurry, too thick, or way too light on fabric? In most cases, the culprit isn’t the ink or your press—it’s the mesh. Choosing the right screen printing mesh is one of those behind-the-scenes skills that separates good prints from great ones.
In this guide, we’ll unpack everything you need to know: what mesh is made of, how mesh count works, why thread diameter matters, and how to pick the best option for your project.
What Is Screen Printing Mesh Made Of
Today, most shops use polyester mesh because it’s durable, stable, and keeps tension well. But there are other options worth knowing:
- Nylon – Stretchy and flexible, useful on curved surfaces, though it loses tension quickly.
- Stainless steel – Incredibly precise and long-lasting, but expensive and harder to work with.
- Silk or cotton – Common in the past, but not practical for modern production due to low durability.
For nearly all everyday printing, polyester is your best bet.
What Does Mesh Count Actually Mean
Mesh count is the number of threads per inch in the screen. Higher mesh counts = smaller holes, less ink flow, and sharper details. Lower mesh counts = bigger holes, more ink flow, and heavier coverage.
But here’s the catch: thread diameter changes everything. Two screens with the same mesh count can behave differently if one uses thicker threads. Thicker threads block more space, resulting in less ink flow. Thinner threads open the mesh and let more ink through—but wear out faster.
Mesh Count Cheat Sheet
| Mesh Count | Ink Flow | Best For |
|---|---|---|
| 30–80 | Very high | Glitter, metallics, puff inks, heavy underbases |
| 100–180 | Medium | Standard plastisol, everyday t-shirt printing |
| 200–305 | Low | Water-based inks, halftones, CMYK, fine text and gradients |
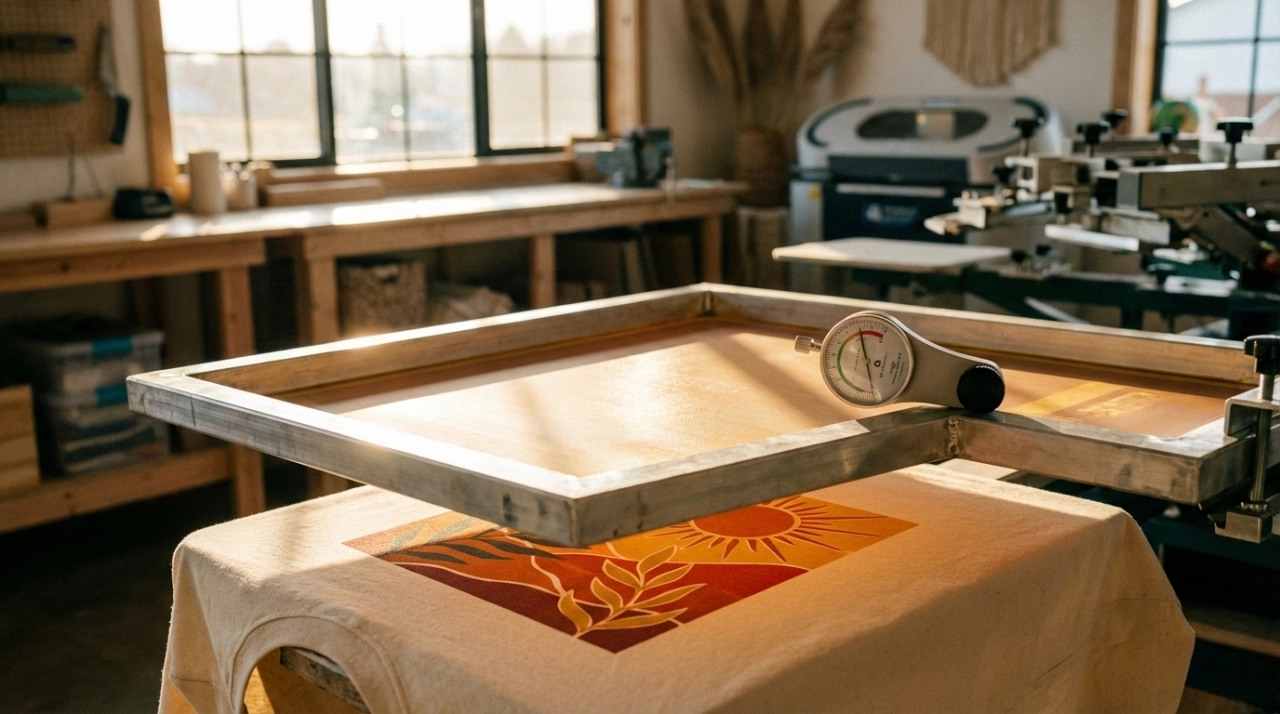
Which Mesh Should You Use
Think about three things: your design, your ink, and your fabric.
- Printing on dark fabrics? Use 80–110 mesh to lay down a solid underbase with good coverage.
- Everyday logos on cotton tees? 110–160 mesh balances detail and ink flow.
- Small text, halftones, or photo-like prints? 200–305 mesh keeps edges sharp and soft.
- Special effect inks with large particles? Stick to 30–80 mesh so glitter and metallics can pass through.
- Signage or industrial jobs? Higher meshes (200+) work best for crisp, thin ink layers.
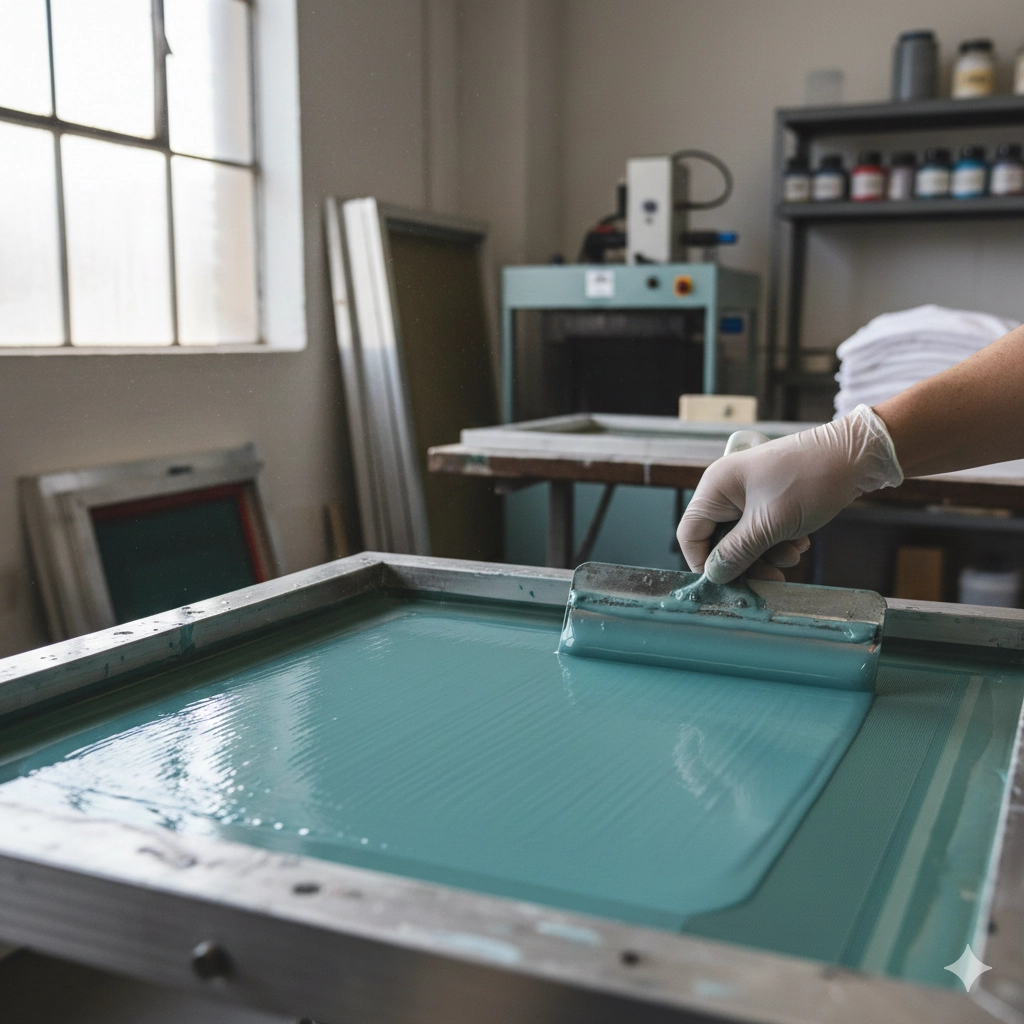
Don’t Forget Tension and Emulsion
Mesh isn’t just about count. Tension is critical. A tighter mesh prints cleaner, while a loose mesh can cause smudging and uneven edges. Over time, tension drops, so regular checks and re-stretching are essential.
Also consider your emulsion coating. A thicker emulsion allows more ink to pass through, while a thinner coat keeps prints sharper. Match your emulsion thickness to your mesh for the best results.
Common Mistakes Beginners Make
- Choosing a low mesh for a detailed design → results in blurred edges.
- Using a high mesh for heavy coverage → colors look washed out.
- Ignoring thread diameter → two 160 meshes aren’t always equal.
- Neglecting tension → screens stretch out and ruin consistency.
Final Takeaway
The right mesh count isn’t just technical—it’s creative. It decides whether your design feels bold and textured, or light and soft. Start by matching your mesh to your ink and fabric, then test. Small adjustments can transform your results.
Master mesh selection, and you’ll unlock cleaner prints, richer colors, and the confidence to tackle any design.