Screen Printing from Scratch
You can start SCREEN PRINTING at home and discover new ways to express your creativity. Many beginners find joy in making personalized items and exploring artistic skills. This process lets you create unique prints that show your vision and style. You may use innovative equipment, like solutions from cnding, to achieve high-quality results. The journey helps you build confidence by producing artwork that feels truly your own.
Screen Printing Supplies
Tools and Materials
You need several basic tools to start SCREEN PRINTING at home. Here is a list to help you gather what you need:
- Screen Printing Frame: Aluminum frames dry faster and last longer.
- Mesh: Woven fabric with a mesh count of about 110 works well for beginners.
- Squeegee: A firm rubber blade helps you push ink through the mesh.
- Inks: Water-based acrylic inks and oil-based Plastinol inks are popular choices.
- Exposure Unit: Transfers your design onto the screen.
- Emulsion and Scoop Coater: Create stencils for your prints.
- Drying Racks and Curing Equipment: Dry and cure your finished prints.
Tip: Quality equipment makes a big difference. Cnding offers advanced and automated solutions for those who want to upgrade their setup and improve efficiency.
Choosing a Screen
Selecting the right screen is important for your print quality. Mesh count affects how much detail you can achieve. Use this table to guide your choice:
| Mesh Count Range | Ideal Use Case | Description |
|---|---|---|
| 25 to 40 | Glitter or shimmer inks | Large openings for particles |
| 60 | Heavy ink deposit | Good for block numbers and letters |
| 80 to 86 | Heat transfers, specialty inks | Suitable for heavy underbases |
| 110 to 160 | Versatile use | Bold colors on dark fabrics |
| 180 to 200 | Detailed images in light inks | Works well on dark fabrics |
| 230 to 280 | Detailed prints with softer feel | Lighter ink deposits, less vivid prints |
Finer meshes work best for detailed designs. Coarser meshes suit bold prints and thicker inks. High-quality mesh and emulsion help you achieve clear results and reduce downtime.
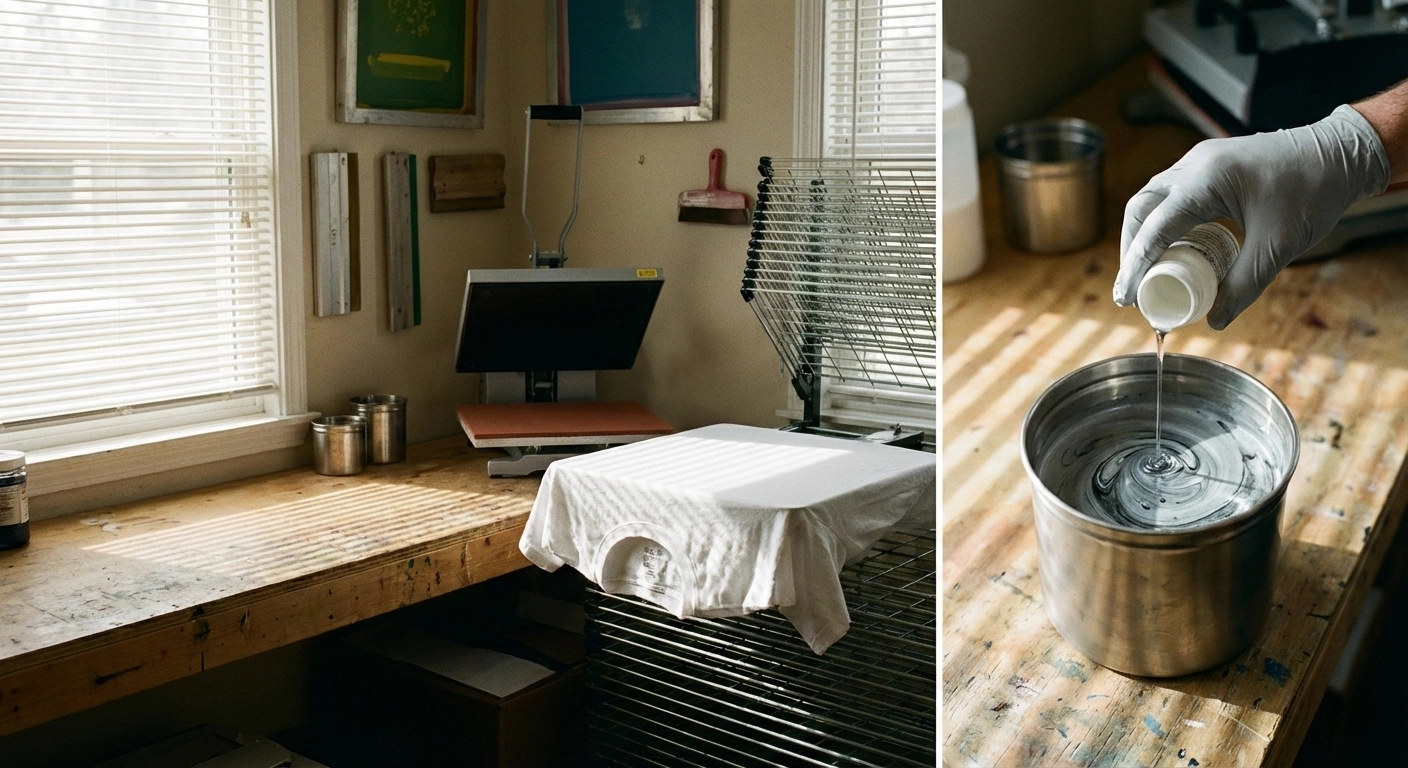
Inks and Surfaces
You can print on many surfaces, but fabric and paper are most common. Water-based inks like Speedball Fabric Screen Printing Ink work well on cotton, polyester blends, linen, and rayon. These inks also suit paper and cardboard. After printing, heat setting makes your design last longer.
Cotton absorbs ink deeply, giving you a soft and durable print. Polyester resists shrinking and wrinkles but may fade faster. Blended fabrics balance softness and durability. Always match your ink and mesh to your chosen surface for the best results.
Note: Using high-quality supplies saves time and money. Downtime from poor materials can lead to lost prints and revenue.
Screen Prep Methods
Physical Stencil
You can start SCREEN PRINTING with the physical stencil method. This approach works well for beginners and lets you create simple designs without special chemicals. Follow these steps to prepare your screen:
- Cut or tear your paper to fit the screen.
- Draw and trace your design onto the paper.
- Use tape and paper to build your stencil directly on the mesh.
- Place your screen over the printing surface and use a squeegee to apply ink.
- Remove excess ink and clean the screen after each print.
- Try painting a stencil using screen filler for different effects.
- Print a second color if needed and test your results.
- Let your prints dry and add any finishing touches.
Tip: Use sharp blades and clean tape edges for crisp lines. Practice with simple shapes before moving to complex artwork.
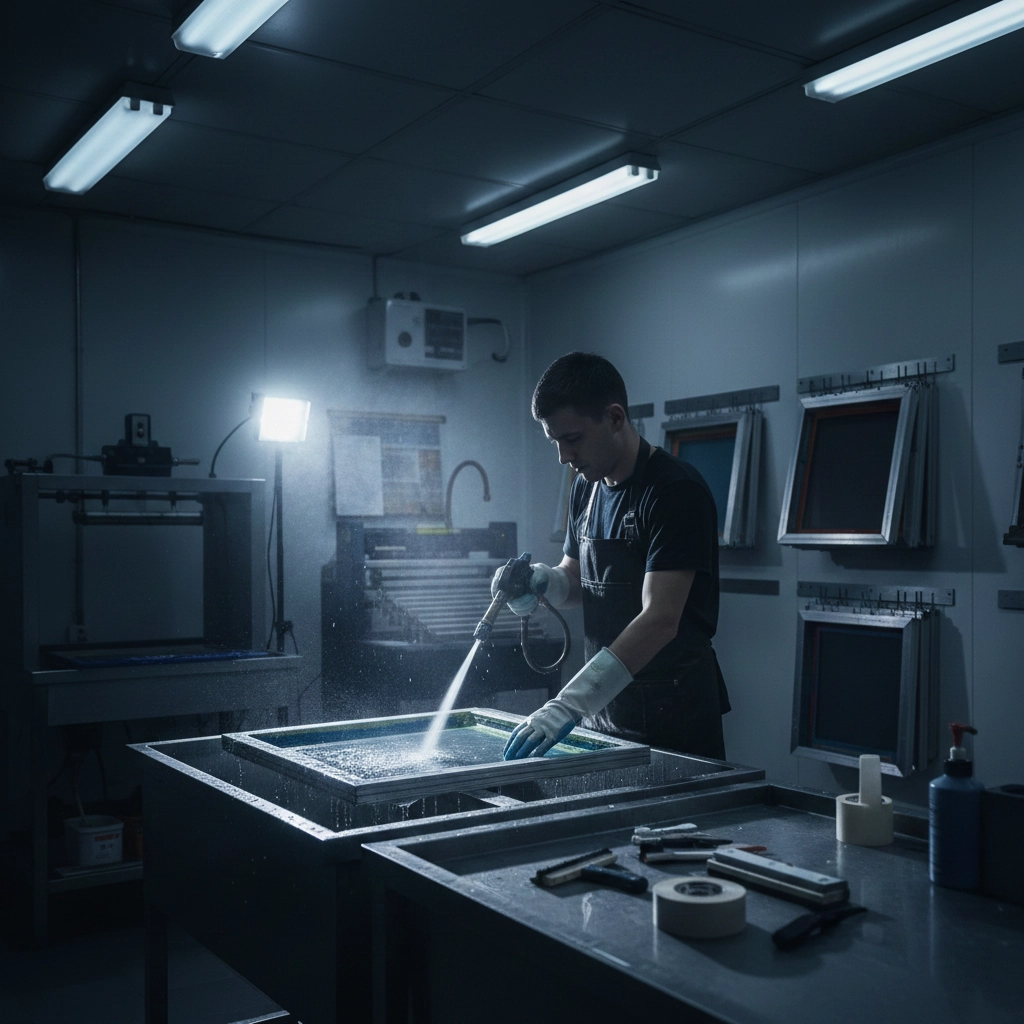
Photo Emulsion
The photo emulsion method helps you achieve detailed prints. You coat the screen with emulsion, expose it to light with your design, and wash away the unexposed areas. This technique suits more advanced projects. Review the advantages and disadvantages below:
| Advantages | Disadvantages |
|---|---|
| Pre-sensitized emulsions are convenient to use. | Some emulsions require hardeners, complicating the process. |
| Water-resistant emulsions prevent stencil breakdown during printing. | Exposure times can be challenging for beginners. |
| Post-exposing screens can strengthen stencils without hardeners. | Once hardeners are used, screens cannot be reclaimed. |
Note: Start with pre-sensitized emulsions for easier handling. Test exposure times on scrap screens to avoid mistakes.
Cleaning and Setup
Proper cleaning and setup keep your prints consistent and your equipment in good shape. You should:
- Clean screens and tools after each session to prevent ink residue buildup.
- Choose the right mesh and apply stencils carefully for even ink transfer.
- Keep screen tension steady to avoid blurry prints.
- Calibrate your equipment for accurate results. Cnding’s automated machines offer reliable calibration and support, making setup easier for advanced users.
Regular maintenance saves time and reduces errors. Clean screens last longer and produce sharper images.
Screen Printing Steps
Workspace Setup
You need a well-organized workspace to make your SCREEN PRINTING process smooth and efficient. Divide your area into dedicated zones. This setup helps you move quickly from one task to the next and keeps your materials organized. Here are some common zones you should include:
- Printing Area: Set up your screen, squeegee, and inks here. This is where you pull your prints.
- Darkroom: Use this space for coating screens with emulsion and exposing your designs.
- Washout Area: Clean your screens and tools in this zone. A utility sink or washout booth works well.
- Design Area: Prepare your artwork and stencils here. Keep your computer, printer, and drawing tools handy.
A logical sequence for these zones boosts your productivity and shortens turnaround times. Each screen printing shop is unique, so adjust your layout to fit your space and needs.
Tip: Keep your tools within easy reach. This reduces wasted effort and helps you work faster.
Safety is important in any workspace. Use the table below to review key safety precautions:
| Safety Precautions | Description |
|---|---|
| Use common sense | Follow safety practices at every stage to prevent injuries. |
| Ergonomic adjustments | Adjust workstation height and angle to avoid awkward postures. |
| Tool accessibility | Place tools and products within easy reach to prevent bending and reaching. |
| Use appropriate tools | Choose tools that minimize force and awkward movements. |
| Job rotation | Change tasks often to avoid repetitive strain and maintain ergonomic health. |
You can also use height-adjustable seating and transport heavy screens with a wheeled cart. These steps help you stay comfortable and safe while working.
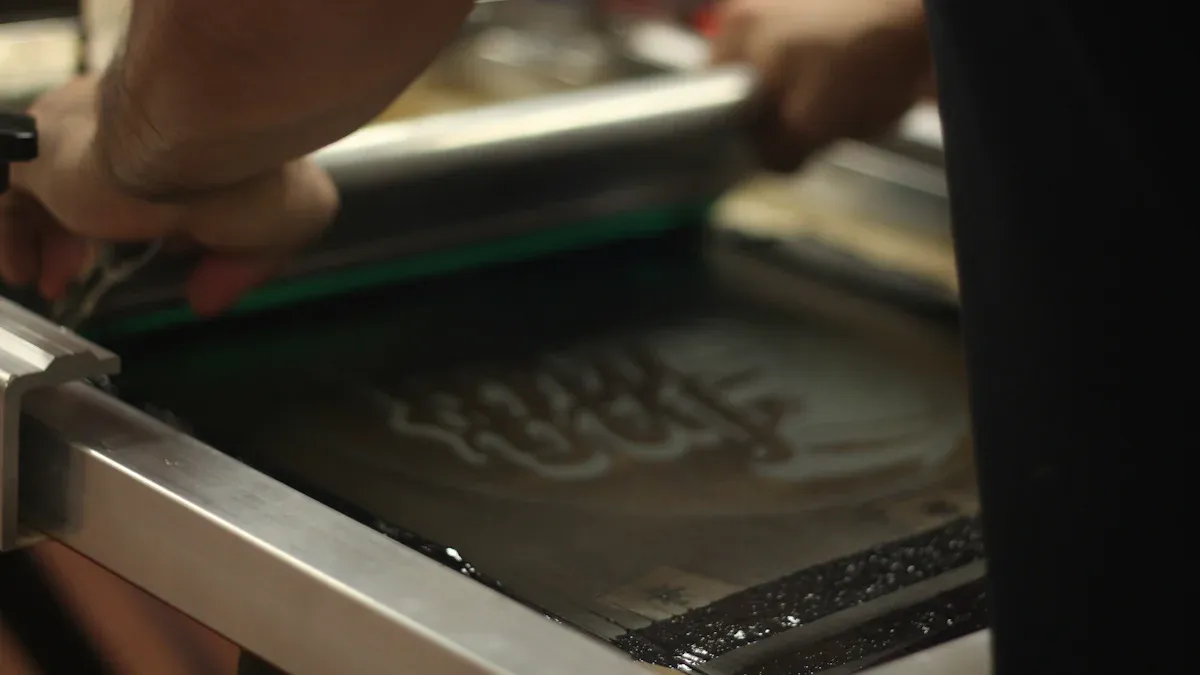
Positioning and Printing
Start by placing your screen on the printing surface. Make sure the screen sits flat and lines up with your material. Use registration marks or tape to keep your design in the right spot. Secure your material so it does not move during printing.
Follow these steps to make a print:
- Place your material (like a t-shirt or paper) on the printing board.
- Position the screen over your design area.
- Pour a line of ink at the top of the screen.
- Hold the squeegee at a 45-degree angle.
- Pull the squeegee down the screen with even pressure, spreading the ink across the design.
- Lift the screen carefully to reveal your print.
- Repeat the process for each item.
Check your first print for any issues. Adjust your pressure or ink amount if needed. Consistent positioning leads to sharp, repeatable results.
Note: If you use advanced equipment, such as cnding’s user-friendly machines, you can automate the positioning and printing steps. These machines control pressure and angle, ensuring every print looks the same. They also speed up production, making it possible to create hundreds of prints per hour.
Inking Techniques
The way you handle ink affects the quality of your SCREEN PRINTING. Ink properties like viscosity and drying speed play a big role. If the ink dries too slowly, it can transfer to other sheets and cause smudges. If it dries too quickly, you may see uneven color or missed spots. Good ink fineness gives you clear, bright prints.
Here are some effective inking techniques for beginners:
| Technique | Description |
|---|---|
| Controlling Ink Flow | Practice on scrap material to check ink flow. Clean your tools often to avoid clogs. |
| Layering Through Hatching | Use hatching or cross-hatching to add depth and shadow without extra color. |
| Creating Textures | Try dotting, scribbling, or zigzag lines to mimic different textures in your design. |
| Washes and Dilutions | Thin waterproof inks with water for softer layers and sharp details. |
Always test your ink on a sample before starting a full run. This helps you spot problems early and adjust your technique.
If you want to boost your output and consistency, automated screen printing machines offer big advantages. These machines can produce thousands of prints in a single day. They use AI-driven technology to optimize print quality and reduce waste. Automatic color matching systems keep your colors consistent from batch to batch. With cnding’s advanced solutions, you can achieve professional results with less effort and downtime.
Tip: Practice your inking technique on scrap material before printing on your final product. This builds your confidence and helps you get even coverage every time.
Finishing Prints
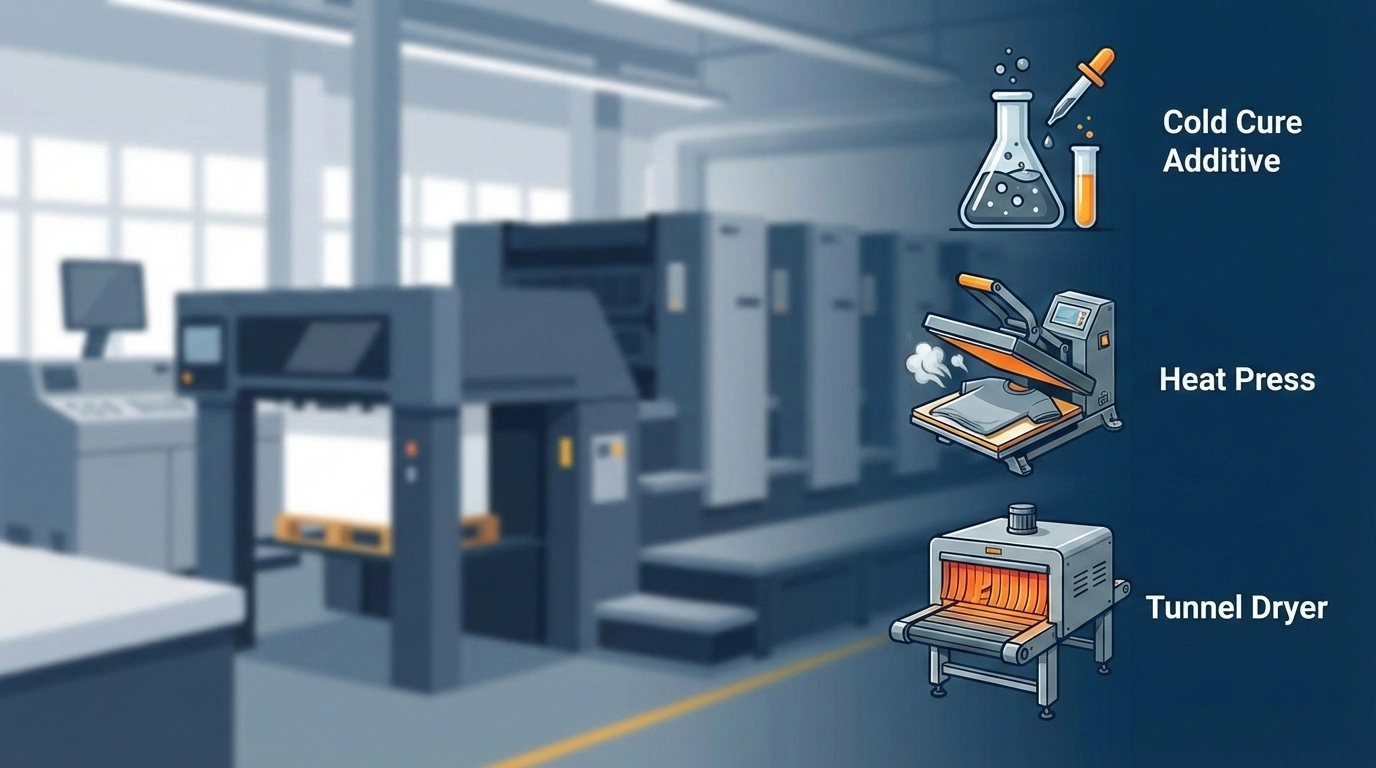
Curing and Drying
Proper curing and drying make your prints last longer and look professional. You need to set the right temperature for your ink type. For plastisol ink, cure at 320°F. Some brands allow curing as low as 280°F. For water-based ink, use temperatures between 300°F and 360°F. Some additives let you cure at lower temperatures, such as 200°F to 280°F.
Follow these steps to ensure durability:
- Set your dryer or heat press to the correct temperature for your ink.
- Place your printed item in the dryer for the recommended time.
- Test your print by washing it. If the design stays intact, you have cured it correctly.
- Stretch the print gently. If it does not crack, the curing is successful.
- Keep records of your dryer settings and curing times for each ink and fabric. This helps you repeat your best results.
Tip: Always test a sample before starting a large batch. This saves time and prevents wasted materials.
Here are some common mistakes and how to avoid them:
| Common Mistakes | Causes | Results |
|---|---|---|
| Insufficient Curing Time | Rushing the process | Ink feels tacky, fades, or peels after washing |
| Low Curing Temperature | Uncalibrated or cold equipment | Poor ink adhesion, weak prints |
| Excessive Curing Temperature | Overheating or not monitoring equipment | Fabric shrinks, ink cracks, or discolors |
| Improper Equipment Choice | Using non-professional dryers | Inconsistent curing, uneven prints |
| Failure to Verify Curing | Skipping wash or stretch tests | Durability issues after production |
Cleaning Tools
Clean tools keep your SCREEN PRINTING setup running smoothly. You should clean screens and squeegees right after printing. This prevents ink from drying and makes cleaning easier.
Use these methods for best results:
- Apply a screen degreaser to both sides of the screen. Scrub gently, rinse, and let it dry.
- Use a chemical emulsion remover for screens with emulsion. Apply, let it soak, scrub, rinse, and dry.
- For light cleaning, mix warm water with mild dish soap. Scrub gently, rinse, and dry.
- Avoid abrasive pads or harsh chemicals.
- Follow the manufacturer’s cleaning instructions.
- Inspect screens for damage before storing.
- Store screens in a clean, dry place.
Regular maintenance helps your press and tools last longer. Clean and lubricate moving parts often. This keeps your prints vibrant and your equipment reliable. If you use automated machines, routine care prevents clogs and misalignment. Well-maintained tools protect your investment and ensure smooth operation every time.
Note: Clean screens and tools right after each session. This habit saves you time and keeps your prints looking sharp.
Troubleshooting
Common Issues
You may face several challenges when you start screen printing. Beginners often see these problems:
- Blurry Prints: This happens if you use the wrong mesh count or do not expose your screen for the right amount of time.
- Ink Smudging: If your off-contact distance is too small or you skip flash curing, ink can smear.
- Fading Designs: Prints that are not cured enough will fade or wash out after cleaning.
If you notice ink bleeding, try these steps:
- Use just enough ink. Too much ink can seep and bleed.
- Adjust the off-contact distance so the screen only touches the material during the print stroke.
- Secure your fabric or paper so it does not move while printing.
Tip: Test your setup on scrap material before starting your main project. This helps you catch mistakes early.
Alternative Methods
If you have limited resources or want to try something new, you can explore other printing methods:
- Direct-to-Garment (DTG) printing works well for detailed, photo-like designs.
- Dye Sublimation uses heat to bond dye with polyester fabrics.
- Heat Transfer printing lets you use a transfer sheet and a heat press.
- Rhinestone transfers add sparkle with heated adhesive.
- Digital printing offers fast setup and high-quality results.
- Foil printing creates a shiny, metallic look.
- Embroidery and applique add texture and durability.
Screen printing costs more at first because you need to make stencils. For large orders, it becomes cheaper per print. DTG and digital printing have lower startup costs but higher ink prices, making them better for small batches or custom work.
Skill Improvement
You can improve your screen printing skills with practice and good habits. Use this table to guide your progress:
| Strategy | Description |
|---|---|
| Keep a clean shop | Clean spaces prevent dust and debris from ruining prints. |
| Reclaim screens correctly | Use the right chemicals to prepare screens for new designs. |
| Coat screens well | Apply emulsion smoothly for better stencils. |
| Register prints properly | Align colors carefully for accurate results. |
| Test runs are important | Run tests before printing to spot and fix problems. |
Give your prints enough time to cure. Use steady pressure and fewer strokes for better quality. Testing before each run helps you avoid wasted materials.
If you want to boost speed and accuracy, consider upgrading to automated solutions like those from cnding. Automation increases production speed, improves print alignment, lowers labor costs, and enhances quality control. You can focus more on creativity and less on fixing mistakes.
You have learned the essential steps for SCREEN PRINTING, from gathering supplies to finishing prints. Practicing regularly helps you save money on large orders and reuse screens for future projects. You can achieve professional results with quality tools and support from brands like cnding. Sharing your creations online builds community and inspires others to learn.
| Benefit | Community Impact |
|---|---|
| Artful habits | Fosters creativity and belonging |
| Fundraising projects | Supports group activities and learning |
Keep experimenting and share your progress. Your skills will grow with each print.
FAQ
What surfaces can you screen print on?
You can screen print on fabric, paper, cardboard, wood, and some plastics. Always test your ink on a small area first. Some surfaces may need special inks or treatments for the best results.
How do you clean a screen after printing?
Clean your screen right after printing. Use warm water and mild soap. Scrub gently with a soft brush. Let the screen dry before storing. This keeps your tools in good shape.
Why does my print look blurry?
| Possible Cause | Solution |
|---|---|
| Low screen tension | Tighten your screen |
| Too much ink | Use less ink |
| Wet stencil | Let stencil dry fully |
Check each step to fix blurry prints.
When should you upgrade to an automated machine?
You should upgrade when you want faster production, higher consistency, or need to print large batches. Automated machines, like those from cnding, help you save time and reduce mistakes.