Introduction
Direct-to-Film (DTF) printing has quickly become one of the most popular ways to handle custom apparel. Unlike old-school screen printing or heat transfer vinyl, DTF actually works on almost anything—cotton, polyester blends, and even tricky fabrics like nylon. It is a massive growth area right now, and for good reason: the demand for high-quality, small-batch gear is exploding. Setting up a DTF printer machine can feel pretty overwhelming if you’re looking at a pile of film, powder, and software for the first time. There is a lot of room for error between the digital design and the final shirt. This guide walks you through the whole process, including how industrial-grade gear like Cnding products fits into a professional workflow.
Understanding the DTF Printer Machine
What is a DTF Printer Machine
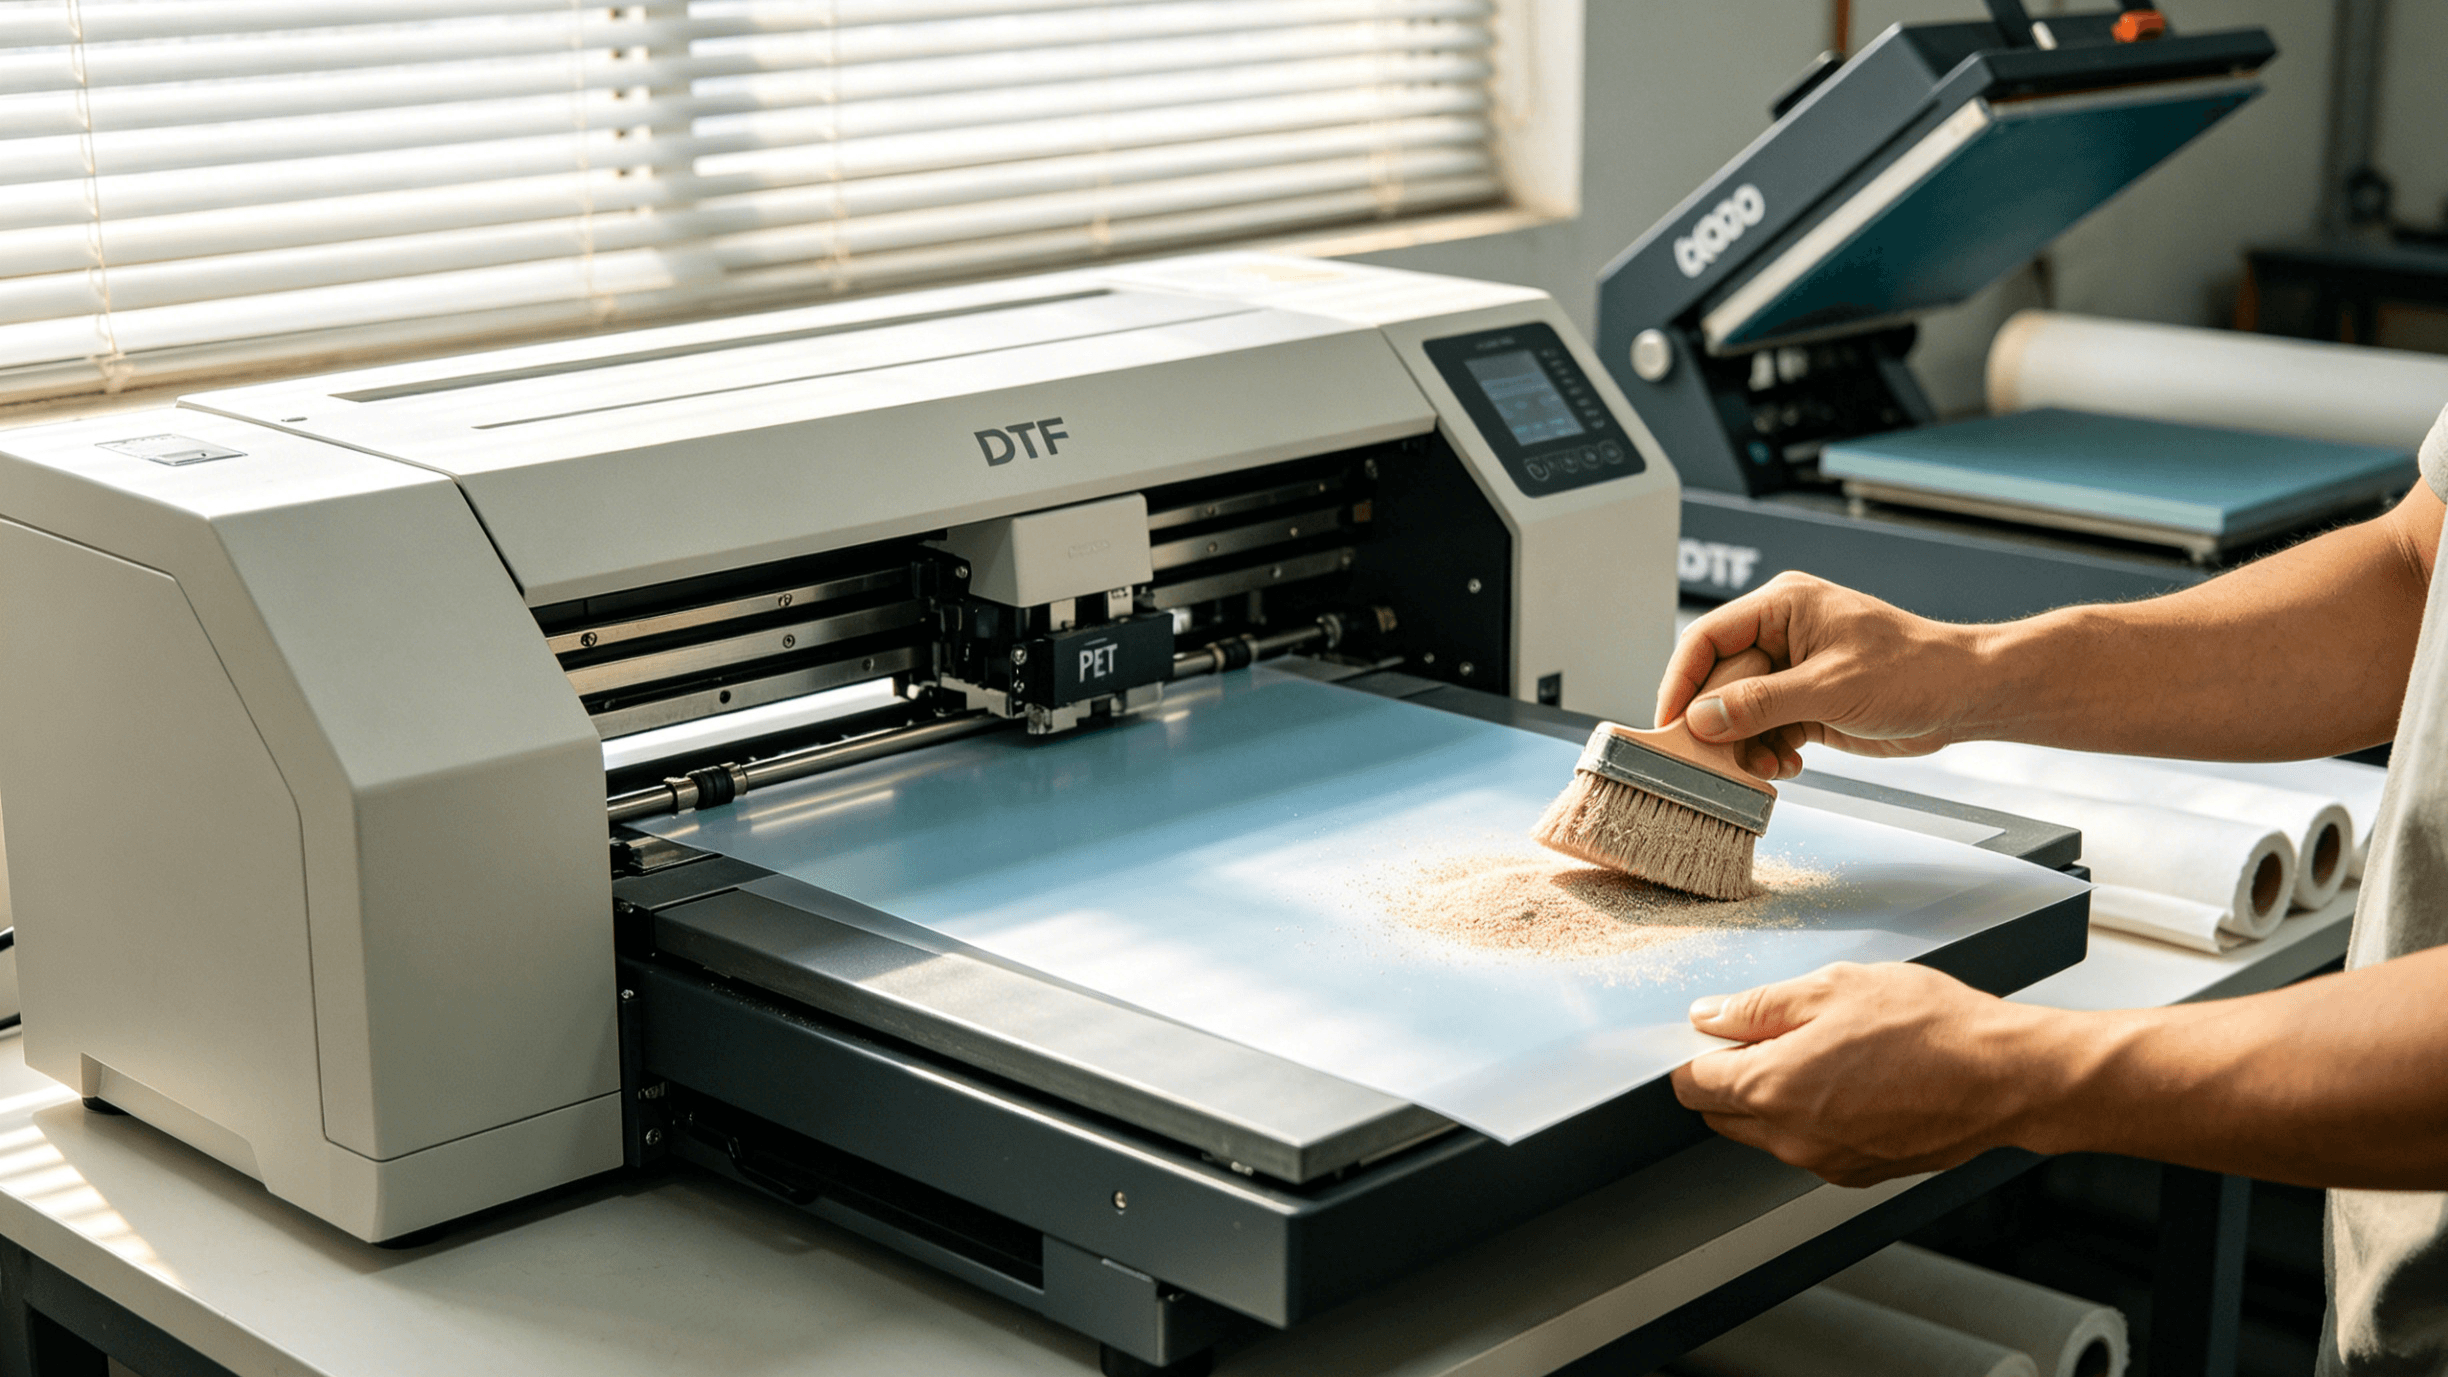
A DTF printer machine prints your art onto a specialized PET film. You then apply a glue powder and use heat to fuse that design onto the fabric. It’s more versatile than Direct-to-Garment (DTG) because you aren’t fighting the fabric texture during the actual print phase.
Why people are switching:
- It handles cotton, poly-blends, and nylon without breaking a sweat.
- You get sharp details and colors that actually pop.
- It’s fast enough for small or medium runs without the massive cleanup of screen printing.
Key Components of a DTF Printer Machine
Understanding the parts of a DTF printer machine is crucial for proper setup and maintenance:
- Printer Body: Houses the ink system, print heads, and electronic controls. Example: Cnding DT-1800 series offers industrial-grade precision suitable for high-volume production.
- Powder Application System: Distributes hot-melt adhesive powder uniformly on printed films.
- Heat Press / Curing Machine: Transfers the design to the fabric while activating the adhesive.
- Software Control System: Manages color profiles, print resolution, and workflow efficiency.
- Maintenance Components: Include cleaning kits, filters, and replacement nozzles to ensure consistent performance.
Choosing the Right Model for Your Needs
When selecting a DTF printer machine, consider the scale of production:
- Small studios or hobbyists: Compact models with moderate print width and speed.
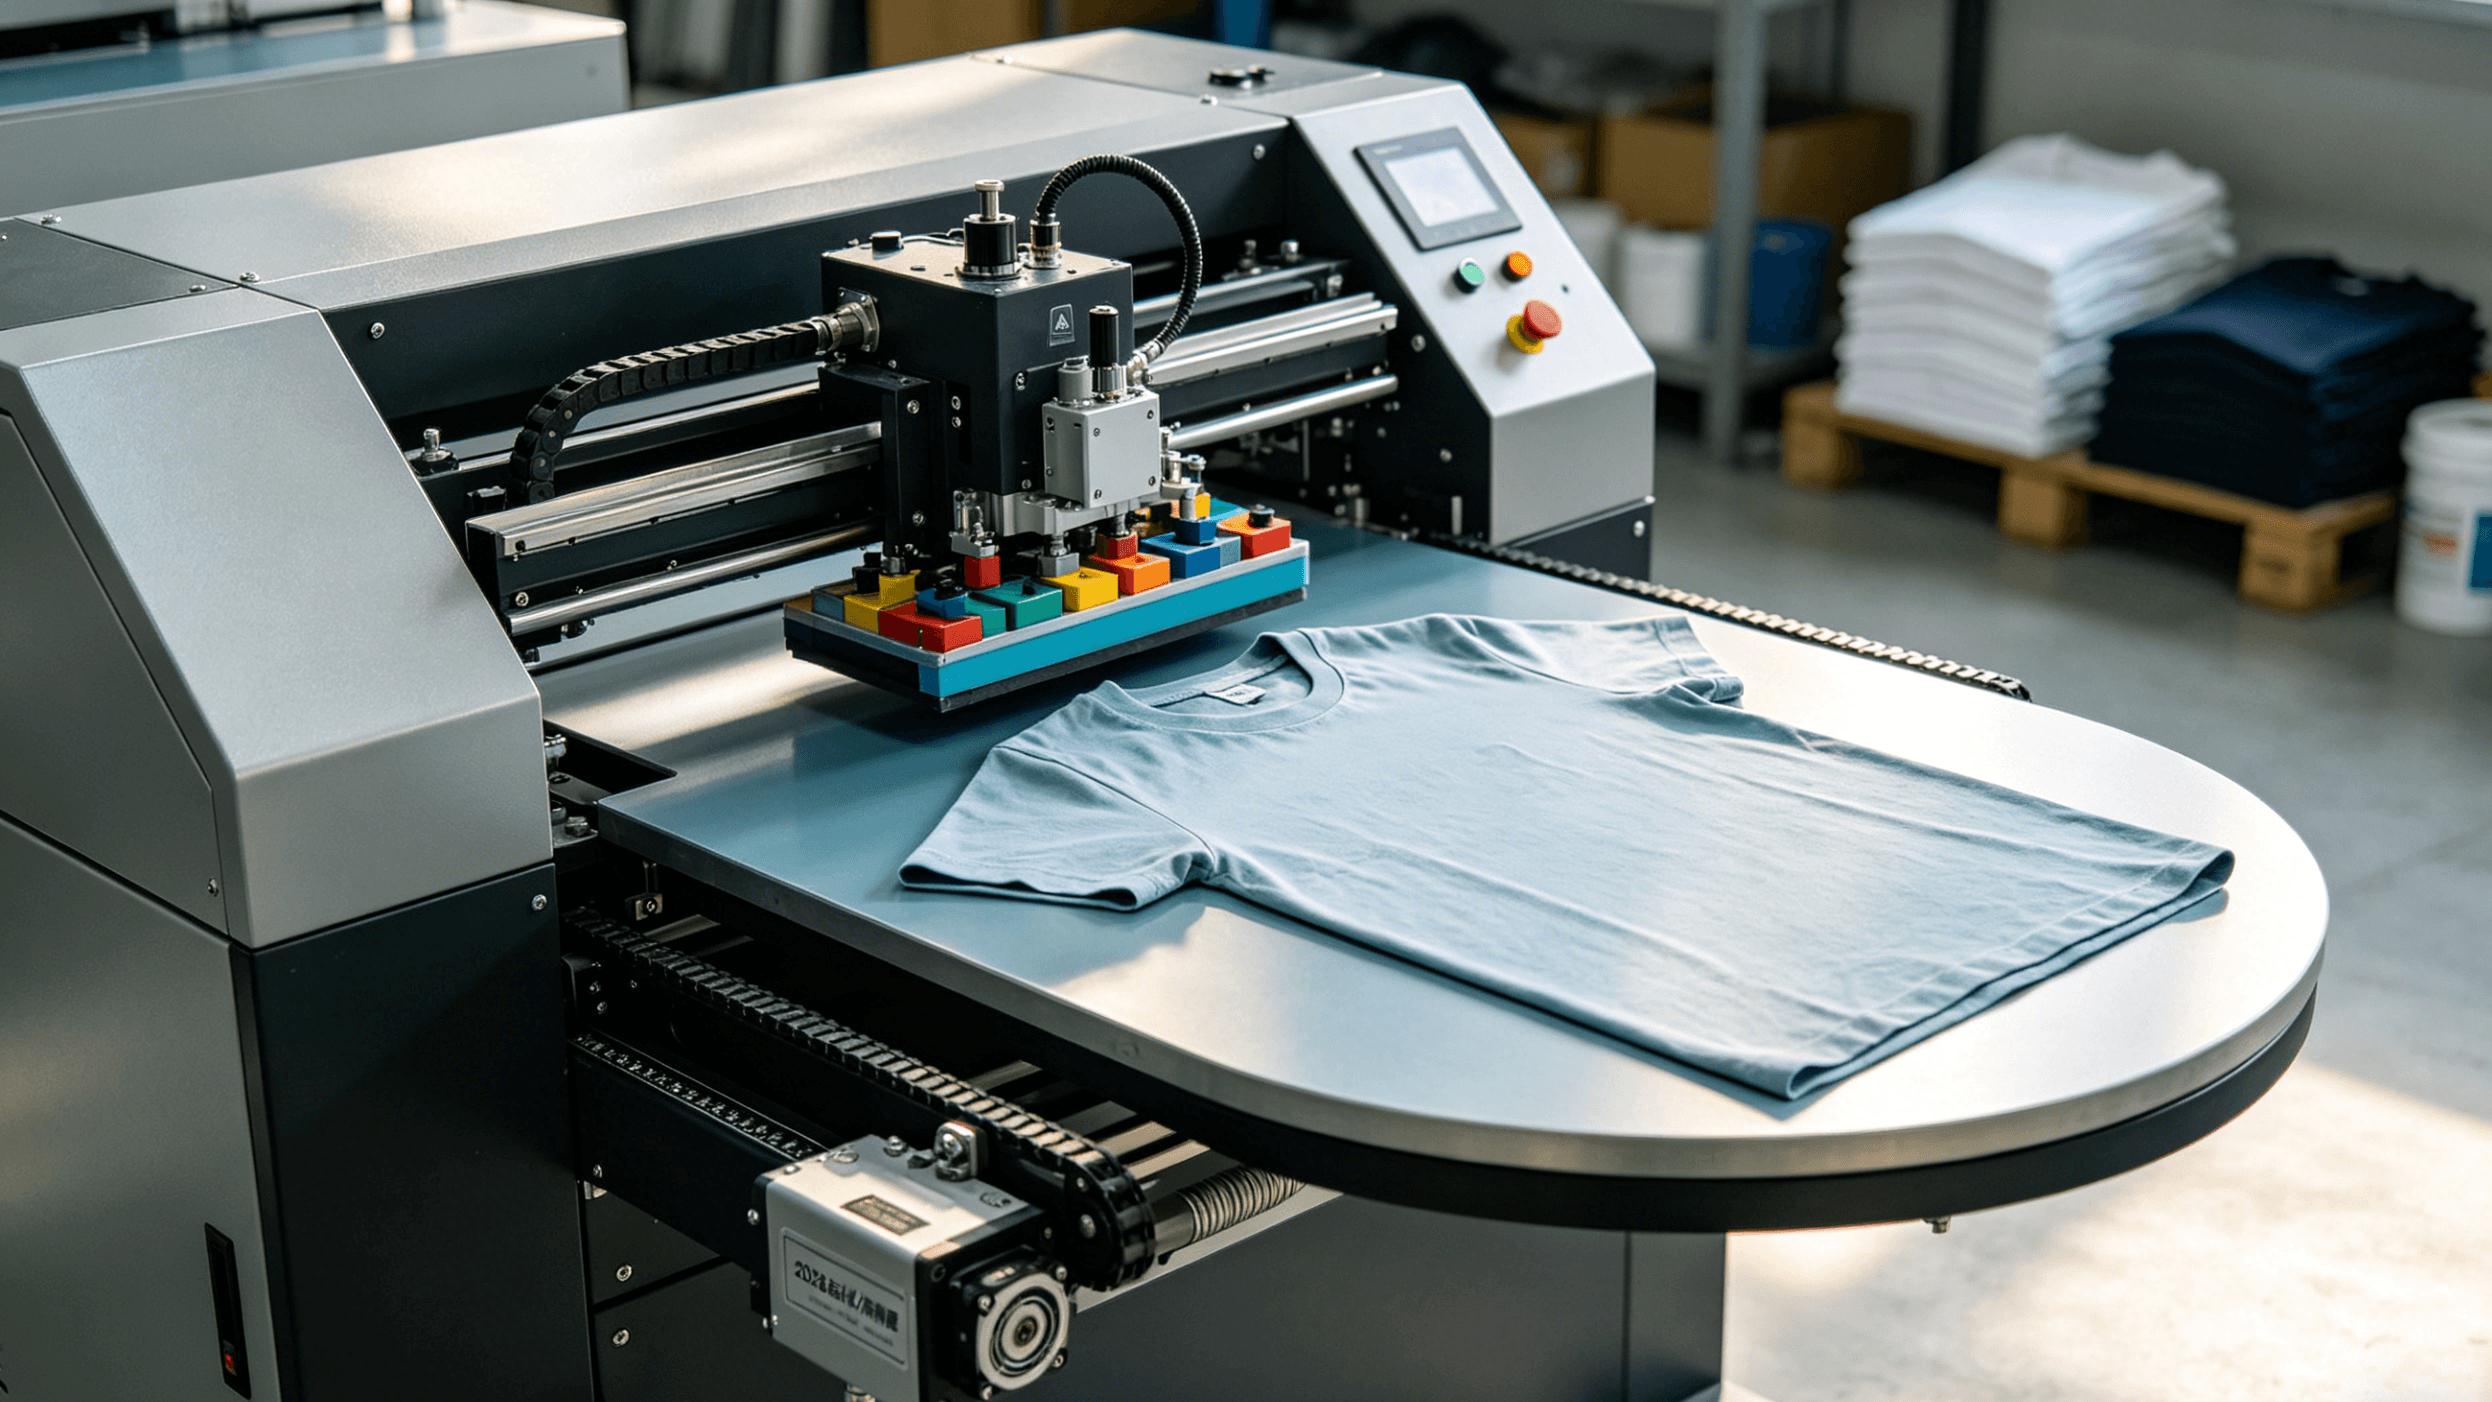
- Commercial operations: Industrial models like Cnding DT-1800 offer larger print beds, faster throughput, and higher reliability.
Performance Metrics to Consider:
- Print speed (sheets/hour)
- Maximum resolution (dpi)
- Ink consumption and cost per print
- Machine footprint and compatibility with existing workflow
Preparing Your Artwork for DTF Printing
What Software is Best for DTF Printer Machine Design
High-quality designs are critical for successful TF printing. Common software tools include:
- Adobe Illustrator: Ideal for vector graphics and scalable designs.
- Adobe Photoshop: Best for photo-based and detailed artwork.
- CorelDRAW: Another professional tool for both vector and bitmap designs.
File Setup and Color Management
- Resolution: Aim for 300 dpi or higher to maintain sharpness on final prints.
- Color Mode: CMYK is recommended for accurate color reproduction.
- White Ink Channel: For garments with dark fabrics, white ink acts as a base layer. Proper management is key to achieving consistent vibrancy.
Cnding provides software support for prepress preparation, including preset color profiles for their DTF printer machines, which can reduce errors and improve color accuracy.
Troubleshooting Common Design Issues
- White Ink Deposits: Uneven white ink application can create a patchy look; ensure proper agitation and printing settings.
- Color Deviations: Calibrate your printer with Cnding-recommended ICC profiles.
- Resolution Loss: Avoid upscaling low-resolution images; maintain 300 dpi at final print size.
Loading and Printing with Your DTF Printer Machine
Film and Ink Preparation
DTF printing relies on PET film and specialized inks:
- PET Film Selection: Choose films compatible with your machine and fabric type.
- Ink Type: Use DTF-specific pigment inks designed for vibrancy and adhesion.
- Powder Ratio: Apply hot-melt adhesive powder uniformly. Cnding’s guidelines specify precise amounts based on print size for optimal results.
Step-by-Step Printing Process
- Load Film: Place PET film in the printer with the printable side up.
- Ink Loading: Ensure proper ink flow and perform nozzle checks.
- Print Test Sheet: Confirm colors and white ink coverage.
- Calibration: Adjust print settings to match fabric type and design complexity.
Proactive steps help avoid common issues such as clogged nozzles, color shifts, or misalignment.
Post-Printing: Powder Application and Curing
- Powder Application: Use either an automatic shaker or manual method to distribute adhesive powder.
- Curing: Dry the powder using low-temperature ovens or heat guns. Cnding recommends 120–140℃ for 2–3 minutes to prevent distortion.
- Quality Check: Ensure complete coverage and adhesion before transferring to garments.
Transferring the Design to Garments
Heat Press Settings
- Standard parameters: 160–170℃ for 15 seconds at medium pressure.
- Adjust based on fabric type: cotton requires slightly higher temperature, polyester slightly lower.
Troubleshooting Transfer Issues
- Image Peeling or Cracking: Caused by insufficient adhesive or incorrect pressure.
- Uneven Colors: May result from uneven powder distribution or incorrect curing.
- Tips: Use a Teflon sheet to prevent direct contact between film and press, ensuring smooth transfer.
Post-Press Care
- Washing Instructions: Machine wash cold, avoid bleach, turn garments inside out.
- Longevity: Cnding tests show properly applied DTF prints can withstand up to 50 washes without significant fading.
Maintenance and Longevity of Your DTF Printer Machine
Routine Cleaning Tips
- Print Head Cleaning: Regular cleaning prevents clogging and streaking.
- Ink and Powder Storage: Keep in a cool, dry environment.
- Cnding Maintenance Kits: Designed to extend machine life and ensure consistent output.
Troubleshooting Common Printer Problems
- Ink Drying in Nozzles: Perform regular nozzle flushes.
- Software Issues: Update firmware and check driver compatibility.
- Powder Build-Up: Clean the shaker and surrounding surfaces after each use.
Extending Machine Life
- Follow daily, weekly, and monthly maintenance schedules.
- Replace consumables according to manufacturer recommendations.
- Customer reports indicate Cnding DTF printers can last 5+ years with proper care.
Scaling Up
DTF printing can evolve from a hobby to a full-scale business:
- Small Batch Production: Start with compact Cnding models for custom orders.
- High-Volume Production: Upgrade to industrial printers for faster throughput.
- ROI Estimation: Typical material cost per t-shirt ranges from $2–$4; retail price can reach $15–$25, depending on complexity and garment type.
Businesses can also consider workflow automation, including powder applicators and conveyor dryers, to maximize efficiency.
Conclusion
Setting up a DTF printer machine requires careful attention to each stage: design, printing, powder application, heat transfer, and maintenance. By following the steps outlined in this guide and using reliable equipment like Cnding DTF printer machines, operators can produce high-quality, durable prints consistently. Whether you are a hobbyist exploring custom apparel or a commercial operation aiming for scalability, understanding the complete DTF workflow ensures that each garment meets professional standards.