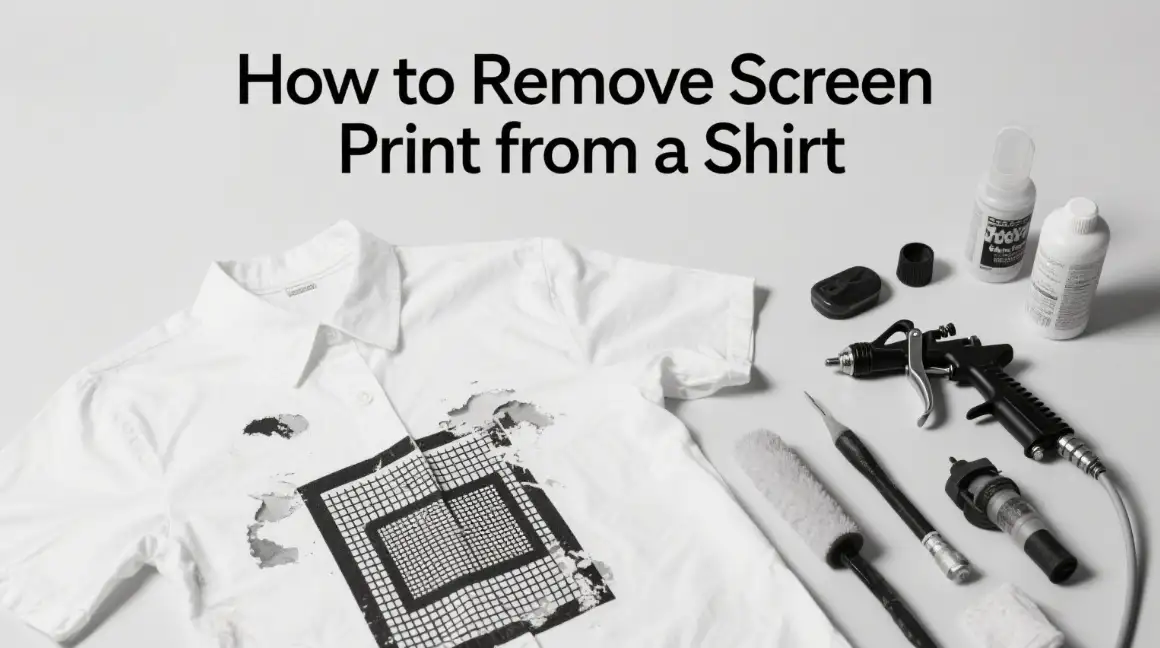
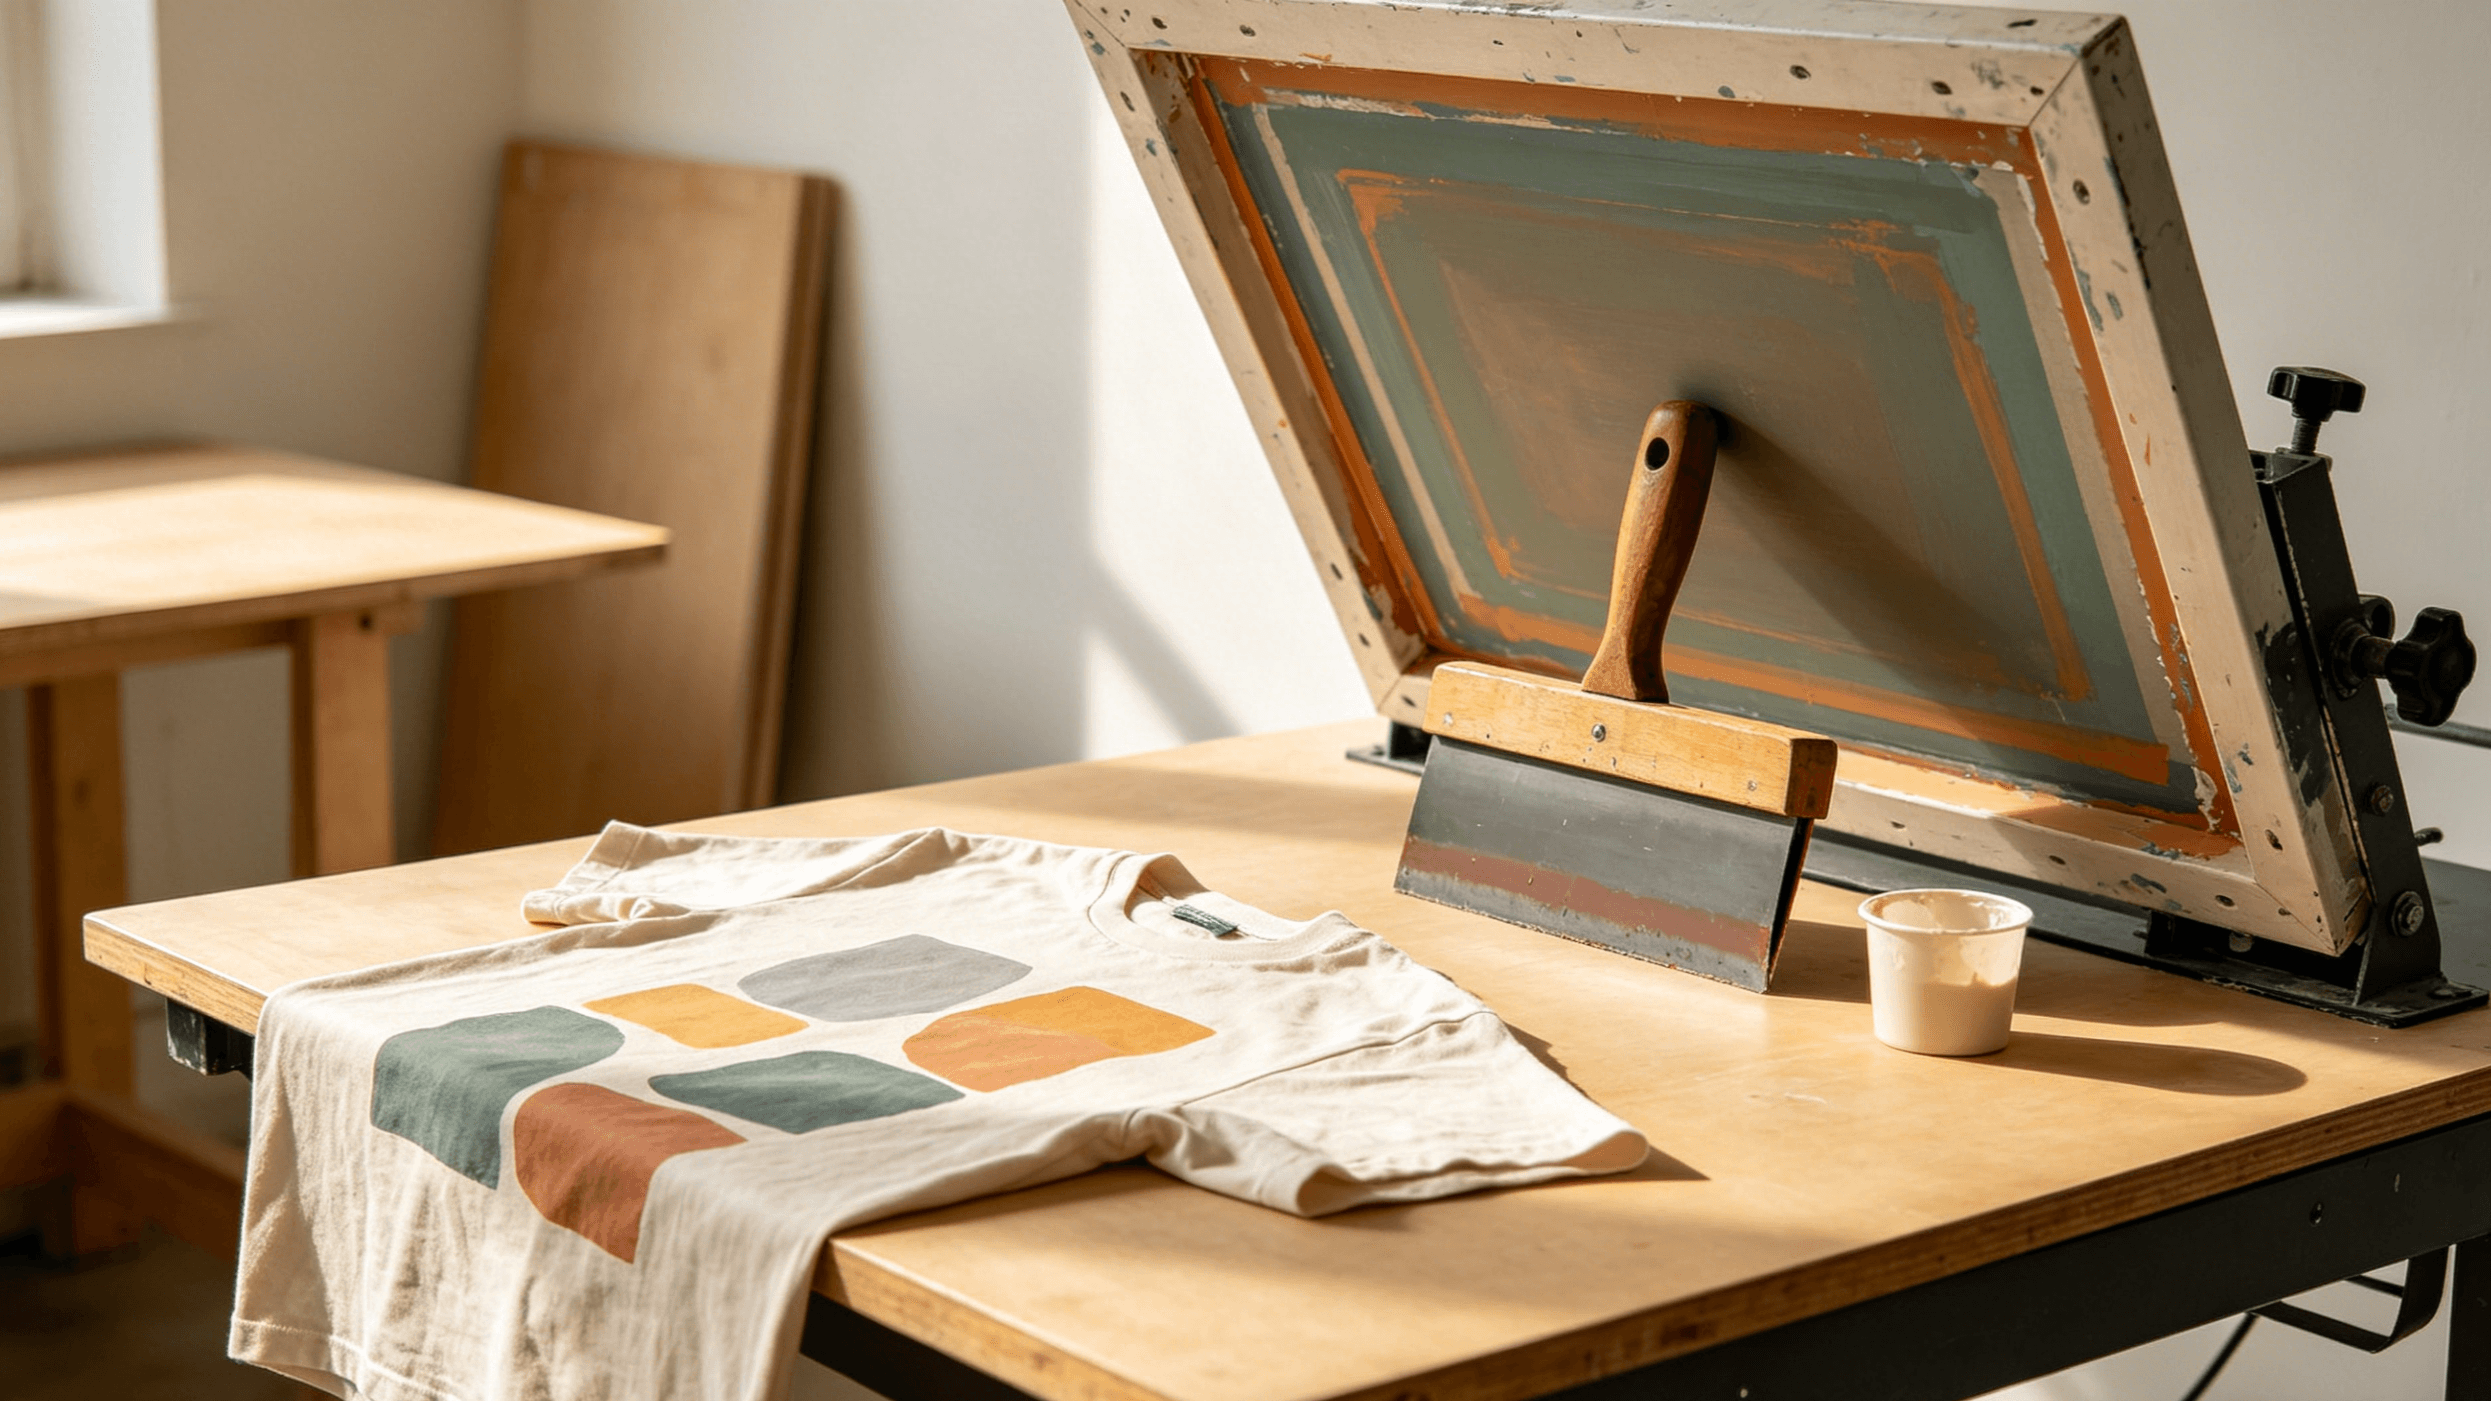
Screen printing, also known as silkscreen or serigraphy, is a printing technique that involves pressing ink through a mesh screen with a stencil to create designs on various surfaces. It’s widely used for T-shirts, bags, signs, and more, and works well on materials like fabric, paper, metal, wood, glass, or plastic. Screen printing is popular for its ability to produce vibrant, durable designs in bulk, especially on dark fabrics.
Why Remove Screen Printing
While screen printing creates high-quality designs, there are several reasons you might want to remove it:
Outdated Designs: A logo or graphic may no longer be relevant.
Repurposing Clothing: You may want to refresh an old T-shirt for a new look.
Personalization: Removing a design allows for a clean slate to create something new or keep the shirt plain.
Fortunately, screen printing ink typically sits on top of fabric fibers rather than fully penetrating them, making it possible to remove with the right techniques. Below are five effective methods to remove screen printing from a T-shirt.
Five Effective Methods to Remove Screen Printing from a T-Shirt
These methods work for most common fabrics, but choose the one best suited to your T-shirt’s material and the size of the printed design.
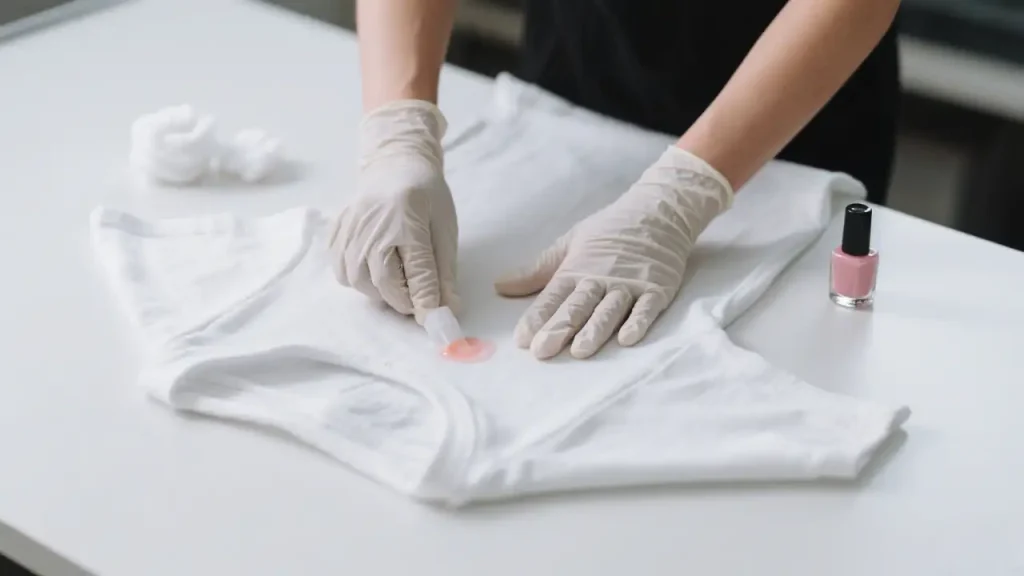
1. Using Nail Polish Remover or Acetone
Nail polish remover or pure acetone is a go-to solution for removing screen printing. Acetone, a powerful solvent, breaks down aged or cracked ink, making it ideal for cotton and denim fabrics.
Steps:
Flip the T-shirt inside out and apply nail polish remover or acetone to the back of the printed area.
Gently dab the area with a cotton ball or soft cloth, avoiding excessive rubbing to prevent ink spread.
Let the acetone sit for a few minutes to break down the ink.
Wipe the area with a soft cloth in a circular motion to lift the ink.
Repeat as needed, depending on the ink’s thickness and fabric type.
Wash the T-shirt with mild detergent to remove any chemical residue.
Notes:
Test acetone on an inconspicuous area first to ensure it won’t damage or fade the fabric.
Work in a well-ventilated area and wear gloves to protect your skin.
2. Using Plastisol Remover
Plastisol ink, made from PVC particles, is the most common ink used in screen printing. A specialized plastisol remover can effectively dissolve this type of ink.
Steps:
In a well-ventilated area, wear gloves and apply plastisol remover to a soft cloth.
Place the cloth over the printed design and let it sit for 20–30 minutes.
Use a soft-bristled brush to gently scrub away flaking ink.
Wipe off residual remover with a clean cloth.
Machine-wash the T-shirt to remove any chemical traces.
Notes:
Plastisol removers are potent chemicals, so handle with care.
Suitable for most cotton or cotton-blend fabrics but use cautiously on delicate materials.
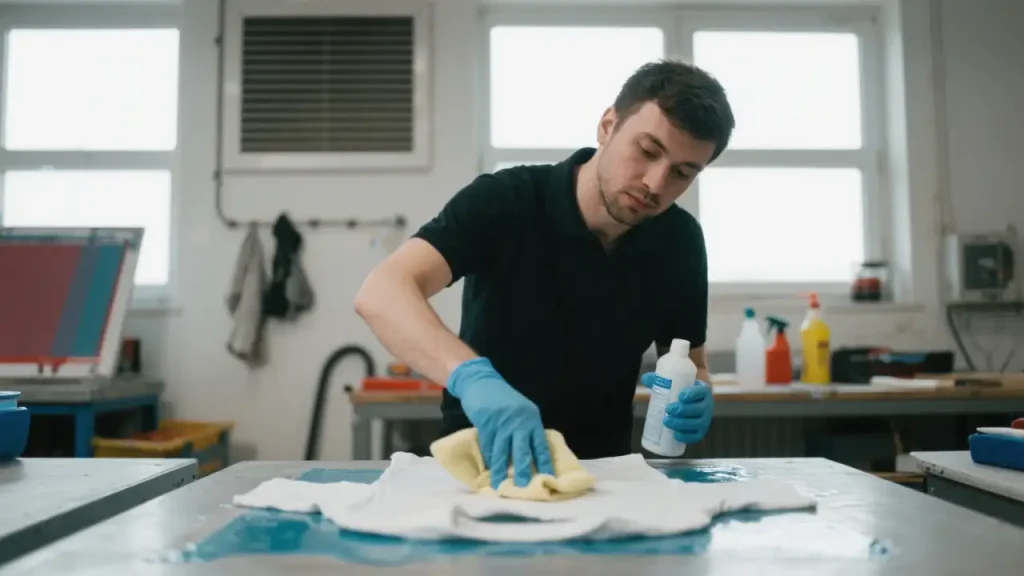
3. Spot Cleaning Fluid
Spot cleaning fluid is a professional-grade solution, often used to remove small stains or printing imperfections. It can be applied using a spot cleaning gun (via compressed air) or a manual spray bottle.
Steps:
Lay the T-shirt flat with the printed area facing up, and place an old towel underneath to absorb excess liquid.
Load the spot cleaning fluid into a spray gun and aim precisely at the printed design.
After spraying, wipe away dissolved ink with a soft cloth.
Machine-wash the T-shirt to remove any chemical residue.
Notes:
Avoid spraying fluid on non-printed fabric areas to prevent damage.
Best for small designs or localized imperfections.
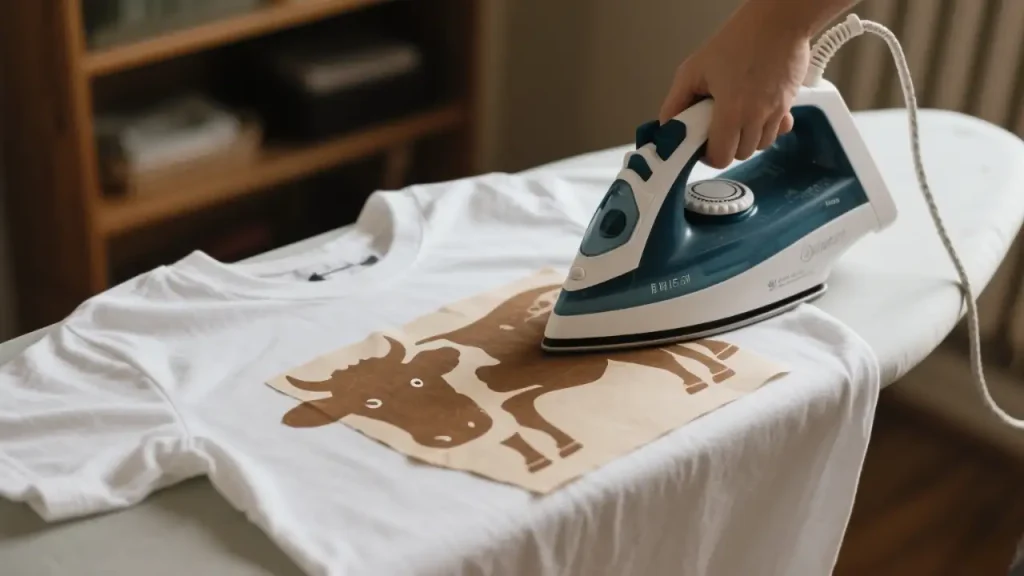
4. Iron and Paper Bag Method
This method uses heat to transfer the printed design onto a paper bag, making it ideal for cotton fabrics. Avoid using the steam setting on the iron.
Steps:
Set the iron to a low, cotton-safe temperature (no steam).
Place a piece of kraft paper or a plain paper bag over the printed area.
Iron over the paper bag until the ink begins to melt and transfer onto the paper.
Remove the paper and gently scrape off any remaining ink with a plastic scraper or toothpick.
Wash the T-shirt to remove any residue.
Notes:
Avoid high heat to prevent fabric damage.
Works best for thin or newer printed designs.
5. Sugar Scrub Method
The sugar scrub method is a gentle, physical approach to removing fresh printed designs, suitable for most fabrics.
Steps:
Rinse the T-shirt with cold water to loosen some of the ink.
Sprinkle a tablespoon of white sugar over the printed area.
Using a damp cloth or your hand, rub the area in a circular motion until the ink lifts.
Machine-wash the T-shirt to remove sugar and ink residue.
Notes:
Ideal for fresh or light ink designs.
Gentle on delicate fabrics but requires patience.
Tips for Different Fabrics
Different fabrics react differently to chemicals and heat, so choose the appropriate method carefully.
Cotton and Polyester
Pure Cotton: The iron and paper bag method or acetone work well.
Polyester or Cotton-Poly Blends: Avoid acetone, as it may damage synthetic fibers. Instead, try dish soap and a stiff brush:
Apply dish soap to the printed area.
Scrub gently with a stiff brush until the ink flakes off.
Rinse with warm water and wash.
Nylon
Nylon is a sensitive synthetic fiber, so avoid harsh solvents. Use WD-40 instead:
Spray a small amount of WD-40 on the printed area and let it sit for a few minutes.
Wipe away dissolved ink with an old towel.
Machine-wash the T-shirt.
Denim
Denim is durable and can handle tougher methods:
Soak the T-shirt in cold water, then dry it on high heat.
Peel off any loosened ink.
If residue remains, use acetone or plastisol remover for further treatment.
Precautions When Removing Screen Printing
Safety First: Wear gloves and work in a well-ventilated area when using chemical solvents like acetone or plastisol remover.
Test First: Always test any method on a hidden area to avoid damaging or fading the fabric.
Protect the Fabric: Avoid excessive rubbing or high heat to prevent fiber damage.
Be Patient: Stubborn ink may require multiple attempts.
Clean Thoroughly: Machine-wash the T-shirt after each method to remove chemical or ink residue.
Consider Redesigning: If faint traces remain, cover them with a new design to give the T-shirt a fresh look.
Conclusion
Removing screen printing from a T-shirt is straightforward with the right approach. Whether you opt for acetone to quickly dissolve ink or a gentle sugar scrub for fresh designs, these methods can restore your T-shirt to its original state. Always prioritize safety, test methods, and work patiently. If you’re looking to redesign your T-shirt after removing the print, consider reaching out to a professional screen printing service for high-quality, custom designs.
We hope this guide helps you refresh your T-shirt with ease! For more screen printing tips, feel free to consult a professional team.
Introduction Custom apparel is hitting massive numbers, with the market expected to pass $45 billion by 2030. If you’re looking at the scene in 2026, Heat Press Vinyl (HTV) is...
Introduction The apparel industry has exploded lately. We’re looking at a market projected to hit $17.5 billion by 2027, mostly because everyone wants custom gear, unique merch, and fast-fashion pieces...
Introduction The custom t-shirt business is on a serious roll. Experts think the global market will hit around USD 5.1 billion by 2026. Even with all the new tech out...