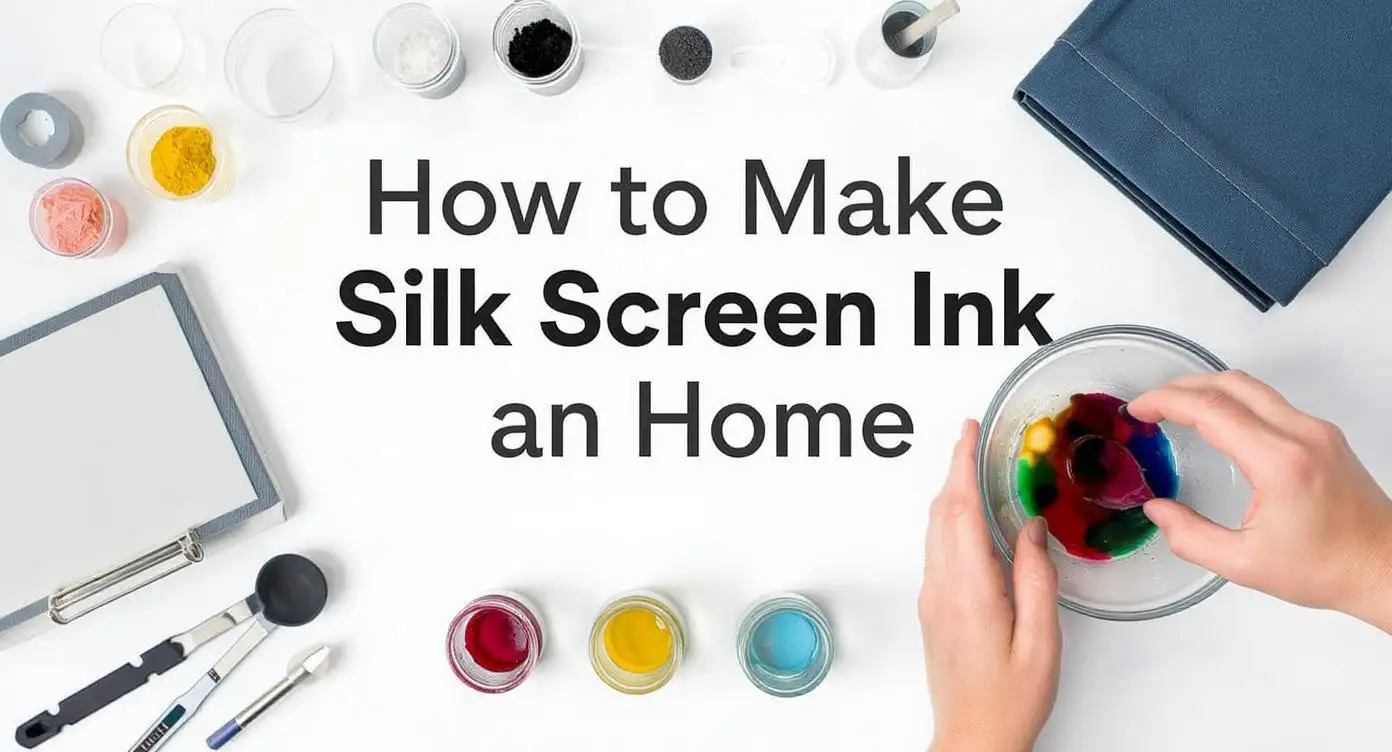
Want to create your own art with silk screen printing ink from the comfort of your home? Silk screen printing, or screen printing, is a technique that pushes ink through a mesh screen to create designs on paper or fabric, with roots going back to 10th-century China! While you can buy ready-made inks, making your own is not only budget-friendly but also lets you craft custom colors tailored to your vision.
This guide will walk you through two methods to make screen printing ink: a simple, beginner-friendly approach using acrylic paint and water, and a more professional option using textile medium for lasting results. Each step is broken down with practical tips and visual cues to help you get started with ease!
DIY screen printing ink gives you flexibility and saves money. You can mix any color you want, and the ingredients are easy to find. When I first tried it, I wanted to make custom T-shirts for friends but found commercial inks pricey. Mixing my own with acrylic paint worked like a charm, and the process felt like a fun science experiment. Seeing your design come to life on fabric or paper is incredibly rewarding!
This method is super straightforward and perfect for beginners. It uses everyday materials, making it affordable and ideal for printing on paper, cardstock, or lightweight fabrics like decorative tote bags or posters that won’t see heavy washing.
Step 1: Measure Your Ingredients
Mix acrylic paint and water in a 1:1 ratio—for example, 100 ml of paint to 100 ml of water. Precision matters here, as the ratio affects the ink’s consistency. My first attempt went wrong because I eyeball-measured the water, and the ink turned out too runny, looking like a watercolor mess. Use a measuring cup or spoon for accuracy. Pour both into your mixing container.

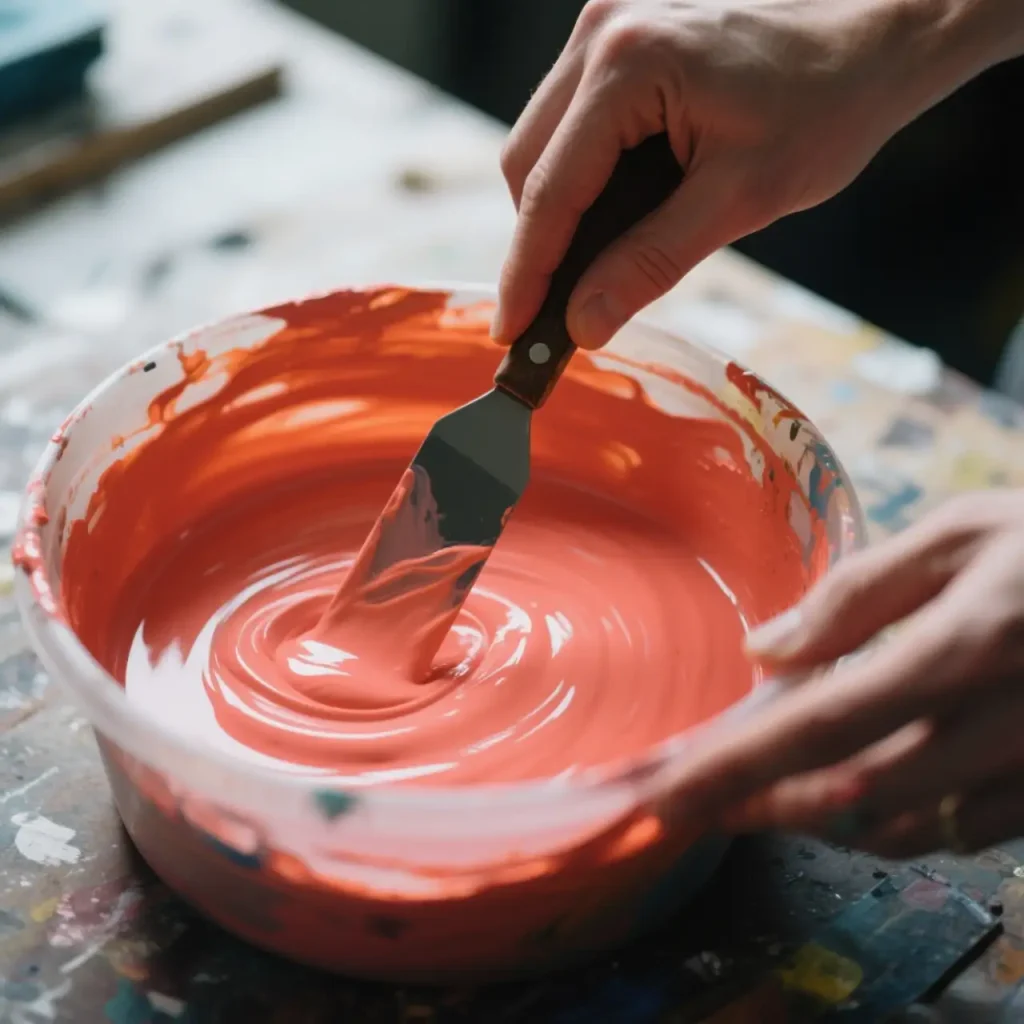
Step 2: Blend Thoroughly
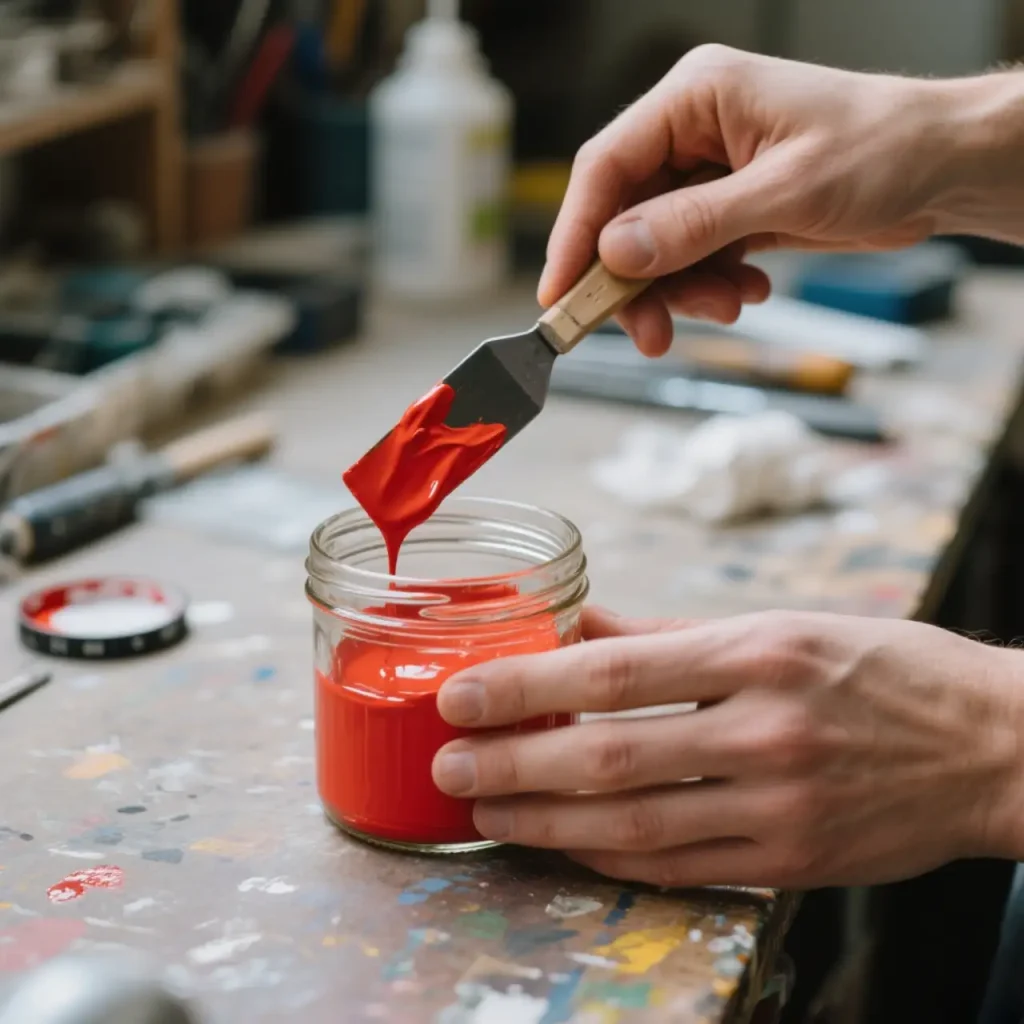
Use your palette knife or stir stick to mix the paint and water for 2–3 minutes. Acrylic paint can settle, so keep stirring until the mixture is smooth and free of lumps. I once rushed this step and ended up with grainy ink that left uneven prints—patience pays off here.
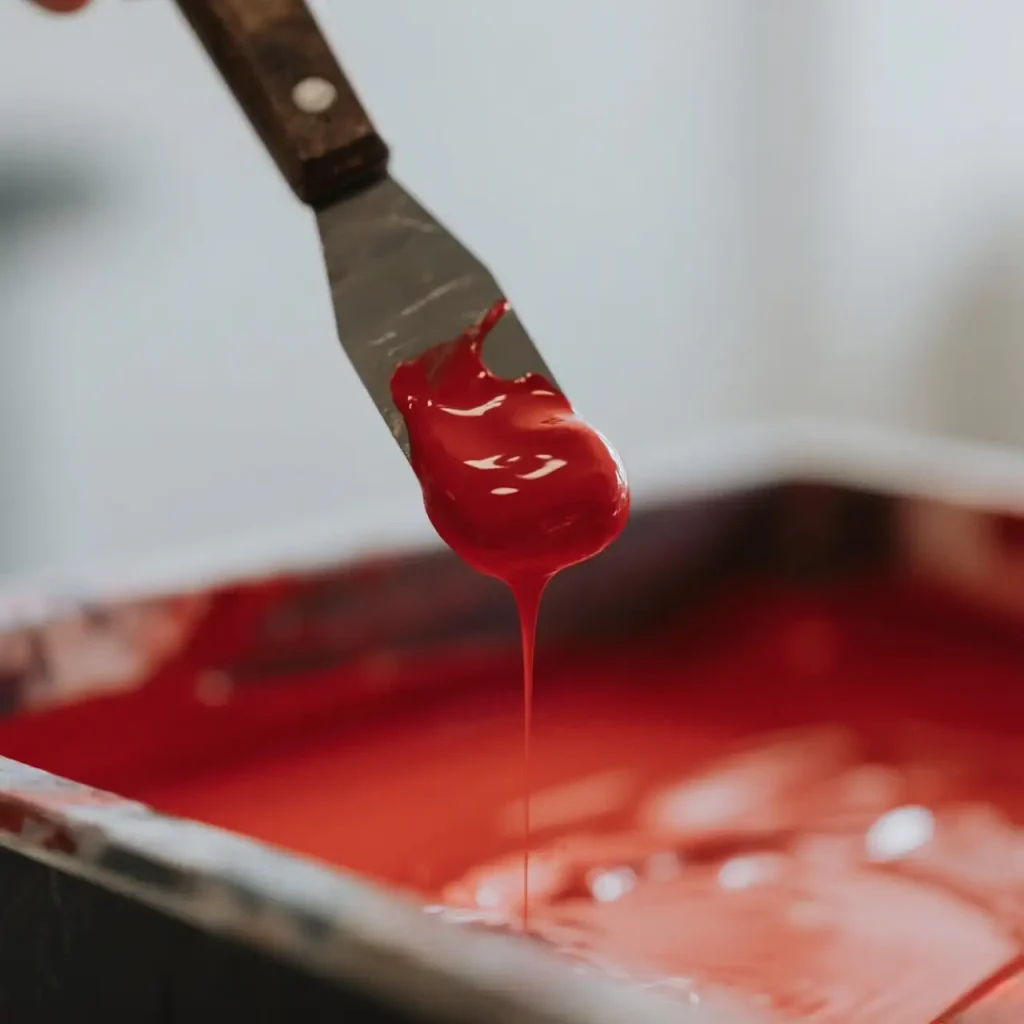
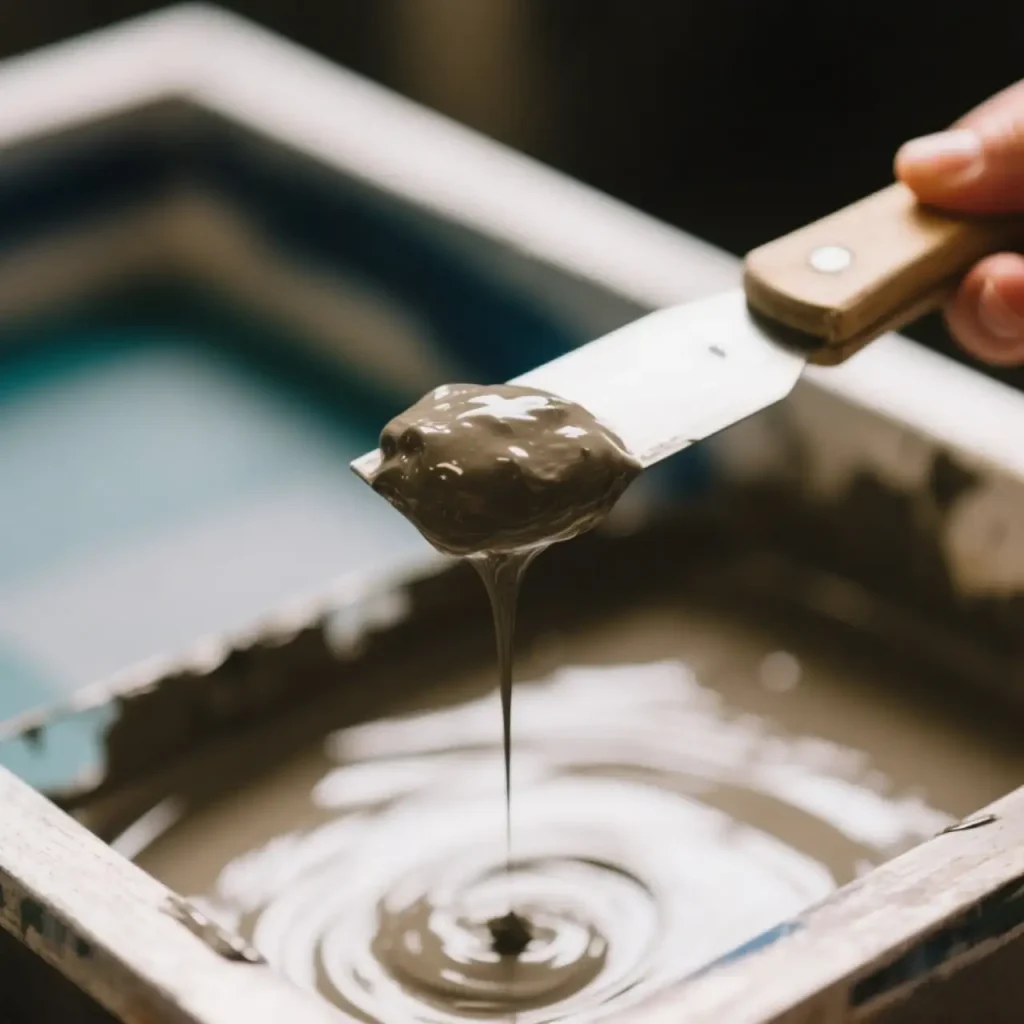
Step 3: Check Consistency
The ideal ink should flow like thin syrup—not too thick, not too watery. Scoop some with your palette knife to see how it drips. If it’s too thick, add water a teaspoon at a time, stirring well; if too thin, add a bit more paint. I learned the hard way when I overdid the water, and the ink ran everywhere, so adjust slowly.
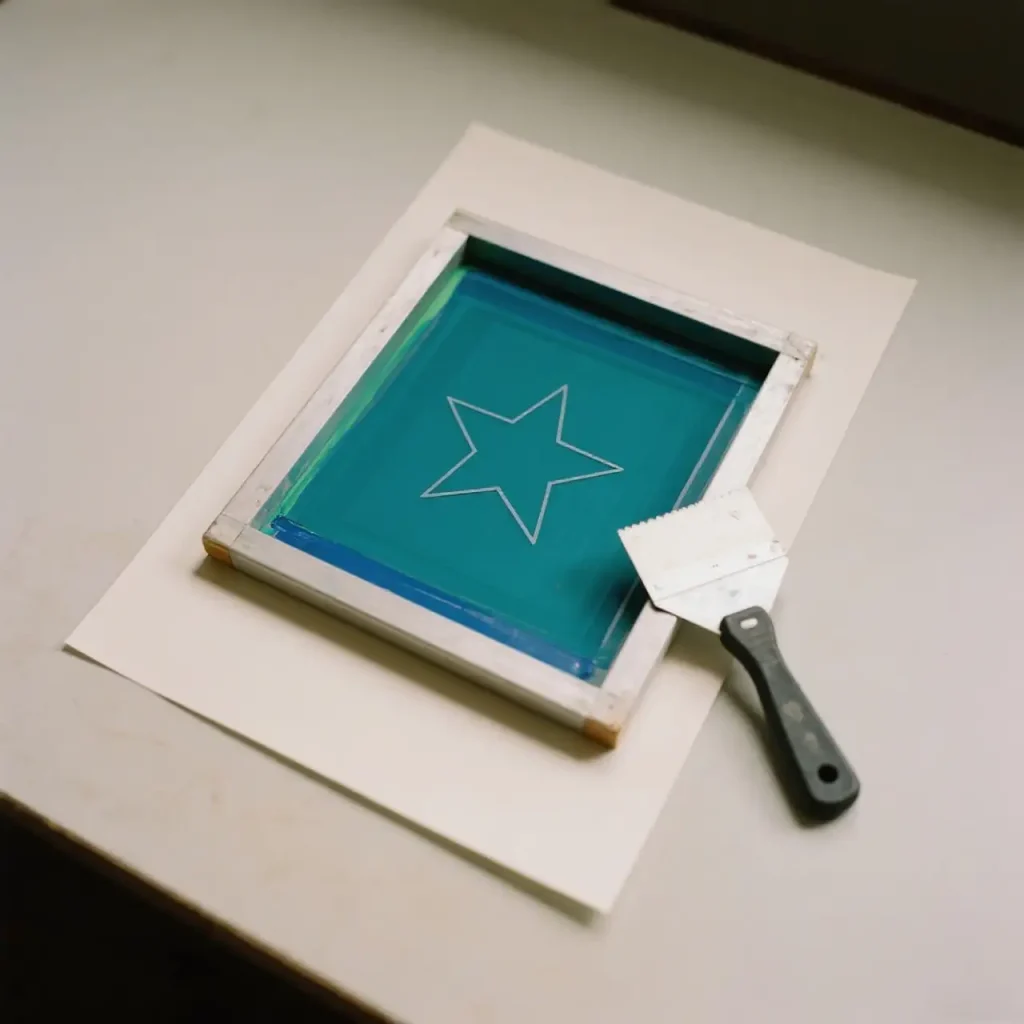
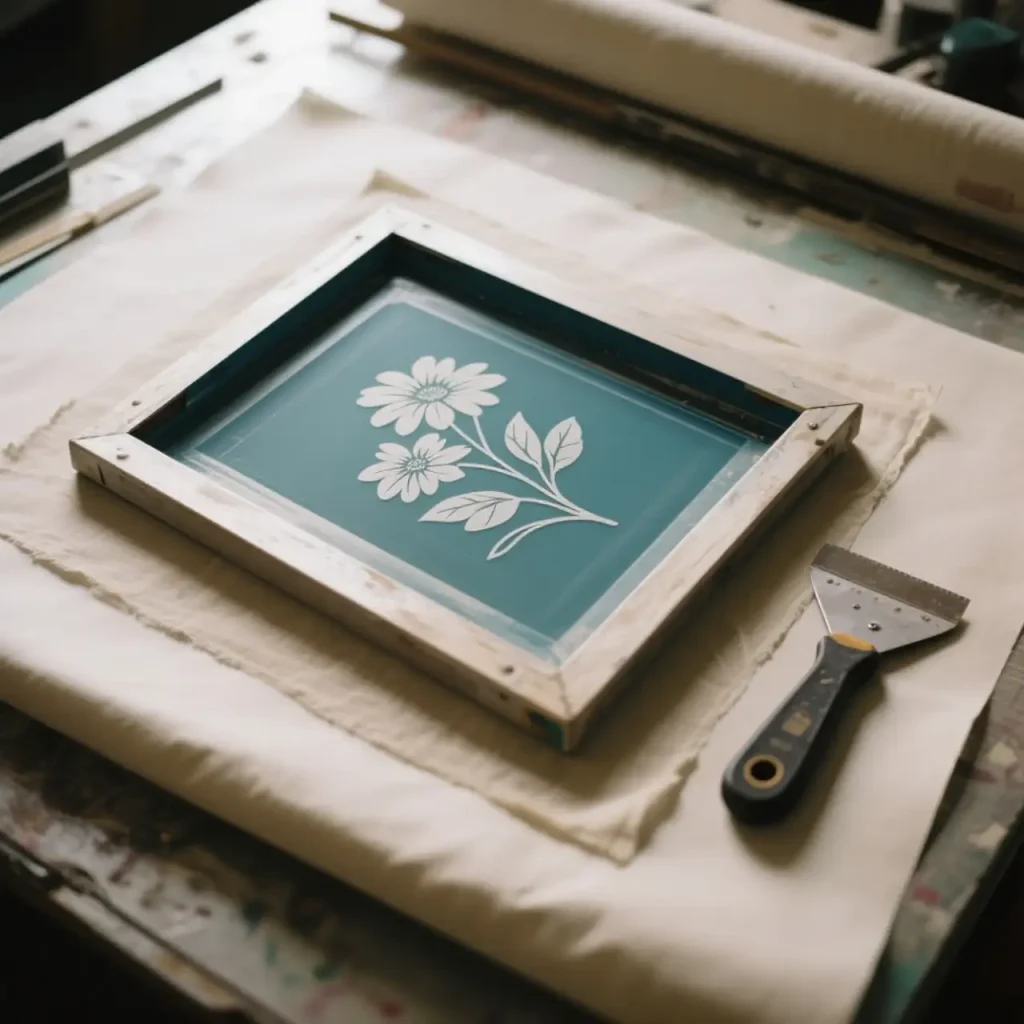
Step 4: Set Up Your Printing Area
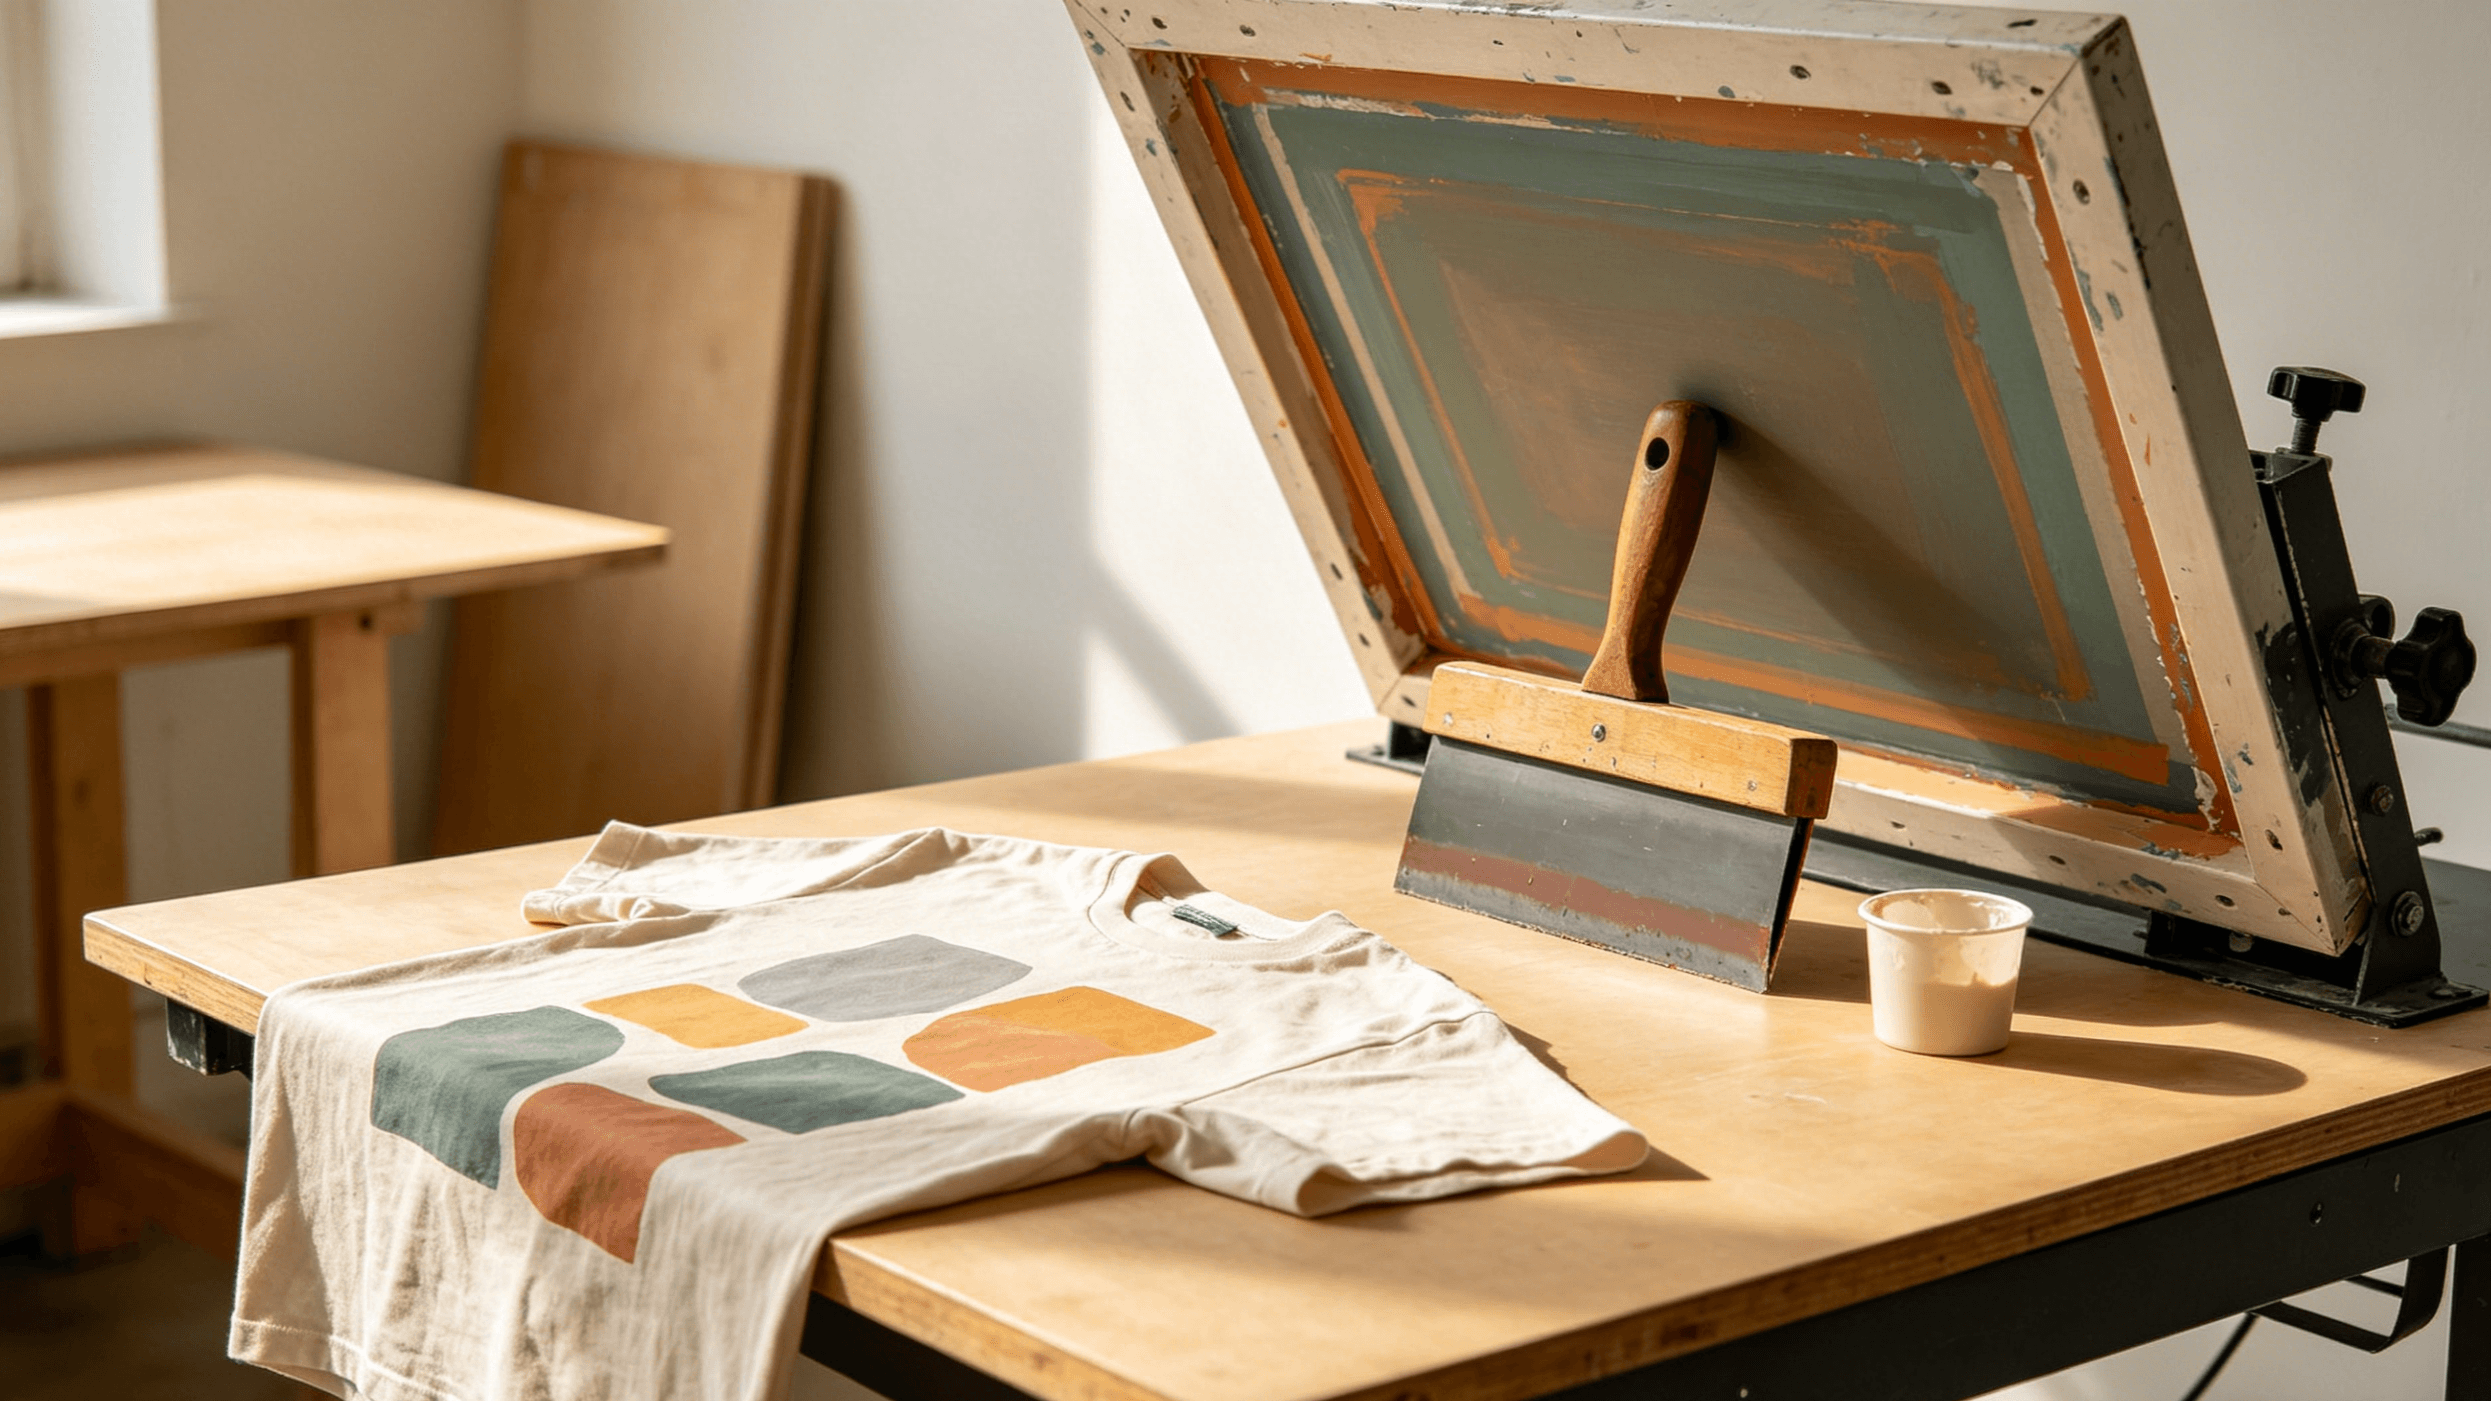
Place your screen printing frame over flat paper or fabric, ensuring no wrinkles. For T-shirts, slip a piece of cardboard inside to prevent ink from bleeding through. Align the stencil design with where you want the print.
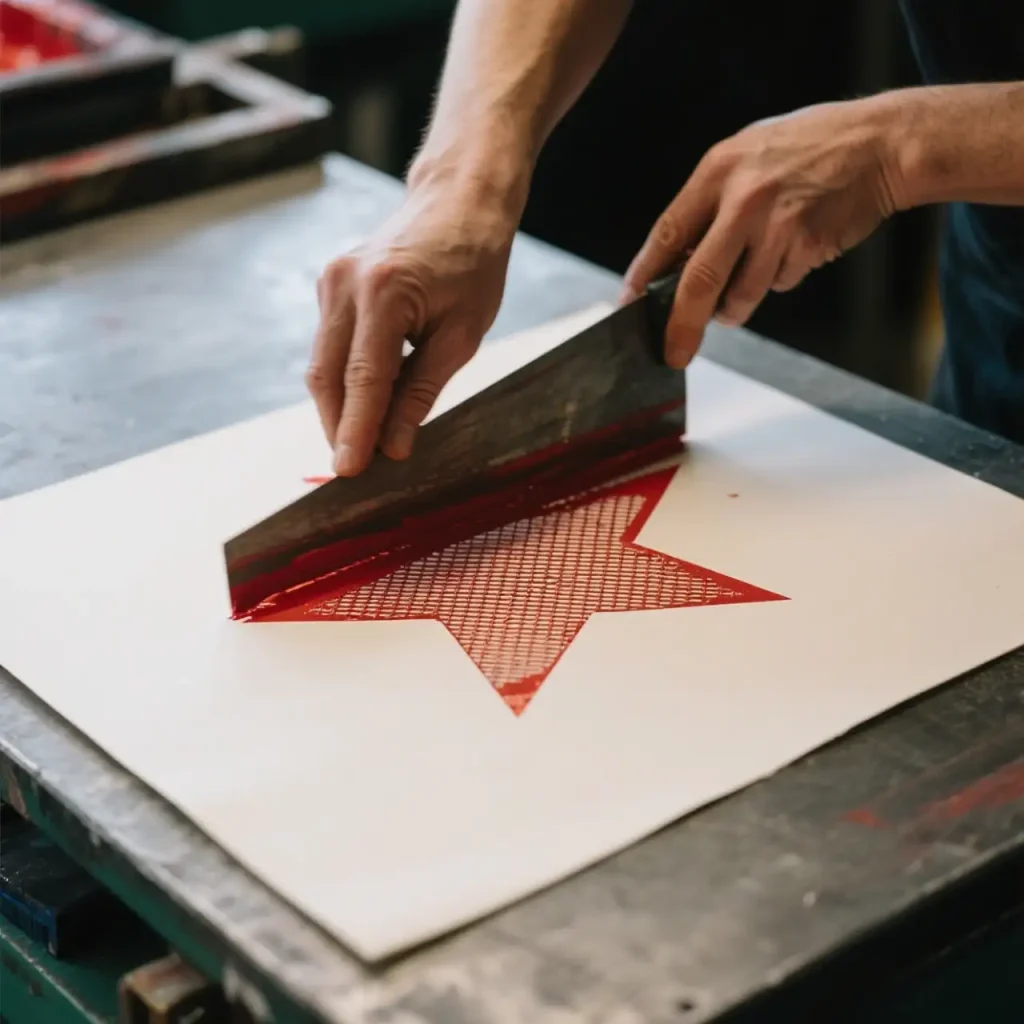
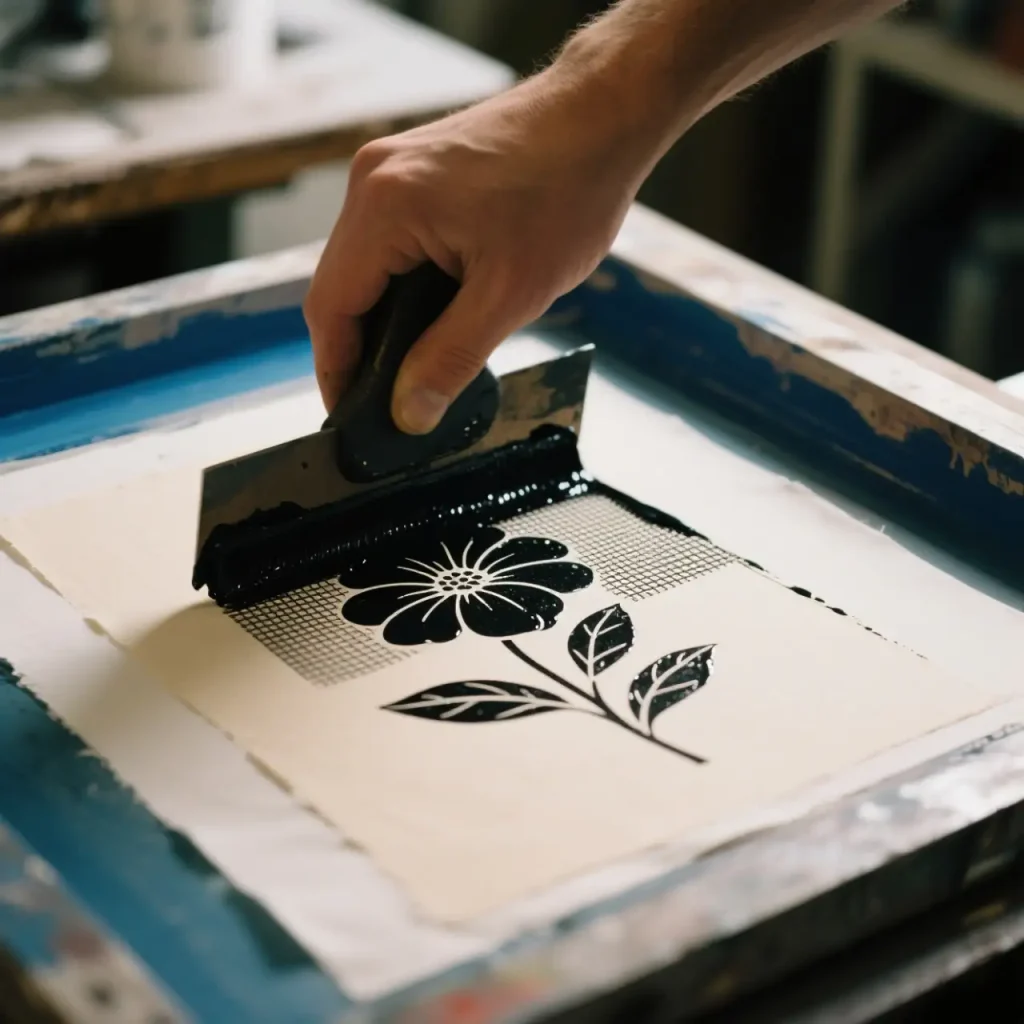
Step 5: Apply the Ink
Scoop a 2 cm-wide strip of ink across the top of the screen. Hold your squeegee at a 45-degree angle and gently drag it across to spread the ink over the design (this is called “flooding”). Then, apply firm pressure for a second pass to push the ink through the mesh onto the surface below. I struggled with uneven pressure at first, which left patchy prints, so practice finding the right force.
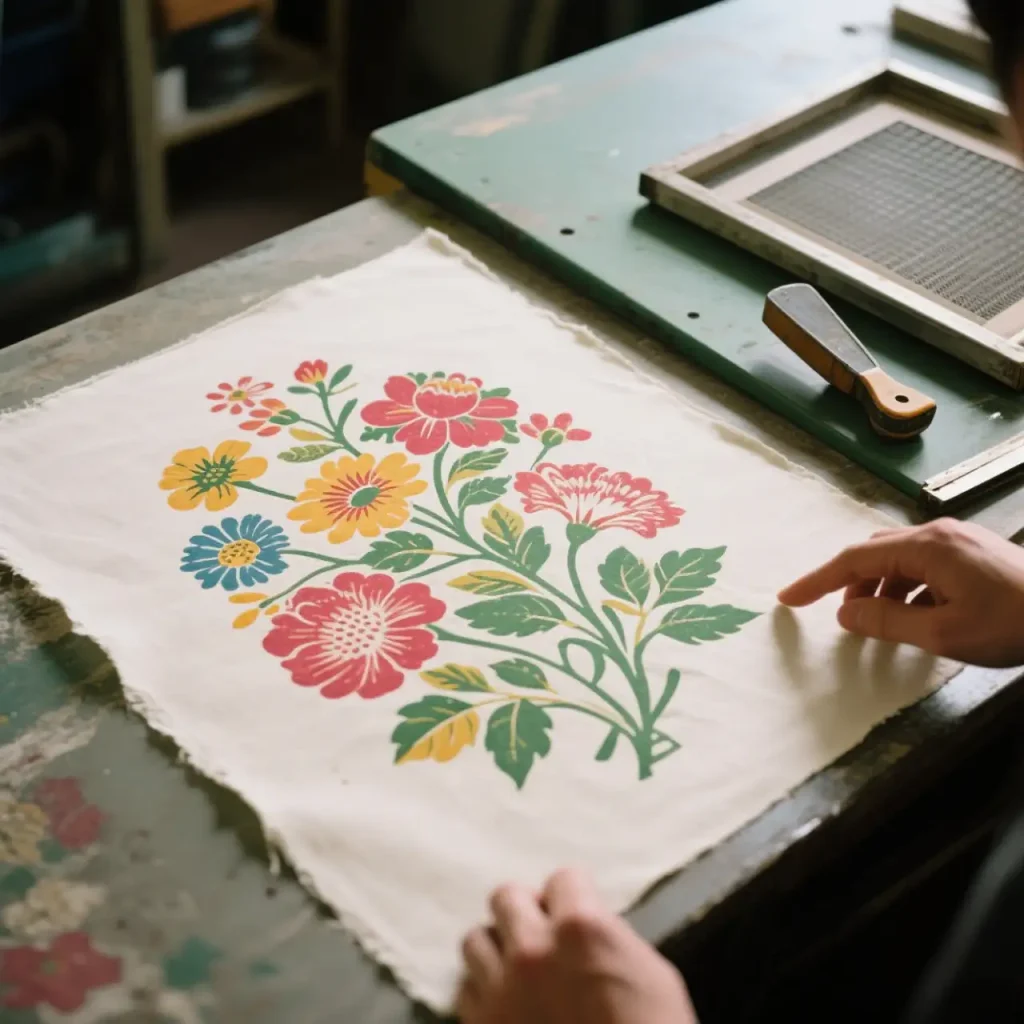
Step 6: Reveal and Dry
Carefully lift the screen to check your print. If the design is sharp and the color is even, you’re golden! Let it air-dry for a few hours, or use a heat gun on low to speed things up—but don’t overheat, as it can damage paper or fabric. I once got impatient and cranked the heat too high, warping my paper, so go easy.

Step 7: Clean Up
Wash your tools right away! Water-based ink cleans easily with soap and water, but dried ink is a pain. Use a soft brush and warm water for the screen and squeegee. For stubborn stains, try a pressure washer or soak the screen in soapy water overnight.
For more durable prints, especially on fabrics that will be washed often, this method uses a textile medium for a professional finish. The results are soft, breathable, and long-lasting, perfect for T-shirts or tote bags.
Step 1: Measure Ingredients
Combine textile medium and acrylic paint in a 1:1 ratio (e.g., 100 ml medium to 100 ml paint). Use a measuring cup for precision. Some colors, like white, may need slightly more medium, so adjust as needed.

Step 2: Mix Thoroughly
Pour the medium and paint into your container and stir with a palette knife for 2–3 minutes until smooth and lump-free. In dry climates, add up to 5% retarder medium to slow drying, mixing well.
Step 3: Test Consistency
The ink should be smooth and flow easily through the screen. Scoop some with your palette knife to check its viscosity. If too thick, add a touch more medium; if too thin, add paint.
Step 4: Prepare Your Printing Surface
Lay your screen frame over flat paper or fabric, aligning the stencil design. For fabric, insert cardboard to prevent bleed-through.
Step 5: Print the Design
Apply a 2 cm-wide strip of ink at the top of the screen. Use a squeegee at a 45-degree angle to flood the design with a light pass, then push firmly to transfer the ink through the mesh.
Step 6: Check and Dry
Lift the screen to inspect the print for clarity and evenness. Let it air-dry or use a low-setting heat gun to avoid overheating.
Step 7: Clean and Store
Wash tools with warm water and soap. Store unused ink in a sealed container—it can last for months if uncontaminated.
| Feature | Acrylic Paint + Water | Acrylic Paint + Textile Medium |
|---|---|---|
| Material Access | Easy, likely at home | Requires textile medium |
| Cost | Very affordable | Slightly pricier due to medium |
| Durability | Moderate, best for paper or light-use fabric | High, ideal for washable fabrics |
| Best For | Paper, lightweight fabrics, temporary projects | Paper, fabrics, professional projects |
| Complexity | Simple, beginner-friendly | Slightly trickier, needs precise mixing |
| Eco-Friendliness | High, water-based, easy cleanup | High, non-toxic, waste safe for gardens |
Now you’re ready to mix your own screen printing ink and create something awesome! Experiment with colors and have fun—your next masterpiece is just a print away.