How to Make a Screen for Screen Printing (Step-by-Step Guide)
Screen printing might look mysterious when you see bold designs appear on fabric, but it all starts with one key element: the screen. Learning how to make your own screen for screen printing isn’t complicated—it’s about patience, preparation, and following the right steps. Once you understand the process, you’ll be able to create stencils that bring your artwork to life on fabric, paper, or other surfaces.
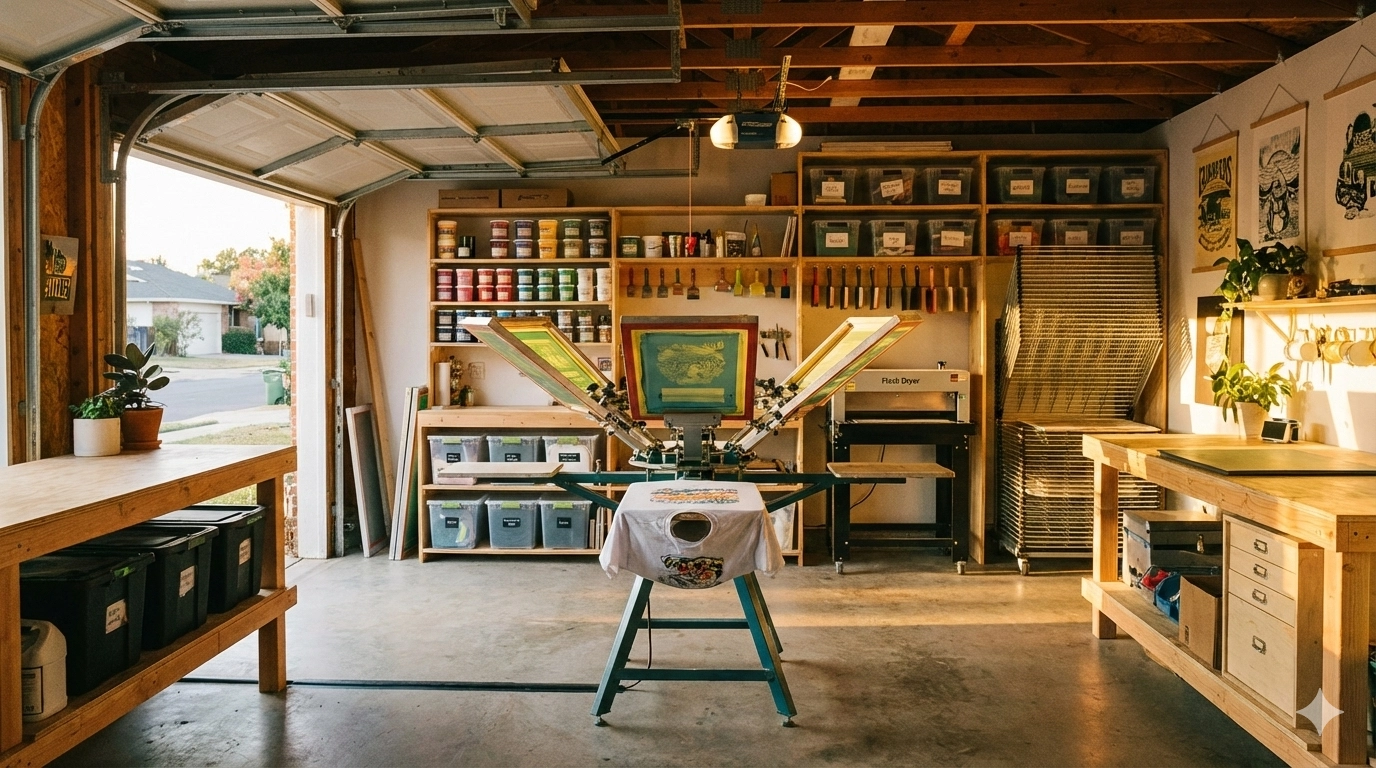
Step 1: Get Your Screen Printing Supplies Ready
Every screen begins with a frame—wooden or aluminum—stretched with mesh. Polyester mesh is the most common choice because it’s durable and easy to work with. If you’re building your own, you’ll need mesh fabric, stretching pliers, and a staple gun.
To turn the mesh into a stencil, you’ll use photo emulsion, a light-sensitive coating applied with a scoop coater. You’ll also need a printed transparency of your artwork—solid black design on a clear film—plus a strong light source such as a UV exposure unit or halogen lamp.
Supporting tools make a big difference. A degreaser ensures your mesh is free from oils and dust, while a washout booth or garden hose helps rinse away unexposed emulsion. Finally, masking tape will seal edges and block off areas you don’t want ink to pass through.
Step 2: Get Your Screen Frame Clean and Ready
Cleanliness is key. Even a brand-new frame can carry dust, grease, or residue, which prevents emulsion from sticking. Scrub the mesh with a degreaser, rinse thoroughly with water, and let it air-dry completely. A clean surface ensures better adhesion and a longer-lasting stencil.
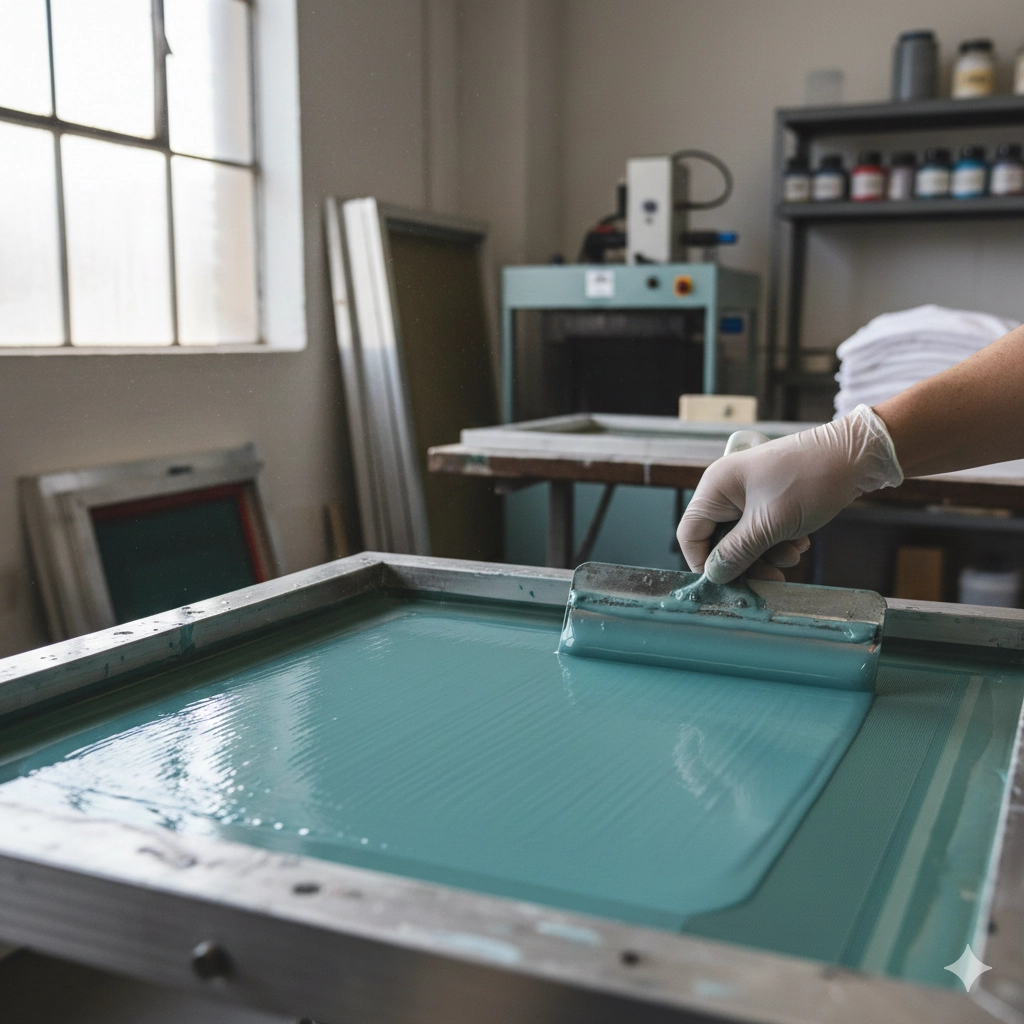
Step 3: Coat the Mesh with Emulsion
This step requires patience and a dimly lit environment. Use a scoop coater to apply emulsion in smooth, even passes on both sides of the mesh. The goal is a thin, uniform layer without streaks or pinholes.
Once coated, place the screen horizontally in a dark, dust-free room to dry. Good airflow helps, but rushing the process can ruin the coating. The emulsion must be completely dry before moving on to exposure.
Step 4: Print and Prep Your Artwork Transparency
Your transparency film is what determines where ink passes through the screen. The design should be printed solid black using an inkjet or laser printer at maximum opacity. The darker and sharper the artwork, the cleaner your stencil will be. Any gray or light areas may let light leak through, causing blurry edges.
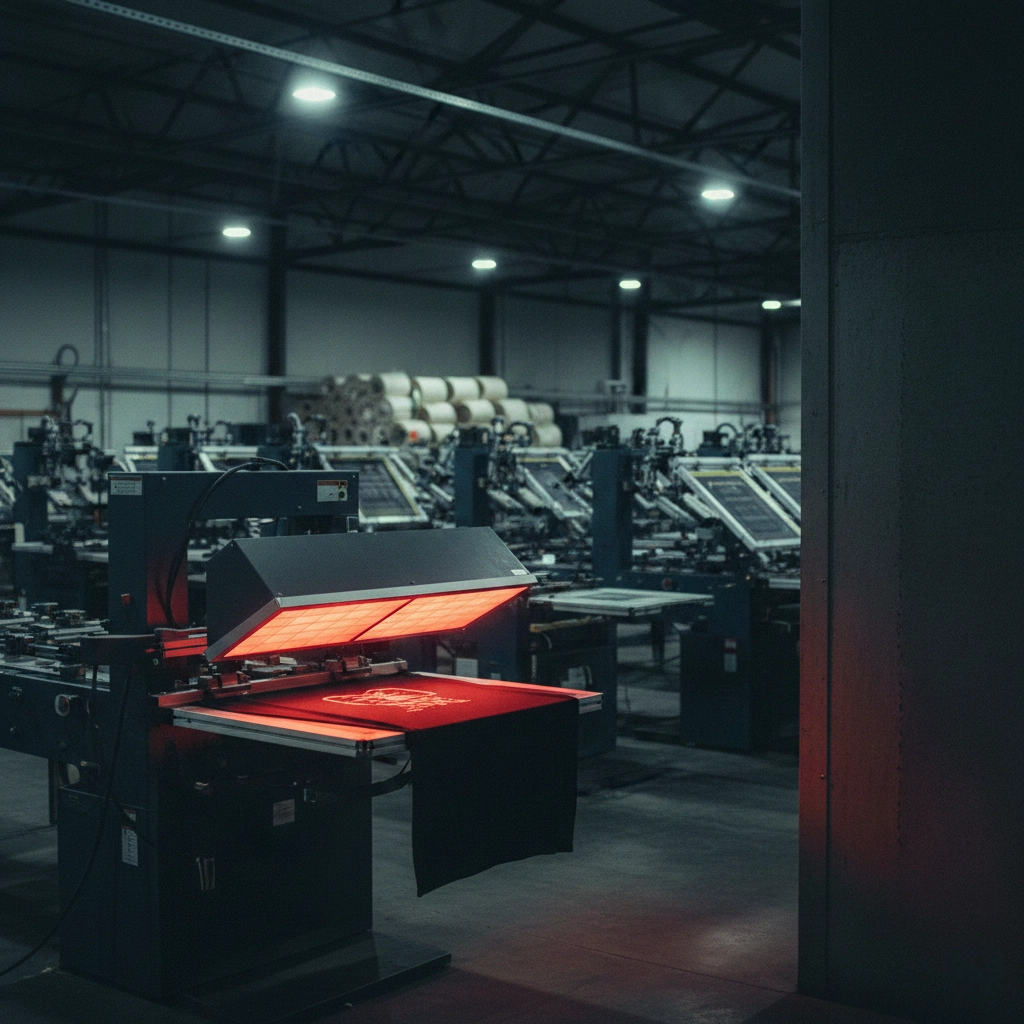
Step 5: Expose the Screen with Light
When the emulsion is dry, place your transparency directly against the coated mesh, with the printed side touching the screen. Use a sheet of glass or vacuum lid to keep it flat and in contact.
Switch on your light source, and the emulsion will harden everywhere except where the black design blocks it. Exposure time varies depending on the lamp type and distance, so it’s smart to run a test strip to find the perfect timing.
Step 6: Rinse Out Your Design
After exposure, gently rinse the screen with water. The areas hidden by your black artwork will dissolve, leaving open mesh where ink can flow through. Take care with water pressure—too strong and you could damage the stencil; too weak and the emulsion won’t fully clear.
As the design develops, the stencil image will sharpen on the mesh. Hold the screen up to the light to confirm all the details have washed out correctly.
Step 7: Do the Finishing Touches and Harden the Screen
Once the screen is fully dry, check for pinholes or imperfections. Small flaws can be fixed with a dab of emulsion applied by brush. For added durability, many printers give the screen a second exposure to harden the stencil, making it last through longer print runs.
Finally, seal off edges and any non-printing areas with tape to prevent ink leaks. At this point, your screen is fully prepared and ready for printing.
Wrapping Up
Making your own screen can seem like a lot at first, but once you get into the rhythm—clean, coat, expose, rinse, and finish—it quickly becomes second nature. Little tweaks, like mesh count, exposure time, or how dark your artwork is, can make a big difference in the final print.
And honestly, it’s not just about saving money. Building your own screens gives you a deeper connection to the craft. Every stencil you make by hand is the starting point for bold, lasting prints.
FAQs
1. How long does it take to make a screen?
From cleaning to finishing, the process usually takes several hours, mostly due to drying and exposure time. With practice and proper setup, it gets faster.
2. Can I reuse a screen for different designs?
Yes. After printing, you can reclaim the screen by removing the emulsion with emulsion remover and starting fresh.
3. What mesh count should I use for screen printing?
Lower mesh counts (110–160) are great for bold designs and thicker ink layers. Higher mesh counts (200–300) work better for detailed artwork and fine lines.
- Step 1: Get Your Screen Printing Supplies Ready
- Step 2: Get Your Screen Frame Clean and Ready
- Step 3: Coat the Mesh with Emulsion
- Step 4: Print and Prep Your Artwork Transparency
- Step 5: Expose the Screen with Light
- Step 6: Rinse Out Your Design
- Step 7: Do the Finishing Touches and Harden the Screen
- Wrapping Up
- FAQs