A Beginner’s Guide to Professional Multi-Color Plastisol Transfers
Introduction
Plastisol heat transfers are a powerful technique for applying complex, multi-color designs to garments. This method involves printing a mirror-image design onto special paper, which is then heat-pressed onto the fabric. This guide breaks down the process into clear, manageable steps to help beginners achieve professional, durable results.
Part 1: Essential Materials & Equipment
Gathering the right materials is the first critical step to success.
Artwork: Prepared as film positives with the design mirrored.
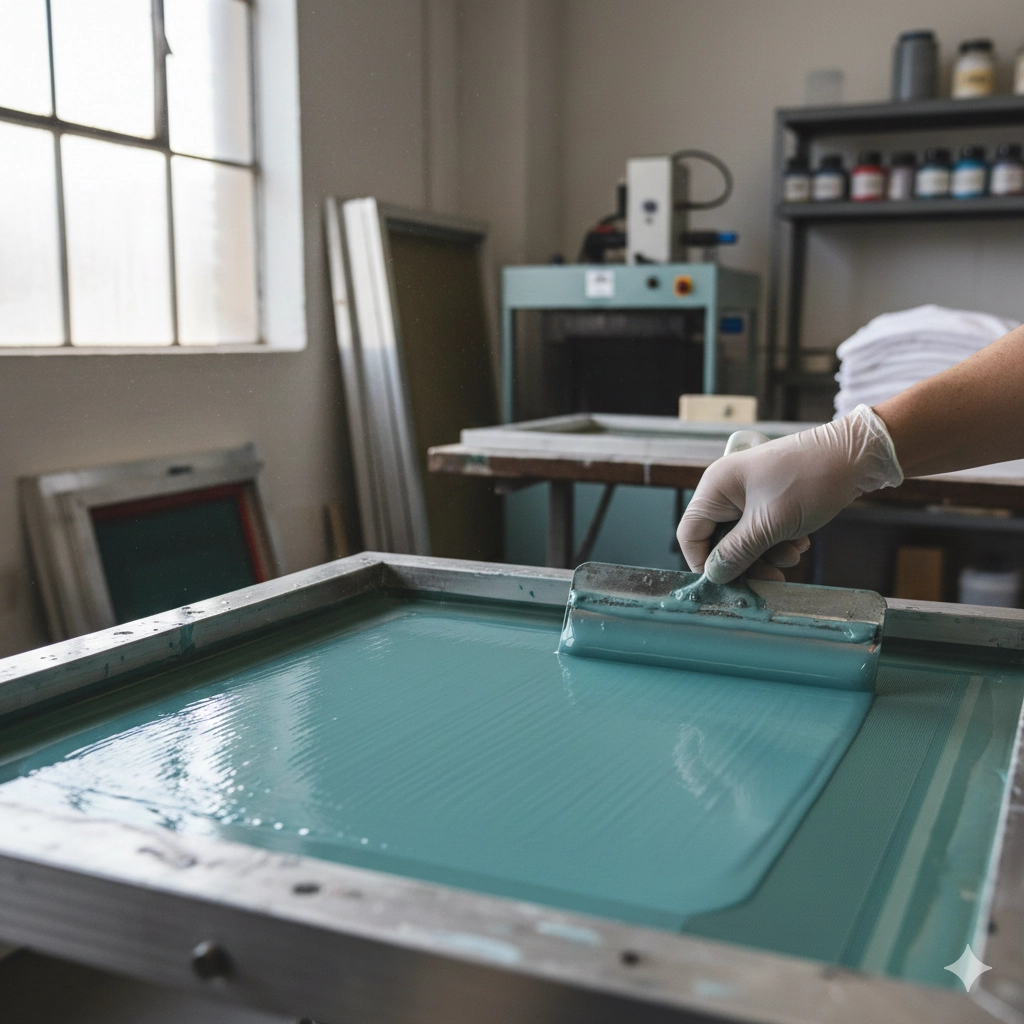
Screen Printing Supplies: Coated screens, a press, and squeegees.
Ink: Plastisol Transfer Ink. It’s crucial to use ink formulated for transfers to prevent bleeding during heating.
Transfer Paper: Choose between Hot-Split (peeled hot) or Cold-Split (peeled when cool) paper. Cold-split is more forgiving for beginners.
Release Coating (The Secret Ingredient): This clear liquid forms a separation layer between the ink and paper, enabling a clean transfer.
Heat Press: Must offer accurate temperature, timer, and even pressure.
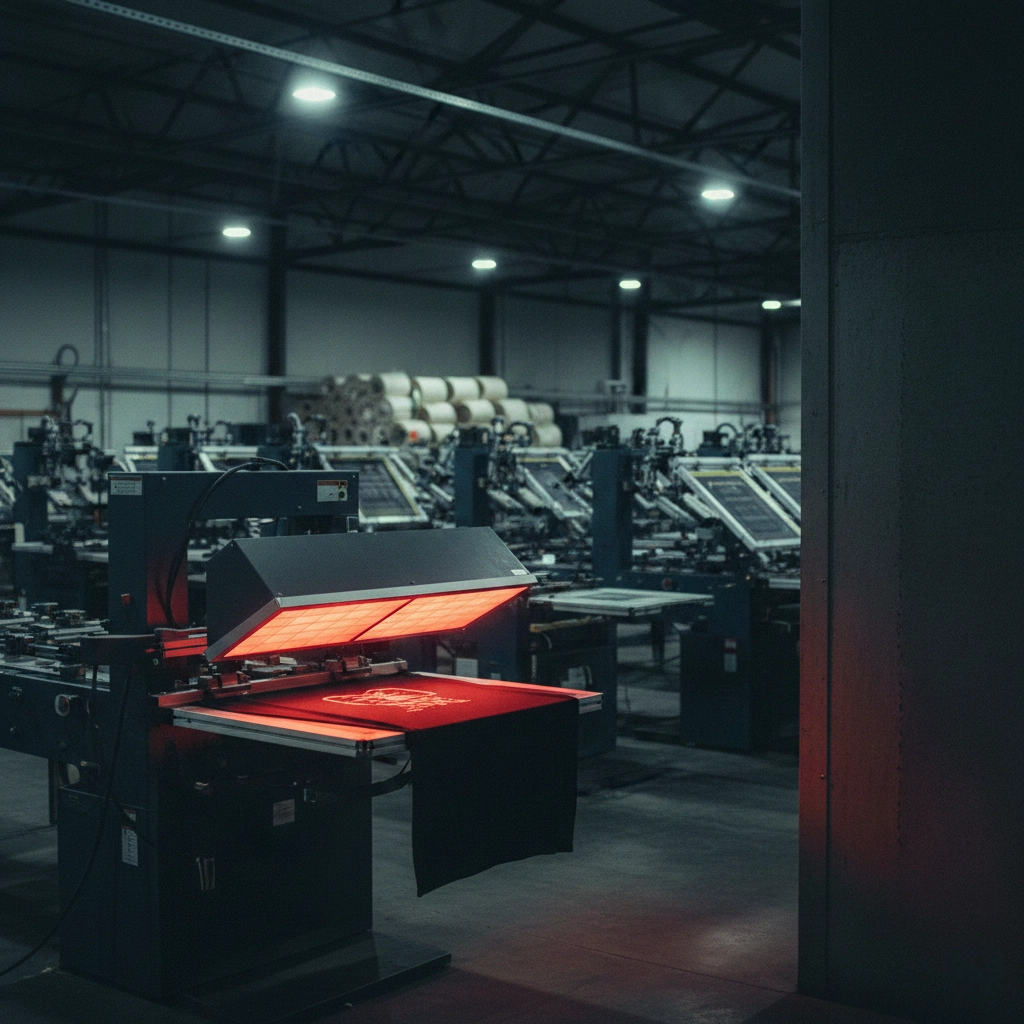
Curing Equipment: A flash dryer or conveyor dryer is needed to cure the ink.
Part 2: The Step-by-Step Printing Process
Step 1: Apply Release Coating
Before printing, coat your transfer paper with a thin, even layer of release coating.
Let it dry completely. This step is critical for a successful transfer.
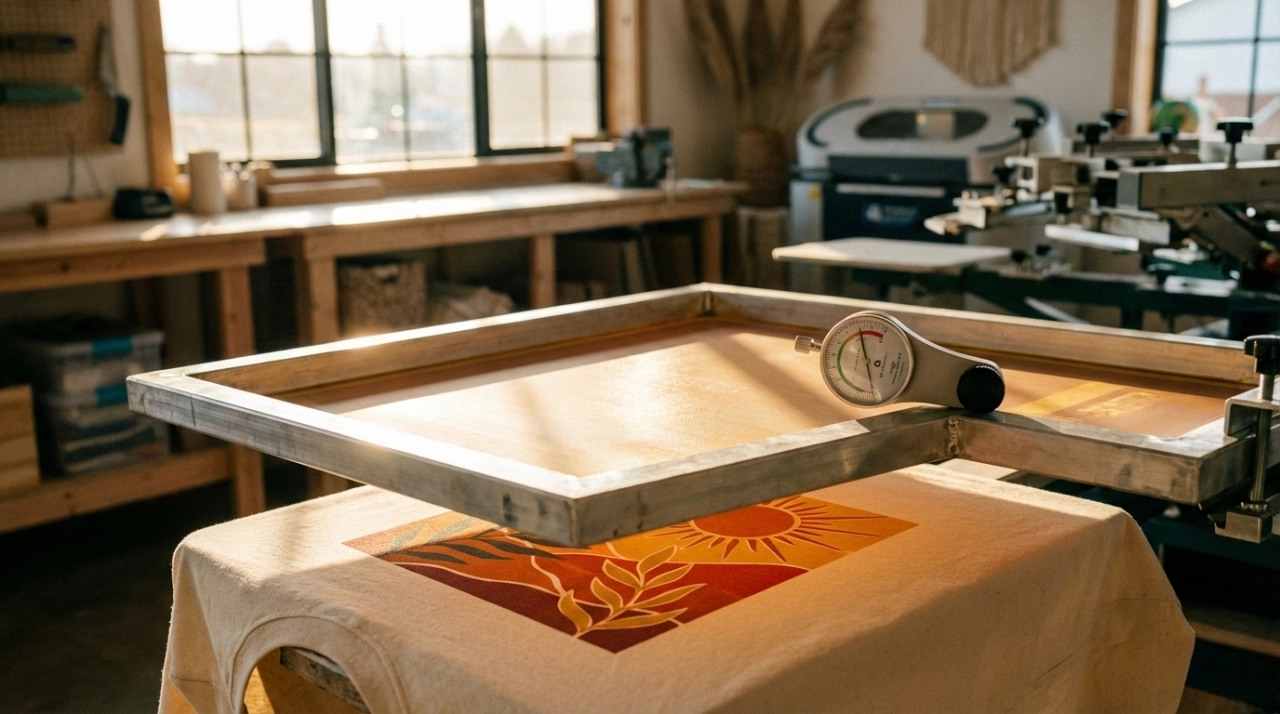
Step 2: Prepare Your Screens
Burn your screens using the film positives. Remember, the design must be mirrored.
Step 3: Print the Transfer
Secure the coated transfer paper on your press.
Print your design in the correct color sequence, typically from the base layer (often white) up.
Flash Cure (Gel) Between Colors: After each color, use a flash dryer to gel the ink until it’s dry to the touch but not fully cured. This prevents colors from blending.
Step 4: Final Cure & Peel
After all colors are printed and gelled, fully cure the entire transfer sheet in a conveyor dryer or under a flash dryer, following the ink manufacturer’s specifications.
Allow the transfer to cool completely.
Test Peel: Gently peel a corner of the transfer from the paper. The ink should release cleanly and feel flexible. If it cracks or sticks, it may be under-cured.
Part 3: Heat Press Application onto Garment
Pre-press: Pre-heat your garment for 2-3 seconds to remove moisture.
Press: Place the transfer face down on the garment. Apply firm pressure at the recommended temperature (e.g., 160°C or 320°F) for the recommended time (e.g., 10-15 seconds).
Peel:
- Hot Peel: For hot-split paper, immediately and quickly peel the paper away at an angle.
- Cold Peel: For cold-split paper, allow the transfer to cool completely before peeling slowly.
Part 4: Pro Tips & Troubleshooting
Keep it Clean: Work in a clean environment, as dust and hairs can become permanently embedded in your transfer.
Always Test: Do a test press on a spare garment to perfect your time, temperature, and pressure settings.
Troubleshooting Common Issues:
- Poor Transfer: Caused by insufficient release coating, under-curing, or low heat press temperature.
- Cracking Design: The ink was not fully cured, or the garment was stretched during peeling.
- Stiff Hand Feel: The ink layer is too thick. Try using a higher mesh count screen.
Conclusion
Mastering multi-color plastisol transfers requires practice and attention to detail, but it’s a highly rewarding skill that can significantly expand your decorating capabilities. By focusing on the release coating, proper gel-ing, and curing, you can produce professional-quality transfers that open up new product opportunities for your business.