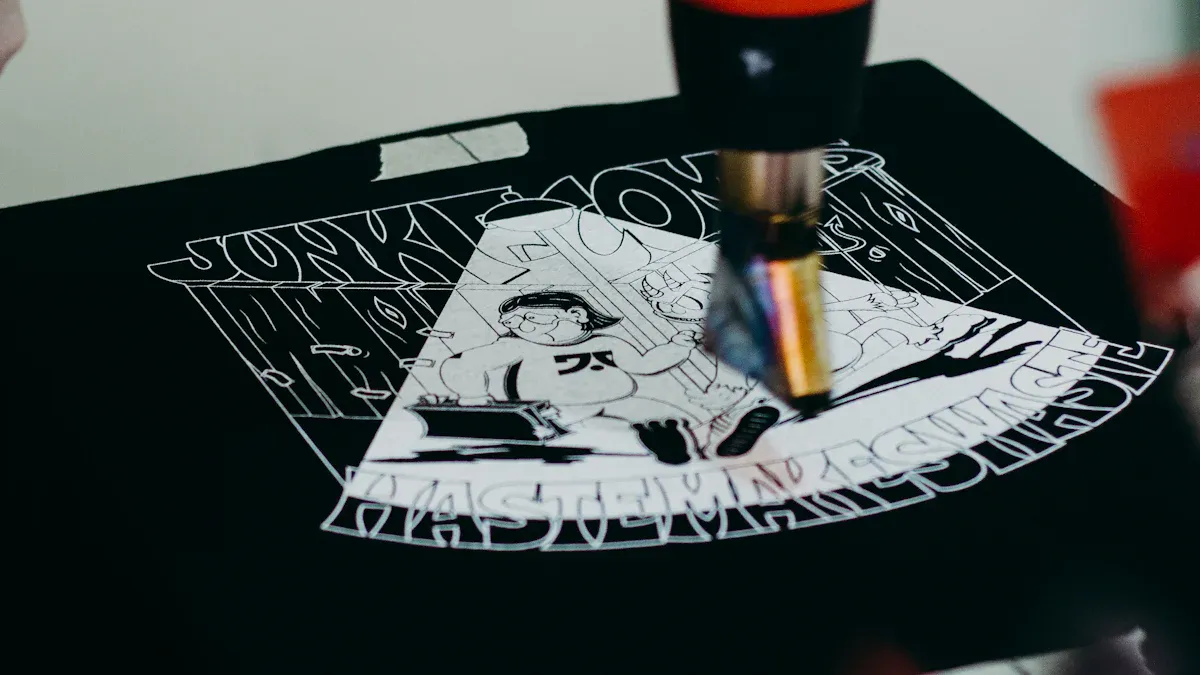
How to Get a Smooth Screen Print
If you’ve ever tried screen printing and ended up with prints that feel rough, grainy, or have uneven edges—you’re not alone. Even experienced printers run into this problem. Getting a smooth print isn’t about one single trick; it’s really about how you handle the whole process—before, during, and after printing. Let’s go step by step and look at what makes the difference.
Preparation Before Printing
Start with your ink. Think of it like cooking ingredients—if it’s been sitting too long, it can separate or thicken. Printing with ink in that state almost guarantees an uneven result. Give it a good stir (or mix well with a spatula/mixer) so it flows evenly through the mesh. This one simple step already reduces graininess a lot.
Next, check your screen. The tension matters more than most people think. Imagine the surface of a drum: if it’s tight, you get a clean bounce; if it’s loose, everything gets muddy. Ideally, you want around 25 newtons of tension, but if you don’t have a tension meter, just press the mesh lightly—if it snaps back quickly, you’re good.
Off-contact distance also plays a big role. Keeping the screen about 1/16 to 1/8 inch above the fabric helps the mesh snap back right after the squeegee passes. This prevents drag lines and rough edges. And don’t forget mesh count: higher counts give you finer, thinner layers of ink, which naturally look smoother.
The Printing Process
When you actually start printing, your squeegee technique is everything. Hold it at about a 30–40° angle and use steady, even pressure. Too much pressure and the ink piles up; too little and it won’t cover properly. Smooth, consistent pulls (no sudden stops or shaky movements) are what make designs come out clean.
Printing on rougher fabrics? Lay down an underbase first. It’s like primer on a wall—it flattens the fibers so your top layers sit nicely. If the first layer looks even, the rest will follow. But if that base is rough, no amount of extra layers will fix it.
Post-Printing Treatment
A lot of people think the job’s done once the ink hits the shirt, but finishing steps can make or break the final look. Heat pressing is the easiest way to smooth things out. Set it around 340°F (171°C) with medium pressure for about 5 seconds. The heat softens the ink and presses the surface flat. Want a matte finish? Use parchment or baking paper. Prefer a glossy look? Go with silicone paper.
Flash drying is useful too, but don’t overdo it. If the ink gets too stiff, heat pressing later won’t have much effect. Keep the flash short so the ink is set but still flexible—then your press will give the smoothest results.
FAQs
Why does my print always look grainy?
Usually it’s the ink. If it’s too thick or hasn’t been mixed in a while, you’ll see tiny clumps or uneven spots. Stir it well, and if it still feels heavy, add a little reducer to loosen it up.
Why isn’t my print smooth even after heat pressing?
Heat pressing can only do so much. If the first layer of ink went down rough, pressing won’t magically fix it. Focus on your ink prep, screen tension, and squeegee pulls before relying on the press.
Does thick ink affect smoothness?
Definitely. Ink that’s too thick struggles to pass through the mesh evenly, which leaves rough patches. Thinning it slightly with reducer usually solves the problem.
Do room conditions matter?
Yes. Hot or dry air makes ink dry faster on the screen, which leads to streaks. Keep the room at a moderate temperature with some humidity, and avoid having fans or strong airflow blowing across your press.