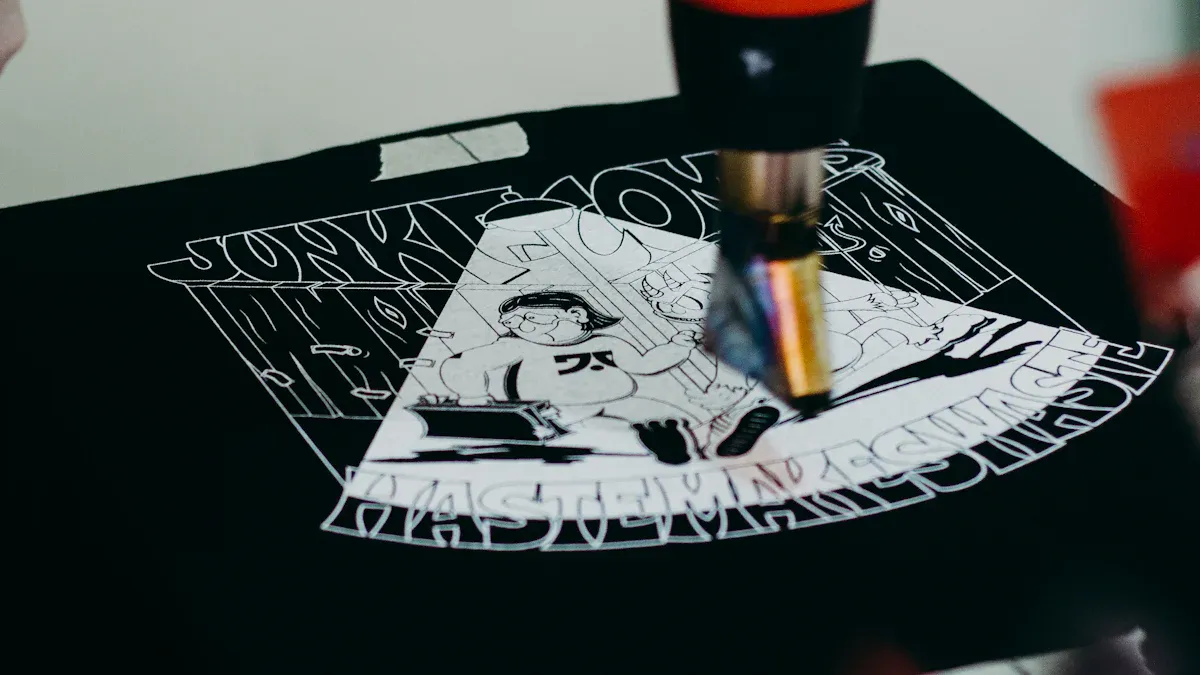
How to Use a Squeegee for Great Screen Prints
In screen printing, the squeegee is often the unsung hero behind clean, crisp prints. Many beginners—and even experienced printers—run into the same problem: the ink looks fine, the screen is fine, yet the print comes out blurry, uneven, or fuzzy around the edges. The trick is realizing that the squeegee isn’t just a tool to push ink—it’s the tool that controls almost everything about your print.
Why the Squeegee Matters
The main job of a squeegee is simple on the surface: push ink through the screen onto your material, whether it’s fabric, paper, or something else. But here’s the catch—how much ink gets deposited, how evenly it spreads, and whether the edges stay sharp all depends on how you use it. Too little pressure, and the ink won’t pass through. Too much, and your edges blur. In short, the squeegee drives your print quality and keeps it in check.
Choosing the Right Hardness
Blade hardness makes a big difference. Soft blades push more ink, creating thick, vibrant prints—great for textured fabrics or special effects. Harder blades lay down thinner layers, giving you sharper details, perfect for fine lines or halftone designs. Think of it like this: soft blades = bold and thick, hard blades = precise and clean.
How Blade Shape Affects Prints
Blade shape matters too. Flat edges are the most versatile, giving even ink flow for most prints. Rounded edges deposit more ink, creating a richer, heavier layer. Angled blades work best on curved or uneven surfaces, like bottles or cylinders, ensuring full contact and even coverage. A good tip: the blade should be just a bit wider than your design for consistent pressure across the print.
Push vs. Pull
There are two main ways to move the squeegee: pushing or pulling. Pulling (dragging the squeegee toward you) is the traditional method and easy to learn. Pushing it away can help maintain a stable angle and reduce wrist strain. Either way, consistency is key—keep your angle and pressure steady. Even with perfect ink and screens, inconsistent strokes create blurs and uneven layers.
Controlling Pressure, Angle, and Speed
Pressure, angle, and speed are the three pillars of squeegee technique—and they all affect each other. A lower angle deposits more ink but can soften edges. A higher angle lays down thinner, crisper lines. Too much pressure can smear the print, cause bleeding, or wear down the blade. Speed affects how long the ink sits on the mesh: too fast, and the print looks weak; too slow, and ink piles up. A simple approach: fix two variables and adjust the third, testing a few samples to find the sweet spot.
Manual vs. Automatic Printing
Manual printing relies on your hand, so results may vary. Experience makes a huge difference. Automatic presses control angle, pressure, and speed mechanically, producing consistent results for larger runs. Still, knowing the manual techniques helps—you’ll understand why the edges look a certain way and how to get the right ink coverage.
Troubleshooting Squeegee Issues
- Feathering or bleeding edges? Angle too low or pressure too high—raise the angle, reduce pressure, or try a harder blade.
- Faint prints without bleeding? You might be moving too fast or not flooding the screen enough—slow down and flood more.
- Poor coverage or fabric showing through? Blade too hard or angle too steep—switch to a softer blade or lower the angle.
- Trailing lines or streaks? Adjust the angle first, then tweak speed and ink viscosity, keeping environmental factors in mind.
Blade Maintenance and Replacement
A worn or damaged blade edge can exaggerate flaws, even if it’s still technically usable. Clean with compatible solutions, avoid chemicals that damage the blade, and store it properly to prevent warping or UV damage. If you constantly adjust angle or pressure to fix edge issues, it’s time for a new blade.
Quick “One-Minute” Diagnosis
Here’s a fast way to check your squeegee: print three small samples and inspect edges and fills.
- Feathering/bleeding? Raise the angle, reduce pressure.
- Faint but sharp prints? Slow down or flood more evenly.
- Poor coverage or visible fabric? Use a softer blade or lower the angle.
This simple test helps you figure out if the problem is angle, pressure, or blade hardness—no guesswork needed.
Tips: Adjust only one thing at a time and note what works. Clean and dry your squeegee after each session. Check the blade edge regularly. Even with manual printing, these habits make results more consistent, and for automated presses, they help you dial in repeatable settings.