7 Costly T Shirt Press Machine Mistakes Beginners Make
Initial production runs often reveal unforeseen complexities. Frustrations such as peeling transfers, fading pigments, or fabric distortion are common hurdles in the learning curve. However, viewing these challenges as diagnostic opportunities allows for rapid skill refinement. By adopting a methodical approach, you can enhance operational confidence, safeguard material investments, and maximize the profitability of every project.
Temperature Setting Mistakes
Wrong Heat Levels
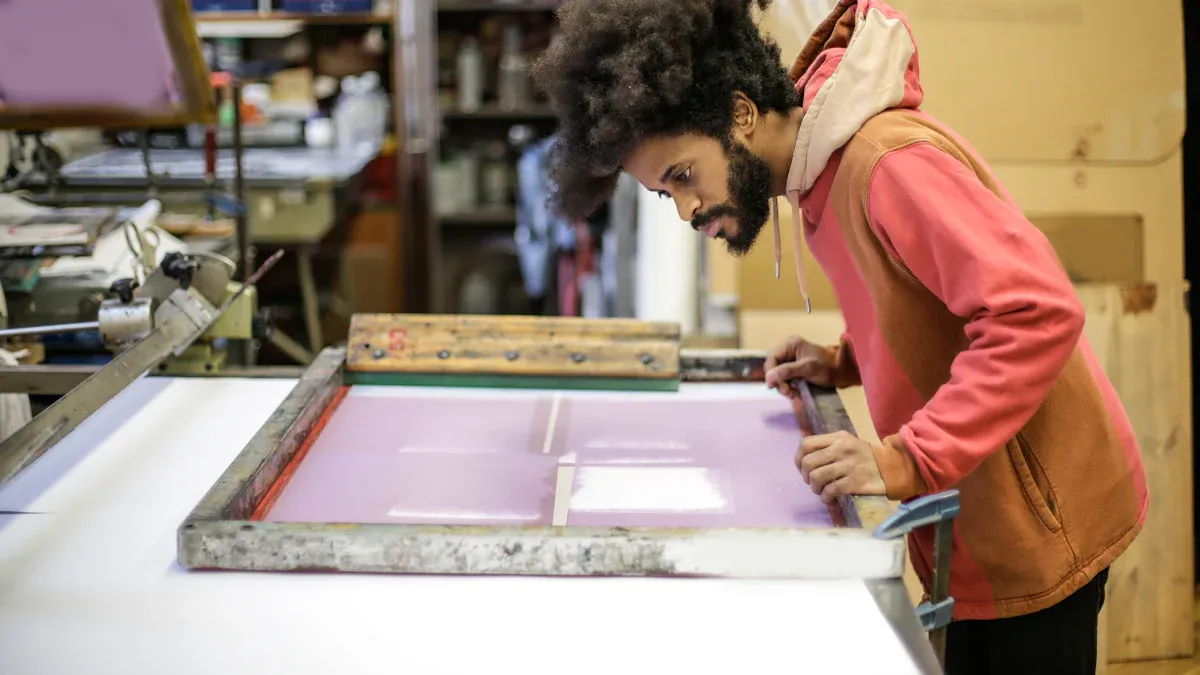
Precise thermal management is the cornerstone of professional heat printing. While it may seem straightforward, incorrect calibration carries the risk of compromising substrate integrity and incurring material waste. Maintaining the exact temperature profile is critical. If the heat is insufficient, the transfer may fail to bond effectively. Conversely, excessive heat can scorch the fabric or degrade the color fidelity. Both deviations result in poor adhesion, directly undermining the quality of the final print.
Common thermal calibration errors include:
- Inaccurate or fluctuating temperature: This leads to transfers that crack, peel, or exhibit chromatic fading. You may observe incomplete bonding or inconsistent color saturation.
- Uneven heat distribution: One section of the garment prints correctly, while another lifts. This is frequently caused by a warped platen or material accumulation interfering with surface contact.
Effects on Transfers
Thermal deviations manifest as tangible defects. You may encounter designs that peel off after washing, or pigments that appear lackluster and patchy. in other instances, the transfer structure may crack or bubble. These defects not only deplete your inventory but also diminish the perceived value of your finished product. The goal is to ensure every garment exudes professionalism and withstands repeated laundering.
Setting Tips
To mitigate these risks and avoid these mistakes, always verify your t shirt press machine’s temperature prior to operation. Investing in equipment with advanced thermal regulation is advisable. Cnding’s Automatic Heat Press Machine utilizes sophisticated control systems to manage temperature, pressure, and dwell time. This technology facilitates consistent, industrial-grade results.
| Feature | Benefit |
|---|---|
| Advanced heating elements | Accelerated, consistent thermal distribution |
| Uniform heat transfer | Even temperature stability across the entire platen |
| Sophisticated control systems | Repeatable, precision results for diverse substrates |
Tip: Conduct a preliminary test on a substrate remnant. This protocol prevents capital loss on finished goods.
Pressure Problems
Too Much or Too Little
Optimal pressure is not about maximum force, but calibrated resistance. Deviations from the ideal pressure range can compromise the durability of your output. Insufficient pressure prevents the adhesive from bonding with the fibers, resulting in lifting or peeling. excessive pressure, however, can crush the fabric pile or distort the graphic. Achieving the equilibrium specific to each project is essential.
- Insufficient pressure prevents the design from fully adhering, causing it to lift or peel prematurely.
- Excessive pressure can introduce texture distortion or wrinkles, negatively impacting visual integrity and durability.
Uneven Pressure
Inconsistent pressure distribution is a frequent culprit behind production defects. If the force is not applied uniformly, the result may be bubbling, creasing, or areas of faded pigment. Adhesion failures often occur at the center while edges stick, or vice versa. This is typically due to an unlevel platen or interference from thick seams and collars. Ensure the pressing surface is planar and obstructed before initiation.
Adjusting for Best Results
Calibrating pressure to the specific transfer medium is essential for longevity. Distinct materials and design types necessitate specific force parameters. Below is a reference guide for optimizing pressure based on transfer type:
| Transfer Type | Temperature | Time | Pressure |
|---|---|---|---|
| Sublimation | 390° F | 35-45 sec. | Firm |
| Plastisol Heat Transfer | 325° F | 4-6 sec. | Medium/Firm |
| Siser HTV | 280° F | 10-15 sec. | Medium/Firm |
| Cricut Infusible Ink | 385° F | 40 sec. | Firm |
| Express Iron-On | 300° F | 15 sec. | Firm |
| Holographic Iron-On | 330° F | 30 sec. | Light |
Tip: Validate pressure calibration on a test garment. This quality assurance step ensures the aesthetic integrity of the final design.
Pre-Press Errors
Skipping Preheat
The pre-press cycle is often undervalued, yet it is critical for substrate preparation. Omission of this phase compromises the chemical bond between ink and fiber. Without preheating, moisture and wrinkles remain, leading to poor ink adhesion and inconsistent finish. This often results in designs that fade or become patchy post-wash. A brief pre-press cycle eradicates moisture and flattens the fiber, creating an optimal surface for application.
Tip: Apply a 3-5 second pre-press cycle to establish a moisture-free, planar surface.
Moisture Issues
Hydro-retention within the fabric is a primary antagonist to adhesion. If the substrate holds moisture, the rapid vaporization during pressing can cause “blow-out” spots or bubbling. Moisture trapped within the ink layer acts as a barrier to bonding. Furthermore, high ambient humidity can exacerbate this issue, while low humidity may induce static electricity, disrupting print uniformity. Regulating the humidity of both your storage and workspace is vital.
Preparation Steps
Rigorous preparation protocols mitigate the majority of adhesion failures. See the table below for common mistakes and their remediation:
| Mistake | Description | Solution |
|---|---|---|
| Skipping Preheat | Causes compromised adhesion | Preheat shirts for 3-5 seconds |
| Inadequate Screen Exposure | Leads to poor definition or fading | Calibrate exposure time correctly |
| Incorrect Off-Contact Distance | Causes smudging or uneven deposit | Adjust distance to 1/16 – 1/8 inch |
| Inconsistent Ink Mixing | Results in chromatic variance | Homogenize ink thoroughly |
| Neglecting Proper Drying | Designs fail wash tests | Ensure full curing parameters met |
| Skipping Test Prints | Risks batch failure | Mandate pre-production testing |
Adherence to a strict pre-production checklist—verifying materials, preheating substrates, and conducting test prints—is non-negotiable for professional output.
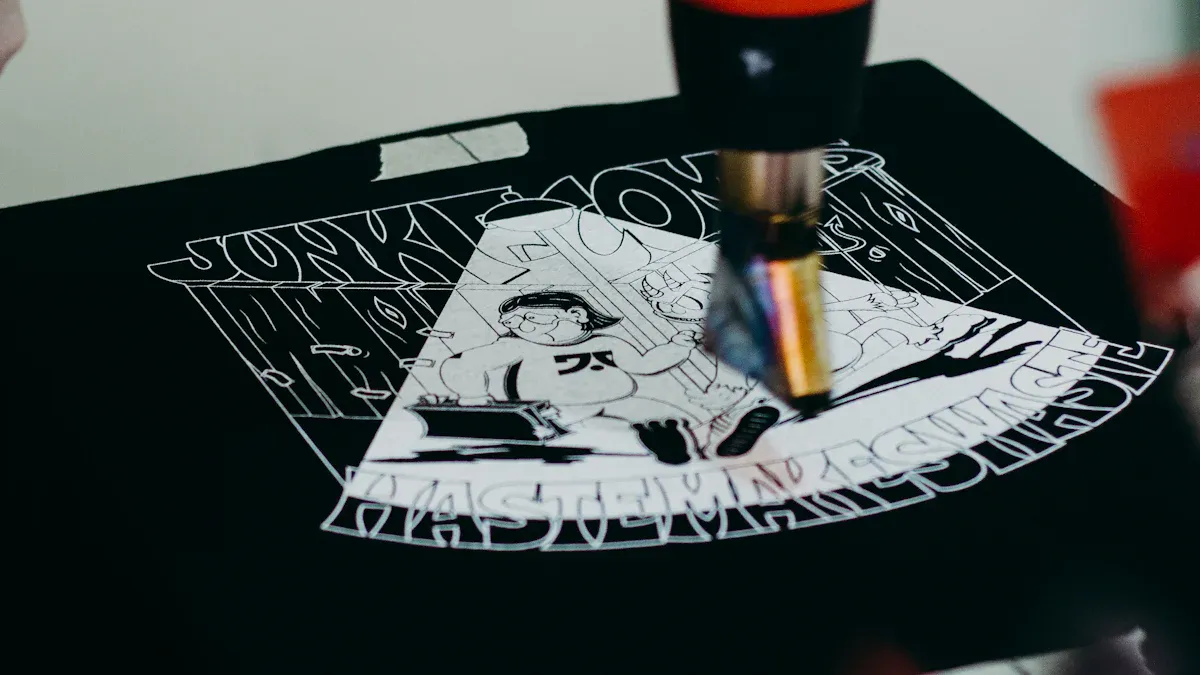
Design Misalignment
Causes of Misalignment
Geometric precision is the hallmark of a premium garment. Misalignment typically stems from hasty loading procedures or a lack of standardized registration marks. Rushing the setup process increases the likelihood of vertical or horizontal skew. Additionally, fabric structures such as seams or folds can shift during the press cycle. Even minor asymmetry can render a garment unsellable.
Impact on Appearance
Design misalignment instantly diminishes the perceived market value of the apparel. Consumers equate symmetry with quality. When designs are registered with precision, the product conveys a professional aesthetic. Consider how alignment influences perception:
- Exact registration conveys manufacturing excellence and polish.
- Consistent placement reinforces brand reliability.
- Appropriate scaling ensures the design remains balanced across size runs.
Neglecting these details results in a product that feels “homemade” rather than professionally manufactured, potentially damaging brand reputation.
Alignment Solutions
Mitigate registration errors by implementing a standardized loading protocol. Utilize the following techniques to ensure precision with your t shirt press machine:
- Inspect the substrate topography for seams and irregularities before loading.
- Determine the centerline of the transfer film and measure approximately three inches from the neckline for standard placement.
- Utilize laser guides, T-squares, or magnetic rulers to standardize positioning.
- Maintain the integrity of your Teflon sheet by cleaning or replacing it regularly.
- Conduct a final visual audit and “finger check” to verify alignment before engaging the press.
Tip: Invest in precision. A momentary pause for alignment verification yields a significant return in product presentation.
| Common Mistake | How to Fix It |
|---|---|
| Crooked design | Use a ruler or laser guide |
| Off-center placement | Measure from neckline and seams |
| Wrinkled transfer | Smooth substrate before pressing |
By integrating these tools and techniques, you ensure a sharp, symmetrical, and professional finish on every unit.
Material Selection Mistakes
Wrong Fabric Choice
Substrate compatibility is paramount. Selecting an incompatible material can result in lackluster chroma or premature degradation. Certain textiles absorb ink efficiently, while others are heat-intolerant or chemically incompatible with specific transfer types. For instance, cotton offers a premium hand-feel and pairs well with HTV, whereas polyester is required for the sublimation process but demands careful heat management to prevent glazing. Blends offer a balance but can mute colors, and specialty fabrics like leather require specific handling.
Refer to this guide for optimal fabric selection:
| Fabric Type | Pros | Cons |
|---|---|---|
| Cotton | Premium feel, breathable, excellent for HTV | Incompatible with sublimation, prone to shrinkage |
| Polyester | Essential for sublimation, vibrant retention | Susceptible to heat marks (glazing), less natural feel |
| Blends | Versatile, comfortable, flexible | Sublimation colors may appear muted |
| Specialty Fabrics | High-value aesthetic, unique differentiation | Technically demanding, requires specialized parameters |
Tip: Verify the manufacturer’s care specifications prior to pressing to prevent thermal degradation.
Transfer Compatibility
Aligning the transfer chemistry with the substrate composition is as critical as the press settings. Using the wrong transfer paper or vinyl can lead to delamination or rapid fading. Natural fibers generally offer superior absorption, resulting in durable, vibrant prints. Synthetic fibers, while useful, may not bond as effectively with certain inks, leading to wash-out issues.
- Incorrect transfer selection leads to compromised design integrity.
- Material compatibility dictates the durability and vibrancy of the final product.
- Natural fibers typically yield superior longevity compared to synthetics for standard inks.
Advanced equipment streamlines substrate versatility. An automatic heat press machine can accommodate a spectrum of materials including cotton, polyester, blends, and leather. This adaptability serves industries ranging from fashion to home decor. Intelligent machines auto-adjust thermal and pressure profiles to optimize results for the specific material.
- Automatic heat press machines adapt to diverse substrates including leather and synthetics.
- They offer industrial versatility, suitable for fashion apparel and home goods.
- These systems ensure optimal conditions for everything from delicate textiles to heavy-duty leather.
Correctly pairing materials and transfers ensures superior color fidelity, durability, and operational efficiency.
Machine Maintenance Oversights
Neglecting Upkeep
While output quality is the objective, t shirt press machine’s maintenance is the vehicle. Neglecting preventative maintenance accelerates depreciation and compromises print consistency. Regular cleaning prevents residue build-up that can degrade performance. You must perform thermal recalibration to ensure accuracy. Lubricating moving components minimizes friction, while proper storage mitigates environmental damage. Inspecting electrical systems ensures safety and operational continuity.
Routine maintenance extends equipment lifespan:
- Clean and inspect the unit to prevent residue accumulation.
- Perform thermal recalibration for precise heat application.
- Lubricate mechanical parts to reduce friction and wear.
- Store the machine in a controlled environment to prevent dust and moisture ingress.
- Audit electrical components to prevent hazards and maintain efficiency.
Tip: Implement a scheduled maintenance protocol. Proactive care prevents reactive, costly downtime.
Costly Repairs
Deferred maintenance inevitably leads to capital-intensive repairs and production paralysis. Omission of lubrication intervals causes friction-induced wear on critical components. Minor irregularities, if ignored, escalate into major mechanical failures. Often, lubrication issues remain undetected until a complete breakdown occurs, jeopardizing deadlines. Furthermore, poor maintenance leads to inconsistent pressure and safety hazards. Reactive maintenance is invariably more expensive than a proactive regimen.
Common oversights leading to expensive repairs include:
- Omission of lubrication intervals
- Ignoring minor irregularities until they escalate
- Overlooking early signs of mechanical wear
- Allowing friction to compromise print uniformity
- Waiting for total failure before intervening
Note: Consistent maintenance keeps your equipment distinctively reliable. Protect your assets to ensure operational continuity.
Rushing the Process
Skipping Tests
The impulse to accelerate production often invites compromise. Skipping test prints creates a false economy of time. This shortcut frequently results in wasted inventory and substandard output. By bypassing the testing phase, you forfeit the opportunity to calibrate variables before committing to the main run. Test prints validate temperature, pressure, and alignment settings, ensuring the design interacts correctly with the specific fabric.
Tip: Utilize substrate scraps for calibration presses. This safeguard protects your inventory and profit margins.
Quick Pressing Issues
Accelerated workflows, when unchecked, introduce variability and defects. While throughput is important, rushing the dwell time compromises quality. Common issues arising from haste include:
- Premature peeling or cracking post-wash.
- Inconsistent adhesion across the surface area.
- Oversight of wrinkles or moisture, impacting the finish.
- Failure of the press to recover thermal equilibrium between cycles.
Operate the equipment at its designed cadence. High capacity should not come at the expense of process integrity.
Taking Time for Quality
A robust Quality Control (QC) methodology distinguishes premium brands from generic producers. Deliberate verification at each stage minimizes errors and enhances the final product. Successful operations implement a gated process, verifying color accuracy, placement, and finish before releasing the unit. This reduces defect rates and protects brand equity.
| Evidence Description | Key Points |
|---|---|
| Effective QC Program | Enforces quality standards, minimizes waste, and elevates client satisfaction. |
| Proprietary File Prep Process | Facilitates Pantone matching and consistent color accuracy for high-fidelity output. |
| Verification Process | Operator sign-off on each order fosters accountability and error reduction. |
Note: Rigorous quality assurance eliminates the hidden costs of returns and reputation damage. Your commitment to detail is reflected in every garment.
By mitigating these seven critical errors, you safeguard your operational investment. Reliable infrastructure, such as cnding’s Automatic Heat Press Machine, supports consistent quality. Features like precise thermal regulation and adjustable pressure profiles minimize costly deviations:
| Feature | Benefit |
|---|---|
| Precise temperature control | Ensures correct chemical bonding and color accuracy |
| Adjustable pressure settings | Minimizes defects and prevents material waste |
Cultivate precision, experiment responsibly, and maintain your equipment. These disciplines yield sustainable profitability and professional excellence.