10 Tips for Improving Screen Printing Quality
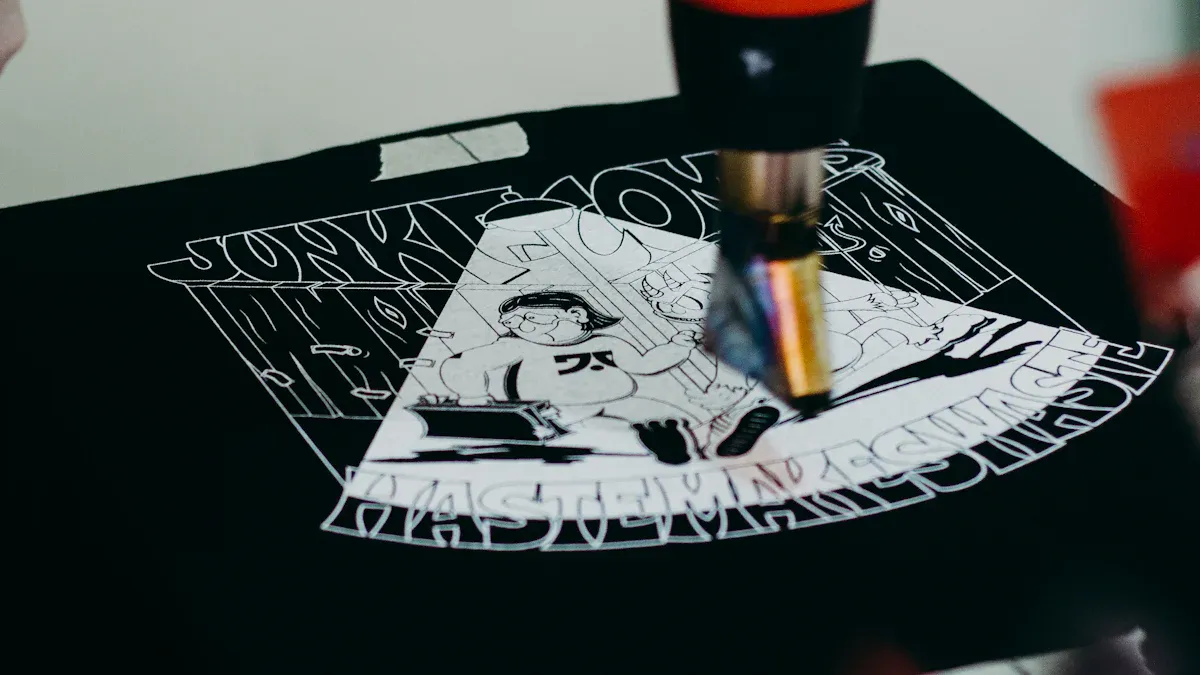
Screen printing, a versatile craft blending precision and artistry, transforms materials like textiles, paper, and plastics into vibrant, durable designs. From bold T-shirt graphics to intricate circuit boards, achieving professional-grade results demands meticulous attention to every stage of the process.
This article offers ten practical, expert-backed tips to enhance your screen printing, covering preparation, execution, and post-processing. Optimized for clarity and impact, these insights will help you produce consistent, high-quality prints suitable for professional publication.
Pre-Printing Preparation: Laying the Foundation
The preparation phase sets the stage for flawless execution. By carefully selecting materials and calibrating equipment, you can minimize errors and ensure a smooth printing process.
1. Select the Optimal Mesh Count
The mesh count (threads per inch) determines ink flow and pattern clarity. Higher mesh counts (smaller holes) suit detailed designs, while lower counts (larger holes) are ideal for bold, heavy ink deposits. For example:
- Low mesh (80–120): Perfect for thick base layers or specialty inks like puff on dark T-shirts.
- Medium mesh (140–180): A versatile choice for textile printing, balancing detail and ink thickness.
- High mesh (200–300+): Best for fine details, halftones, or circuit boards.
Match mesh to ink type and substrate. Water-based inks, with high flow, pair well with higher mesh counts to prevent bleeding, while plastisol inks work better with lower counts for robust coverage. Test samples before production and consult ink supplier guidelines to confirm compatibility.
2. Maintain Consistent Mesh Tension
Mesh tension is the backbone of print precision, akin to a tightly strung instrument. Insufficient tension causes excessive substrate contact, leading to ink buildup or distorted images, while overly tight mesh risks tearing. Polyester meshes typically require balanced tension, measurable with a tension meter for uniformity.
Check tension before each print run, as it naturally relaxes over time. Store meshes in a controlled environment (20–25°C, 40–60% humidity) to preserve stability. Static frames help maintain consistent tension, reducing localized blurring. Regular calibration prevents defects and extends mesh lifespan.
3. Apply Photo Emulsion with Precision
Photo emulsion forms the stencil that defines your design. Uneven application or improper drying can compromise exposure and detail. Use a dual-coating method: apply 1–2 layers on the print side, then the squeegee side, ensuring the emulsion is slightly thicker than the mesh (10–20 microns) for durability.
Dry in a darkroom or under yellow light at 30–40°C for 1–2 hours to avoid premature exposure. Automated coaters enhance uniformity, but manual coating requires steady, practiced strokes. Ensure emulsion compatibility with your ink (water-based or solvent-based). Inspect for dust or imperfections post-drying, recoating if necessary.
Printing Process: Mastering the Craft
The printing phase is where technique shines. Real-time adjustments and precise control over variables like pressure, speed, and spacing are critical for crisp, consistent results.
4. Choose the Right Squeegee Hardness
Squeegee hardness (measured in Shore durometer) dictates ink deposition. Select based on substrate and design:
- Soft (60–70 Shore): Ideal for thick ink layers on uneven surfaces like cotton tees, ensuring deep penetration.
- Medium (70–80 Shore): A go-to for multicolor prints, balancing detail and coverage.
- Hard (80–90 Shore): Suited for smooth surfaces like paper or plastic, delivering sharp lines.
Pair high-viscosity inks with harder squeegees for controlled flow, and low-viscosity inks with softer ones for better penetration. Regularly inspect squeegee edges for wear, sharpening or replacing as needed to maintain clarity. Clean squeegees thoroughly to prevent ink residue from altering performance.
5. Fine-Tune Squeegee Pressure and Angle
Squeegee pressure and angle orchestrate ink transfer. Excessive pressure causes ink bleed, while insufficient pressure results in patchy prints. Aim for moderate pressure, just enough for the squeegee to contact the substrate, with a 70-degree angle for most designs. Steeper angles yield thinner ink layers for fine details; shallower angles produce thicker layers for bold graphics.
Limit strokes to 1–2 per print to avoid blurring. For multicolor designs, adjust pressure and angle per layer to prevent overlap errors. Use a pressure gauge for consistency and train operators for standardized technique to minimize human error.
6. Optimize Snap-Off Distance
The snap-off distance (gap between mesh and substrate, typically 2–5 mm) ensures clean mesh release. Too small a gap risks sticking, causing smudging; a balanced distance allows the mesh to snap back, preserving sharpness. Thicker substrates (e.g., towels) require a larger gap (4–6 mm), while thin paper needs less (1–2 mm).
Test snap-off to confirm clean release without trailing ink. High-tension meshes allow larger gaps, but high humidity may necessitate slight increases to prevent ink spread. Document optimal distances per substrate and inspect frames for warping to ensure stability.
7. Control Squeegee Speed
Squeegee speed influences ink filling efficiency. Too fast, and ink may not fill mesh holes evenly; too slow, and ink may dry prematurely. High-viscosity inks (e.g., plastisol) require slower speeds (10–20 cm/s) for thorough penetration, while water-based inks tolerate faster speeds to avoid clogging.
Maintain a steady rhythm, adjusting for environmental factors (ideal: 20–25°C). Record optimal speeds and drying intervals for multicolor prints. Consistent pacing, whether manual or automated, enhances ink uniformity and reduces defects.
Post-Printing: Securing the Results
Post-processing locks in durability and aesthetics. Proper curing and maintenance ensure prints withstand wear and maintain vibrancy.
8. Ensure Complete Ink Curing
Curing solidifies ink for lasting adhesion. Plastisol inks typically require 160°C for 1–3 minutes, while water-based inks need 150°C for 2–5 minutes. Use a flash dryer for single-layer curing or a tunnel dryer for high-volume production.
Monitor curing with a thermometer to avoid under-curing (poor adhesion) or over-curing (substrate damage). Flash-cure between layers in multicolor prints to prevent wet ink overlap. Conduct wash tests to verify durability, simulating real-world use. Eco-friendly inks with lower curing temperatures can balance quality and sustainability.
9. Prioritize Equipment Cleaning and Maintenance
Clean equipment ensures consistent quality. After each run, use eco-friendly cleaners to remove ink from meshes and squeegees, preventing residue buildup. Avoid high-pressure washers to protect mesh integrity. Weekly inspections for wear, especially on squeegee edges, prevent defects.
Maintain a dust-free workshop with vacuum cleaning to minimize contamination. Store meshes in dry, light-protected conditions and track maintenance via logs. Proactive care extends equipment life and prevents costly printing errors.
10. Embrace Automation for Consistency
Manual printing, while skill-driven, risks inconsistencies from fatigue or technique variation. Automated systems (e.g., rotary or flatbed presses) deliver precise control over pressure, speed, and angle, ideal for high-volume or multicolor jobs.
Start with small-scale automation, ensuring compatibility with existing inks and meshes. While initial costs are high, automation boosts efficiency, reduces errors, and enhances safety. Software integration for parameter monitoring further streamlines production.
Conclusion: Precision in Every Step
Exceptional screen printing hinges on meticulous attention to detail. From selecting the right mesh count to ensuring thorough ink curing, each step builds toward professional, durable results. By testing, documenting, and refining your process—whether manual or automated—you can elevate your prints to stand out in any market. These ten tips, grounded in practical expertise, offer a roadmap to transform your screen printing into a craft of precision and artistry, ready to impress in any professional setting.